So, you learn a new skill.
Then you’ve got to practice. In my new book, 200 Crochet Blocks for Blankets, Throws and Afghans: Crochet Squares to Mix-and-Match by Jan Eaton, there’s a totally amazing looking quilt. But involves some pretty complicated looking squares, so I thought I would start off just with some simple standard plain squares, and work my way up to those! I also wanted to practice my technique so that I could get it consistent, neat, and even, as if you want to make something like a quilt, all of the squares must be consistent in sie and shape so that it will all come together nicely!
But what to do with your practice squares? Well, you make something where it doesn’t really matter all that much. Square number 1?
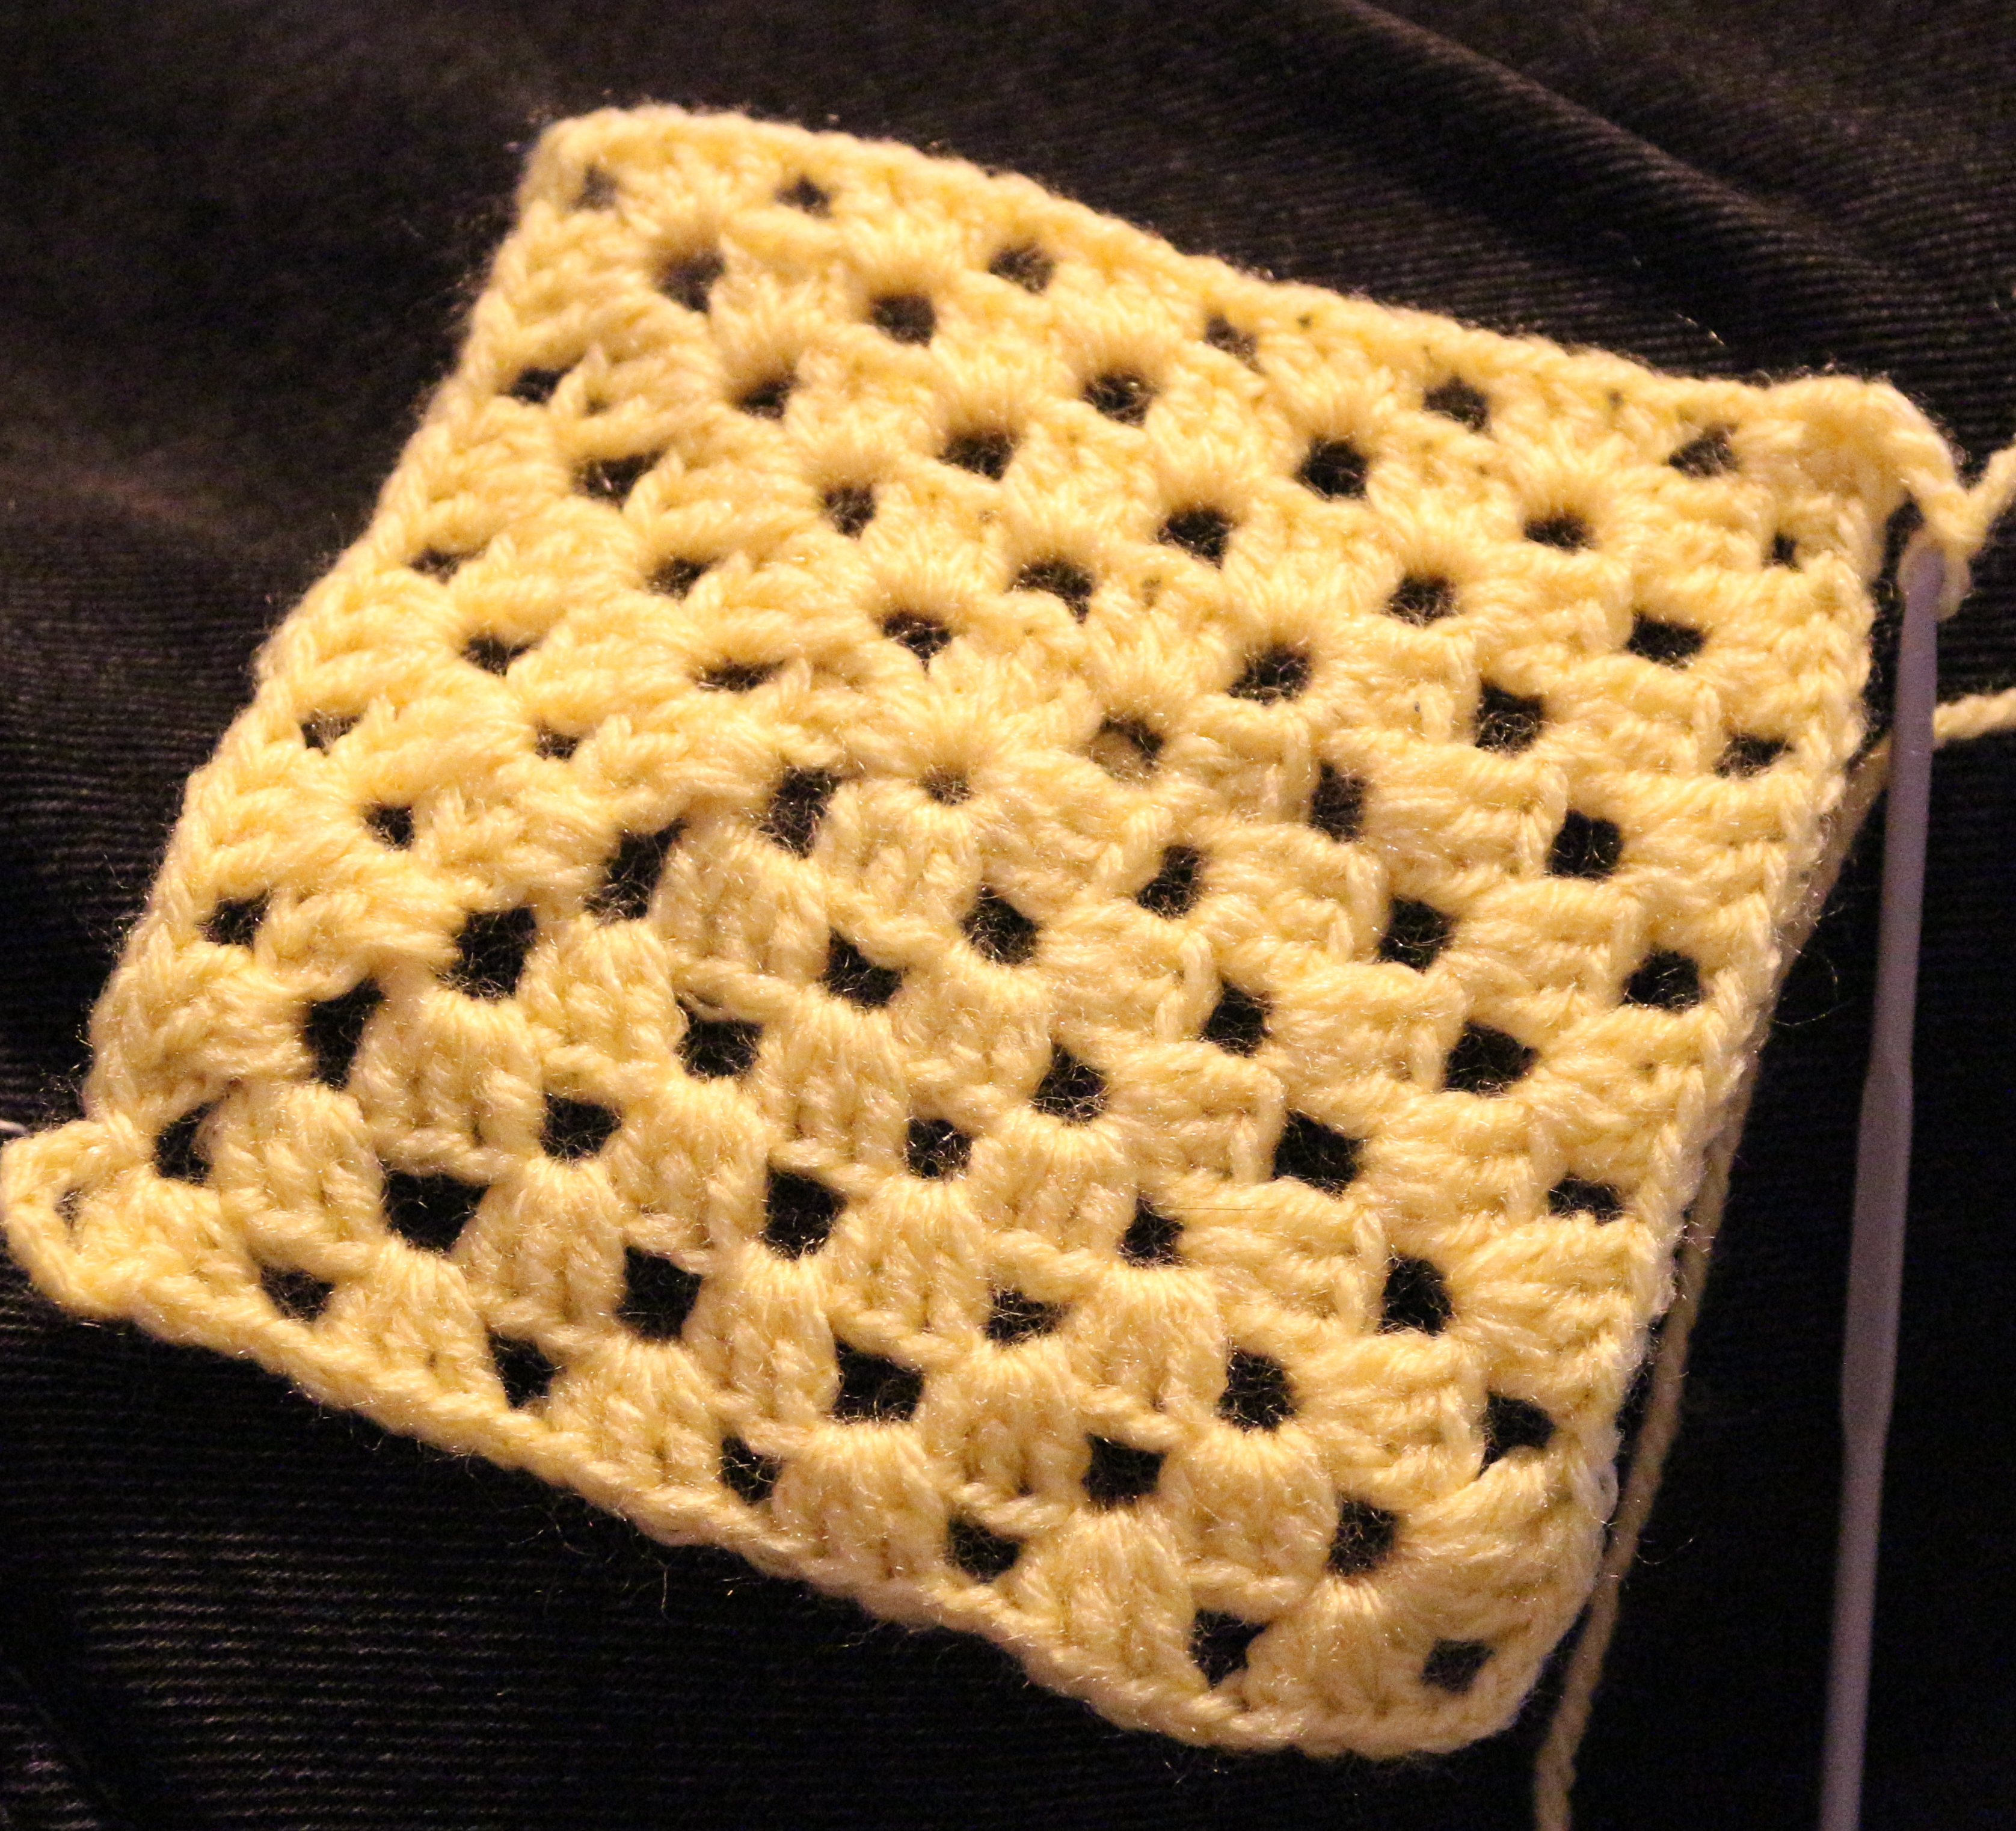
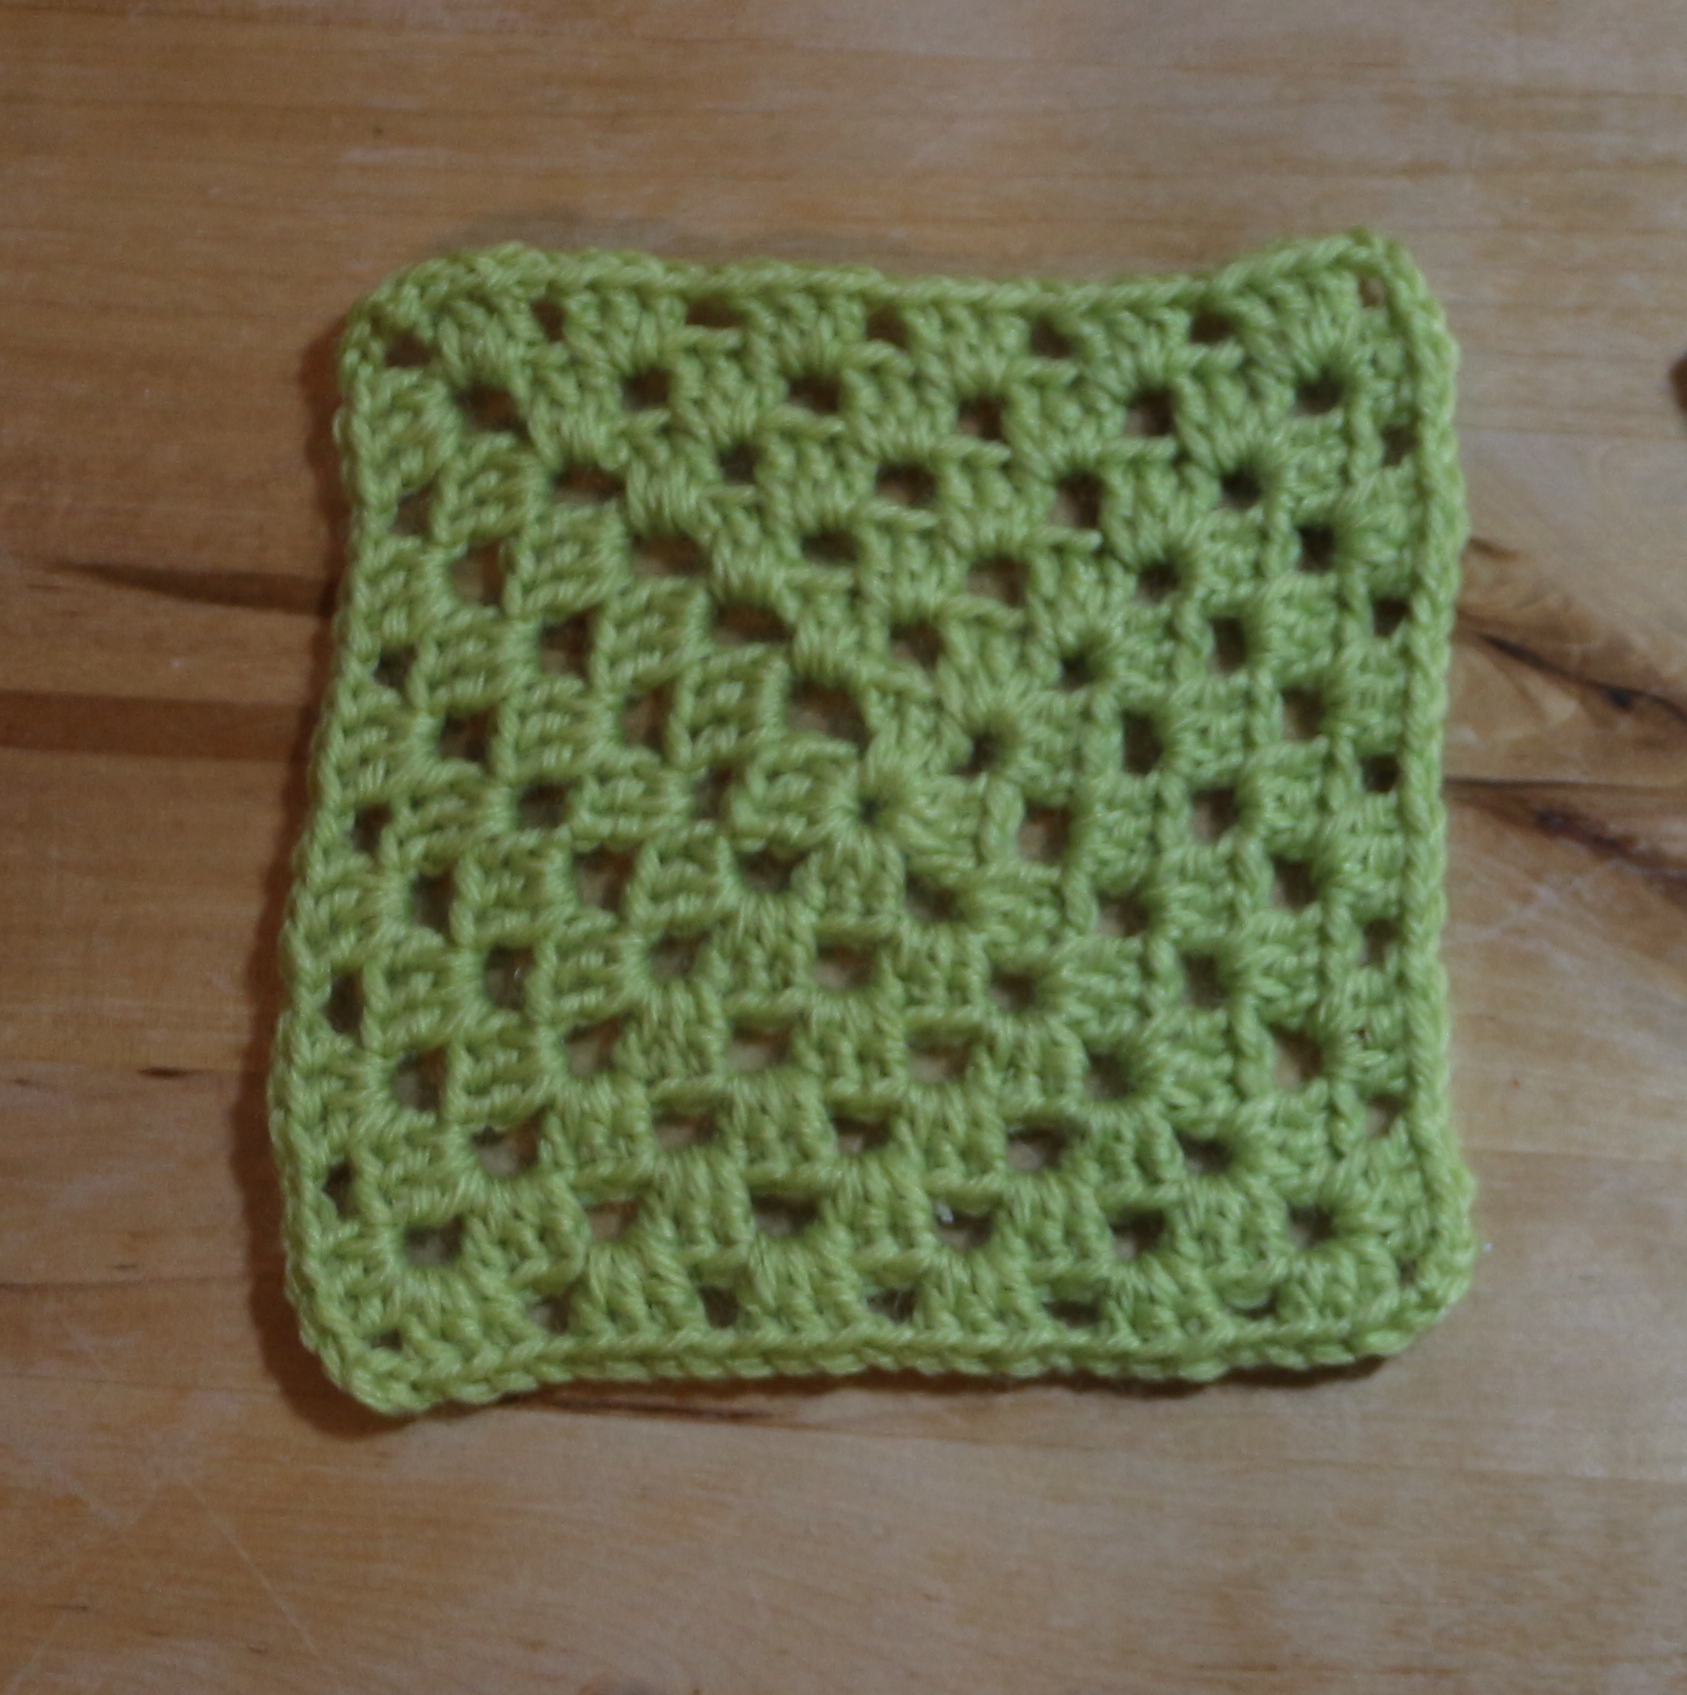
Not bad! Pretty even, but as it was a practice one, I used cheap nasty wool, so I probably won’t use it for anything. It did however get me thinking, as I had it sat on the coffee table, that I could use it as a coaster. So next time around, I used some slightly nicer wool that I had leftover from a previous project, which would coordinate with some things in our house.
As I made the square, I followed the basic pattern, but only did 6 rounds, enough to make it coaster sized:
I then cut a square of white felt, same size as the square of crochet:
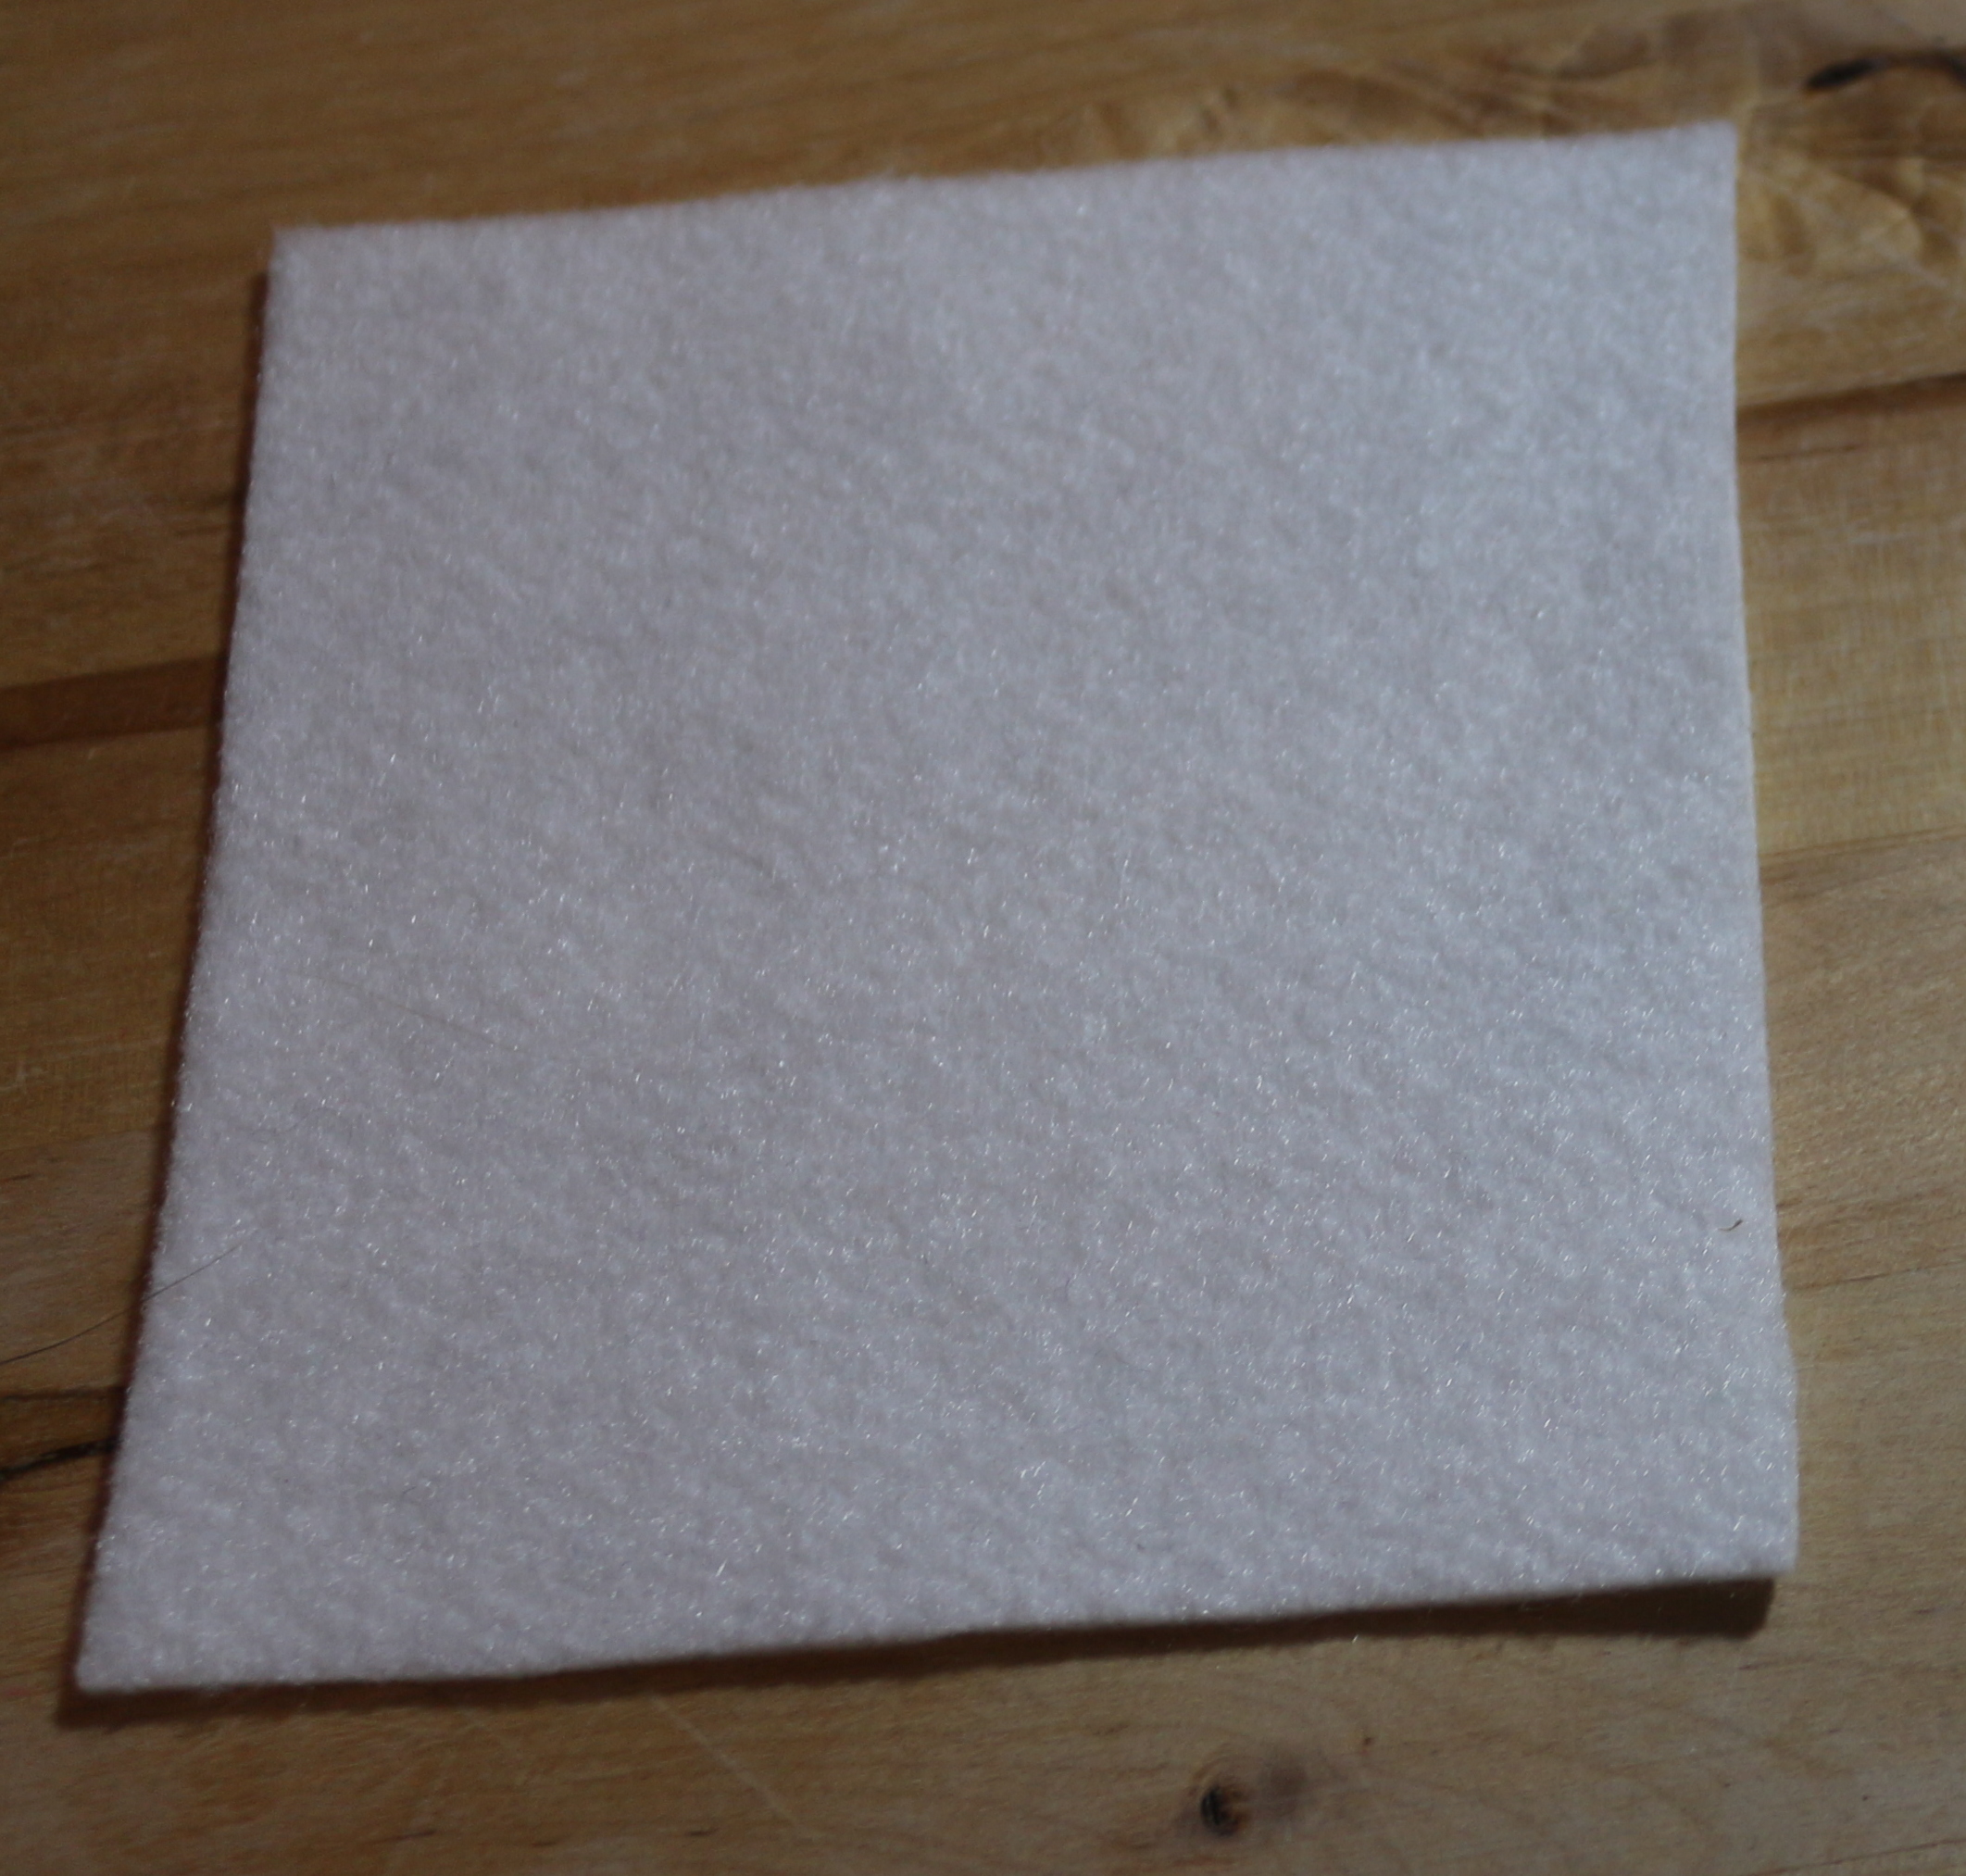
Then pinned the crochet to the felt, so that the corners were all pulled straight.
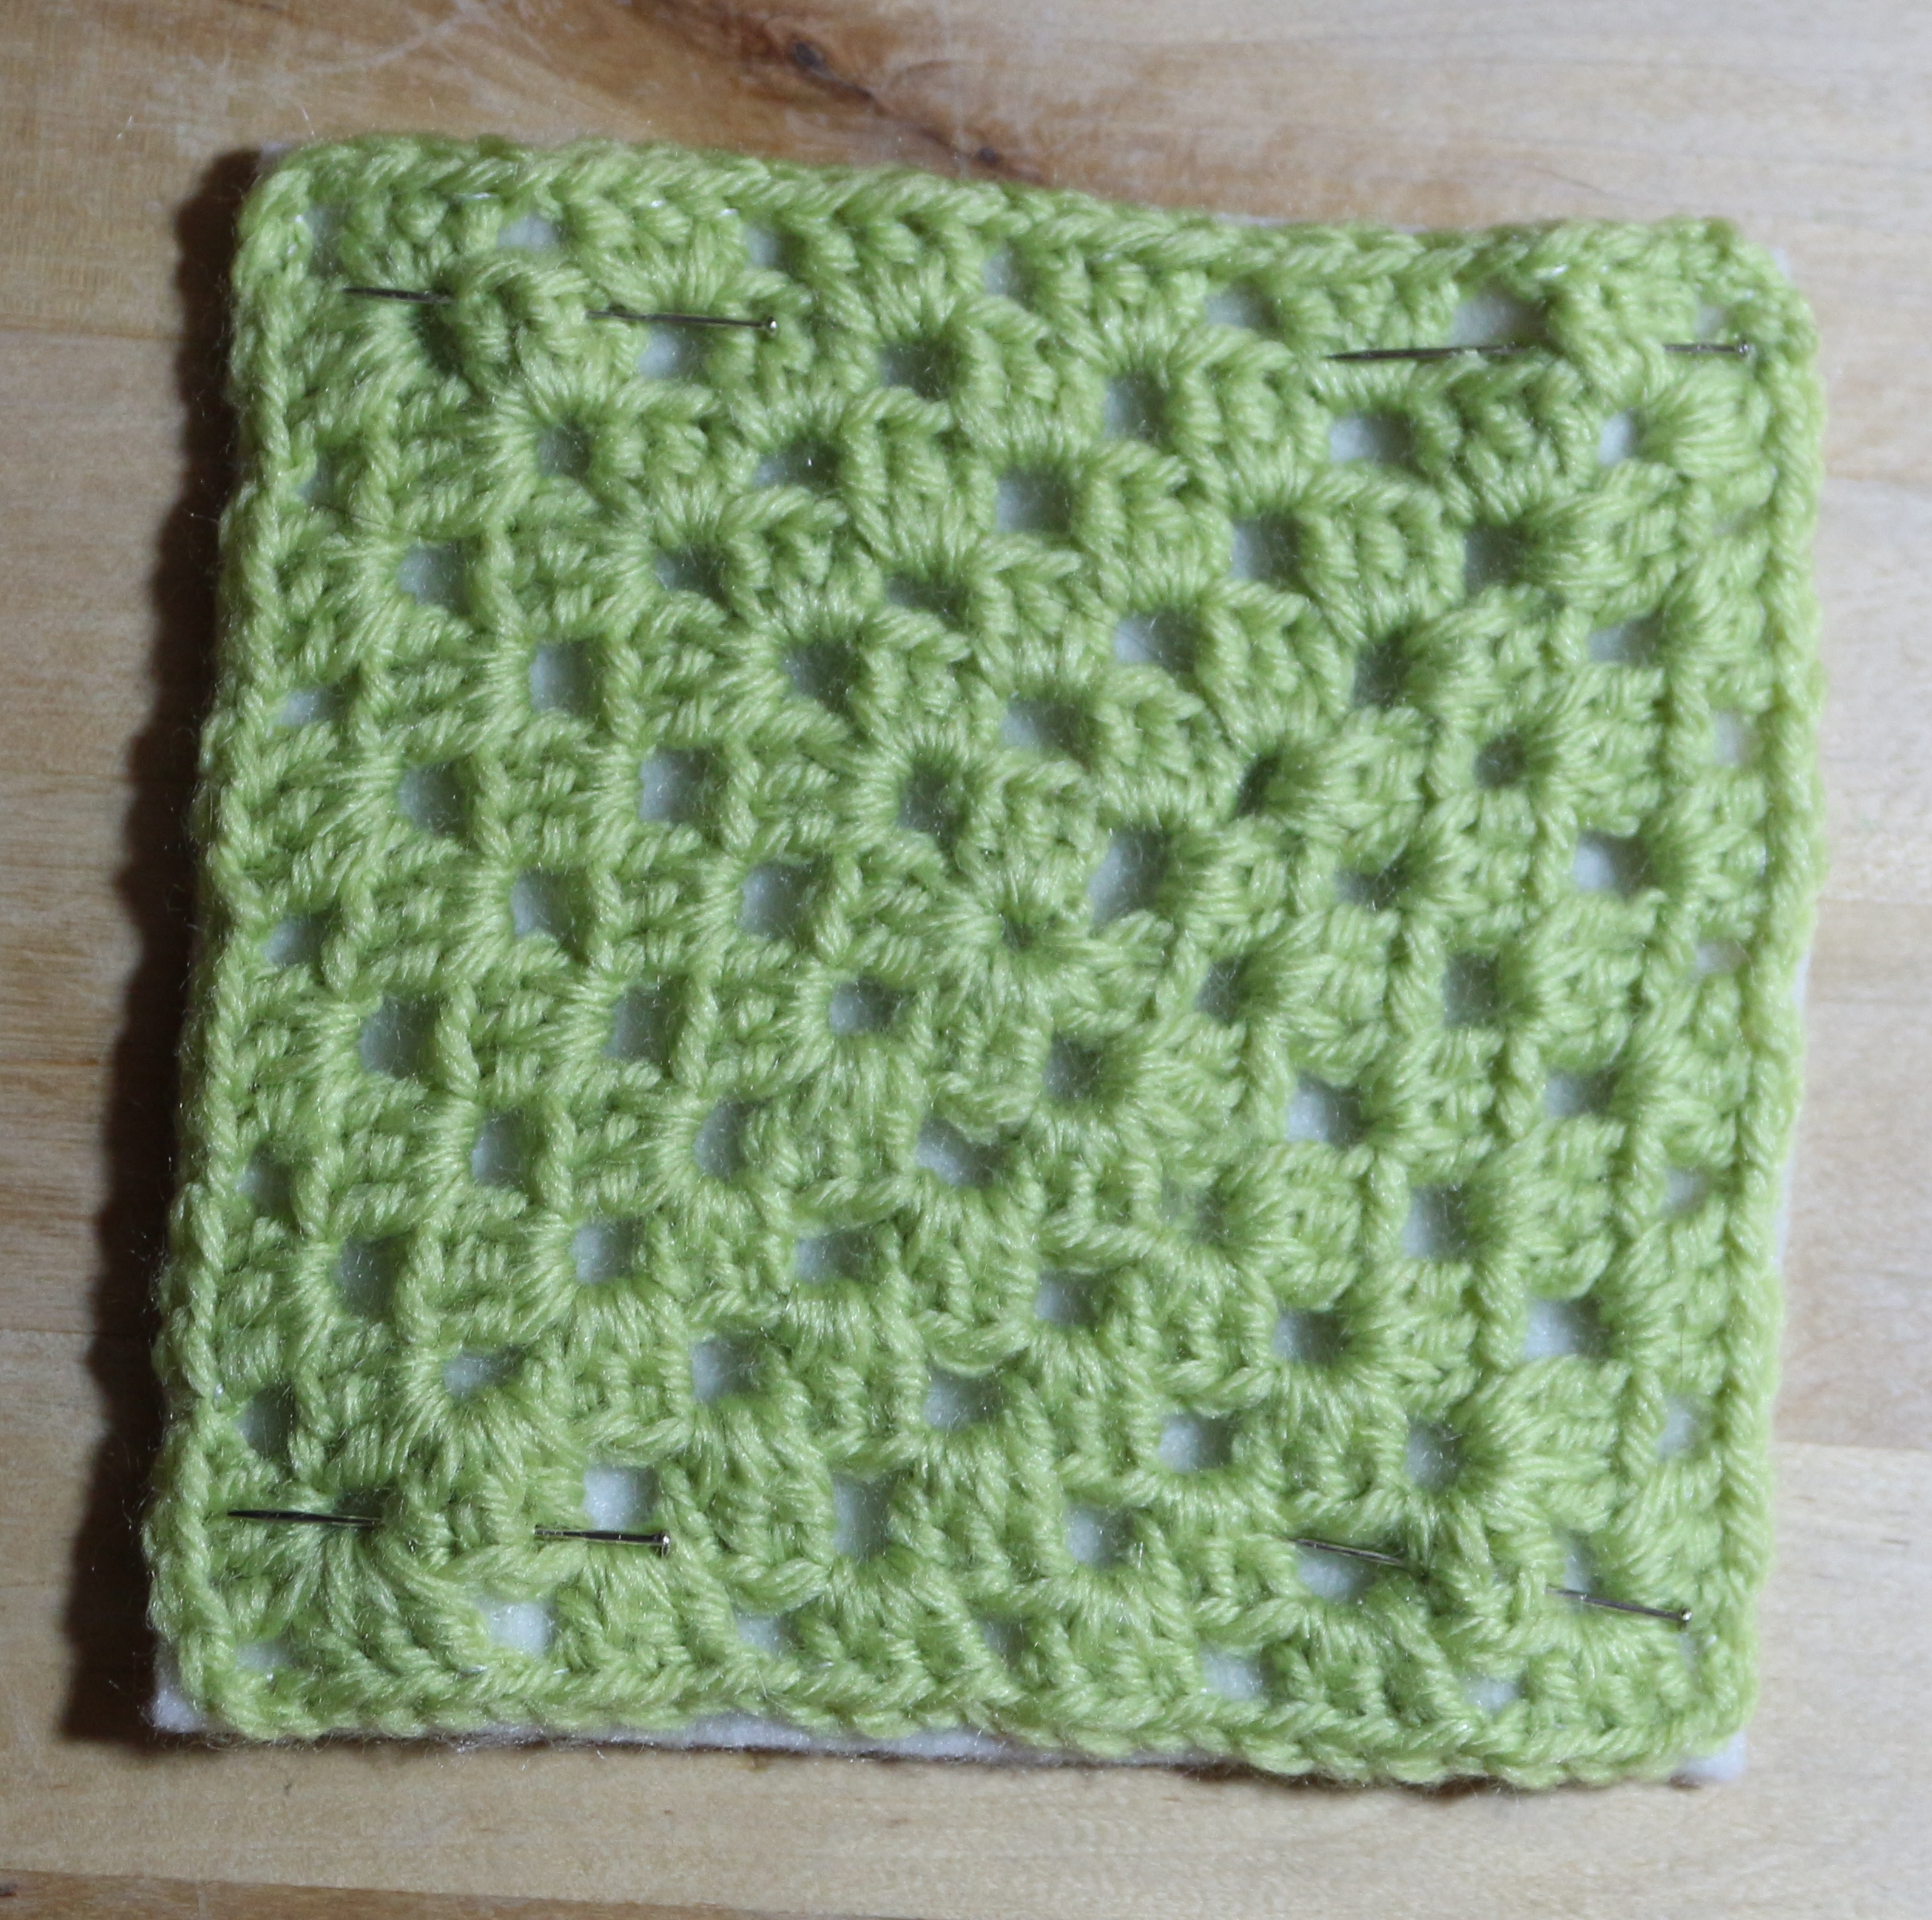
The felt in this case acting to keep the square pulled into a nice uniform shape, but also will help to protect the surface when it is being used as a coaster, from heat and spills!
I sewed the crochet to the backing using little stitches and plain white cotton:
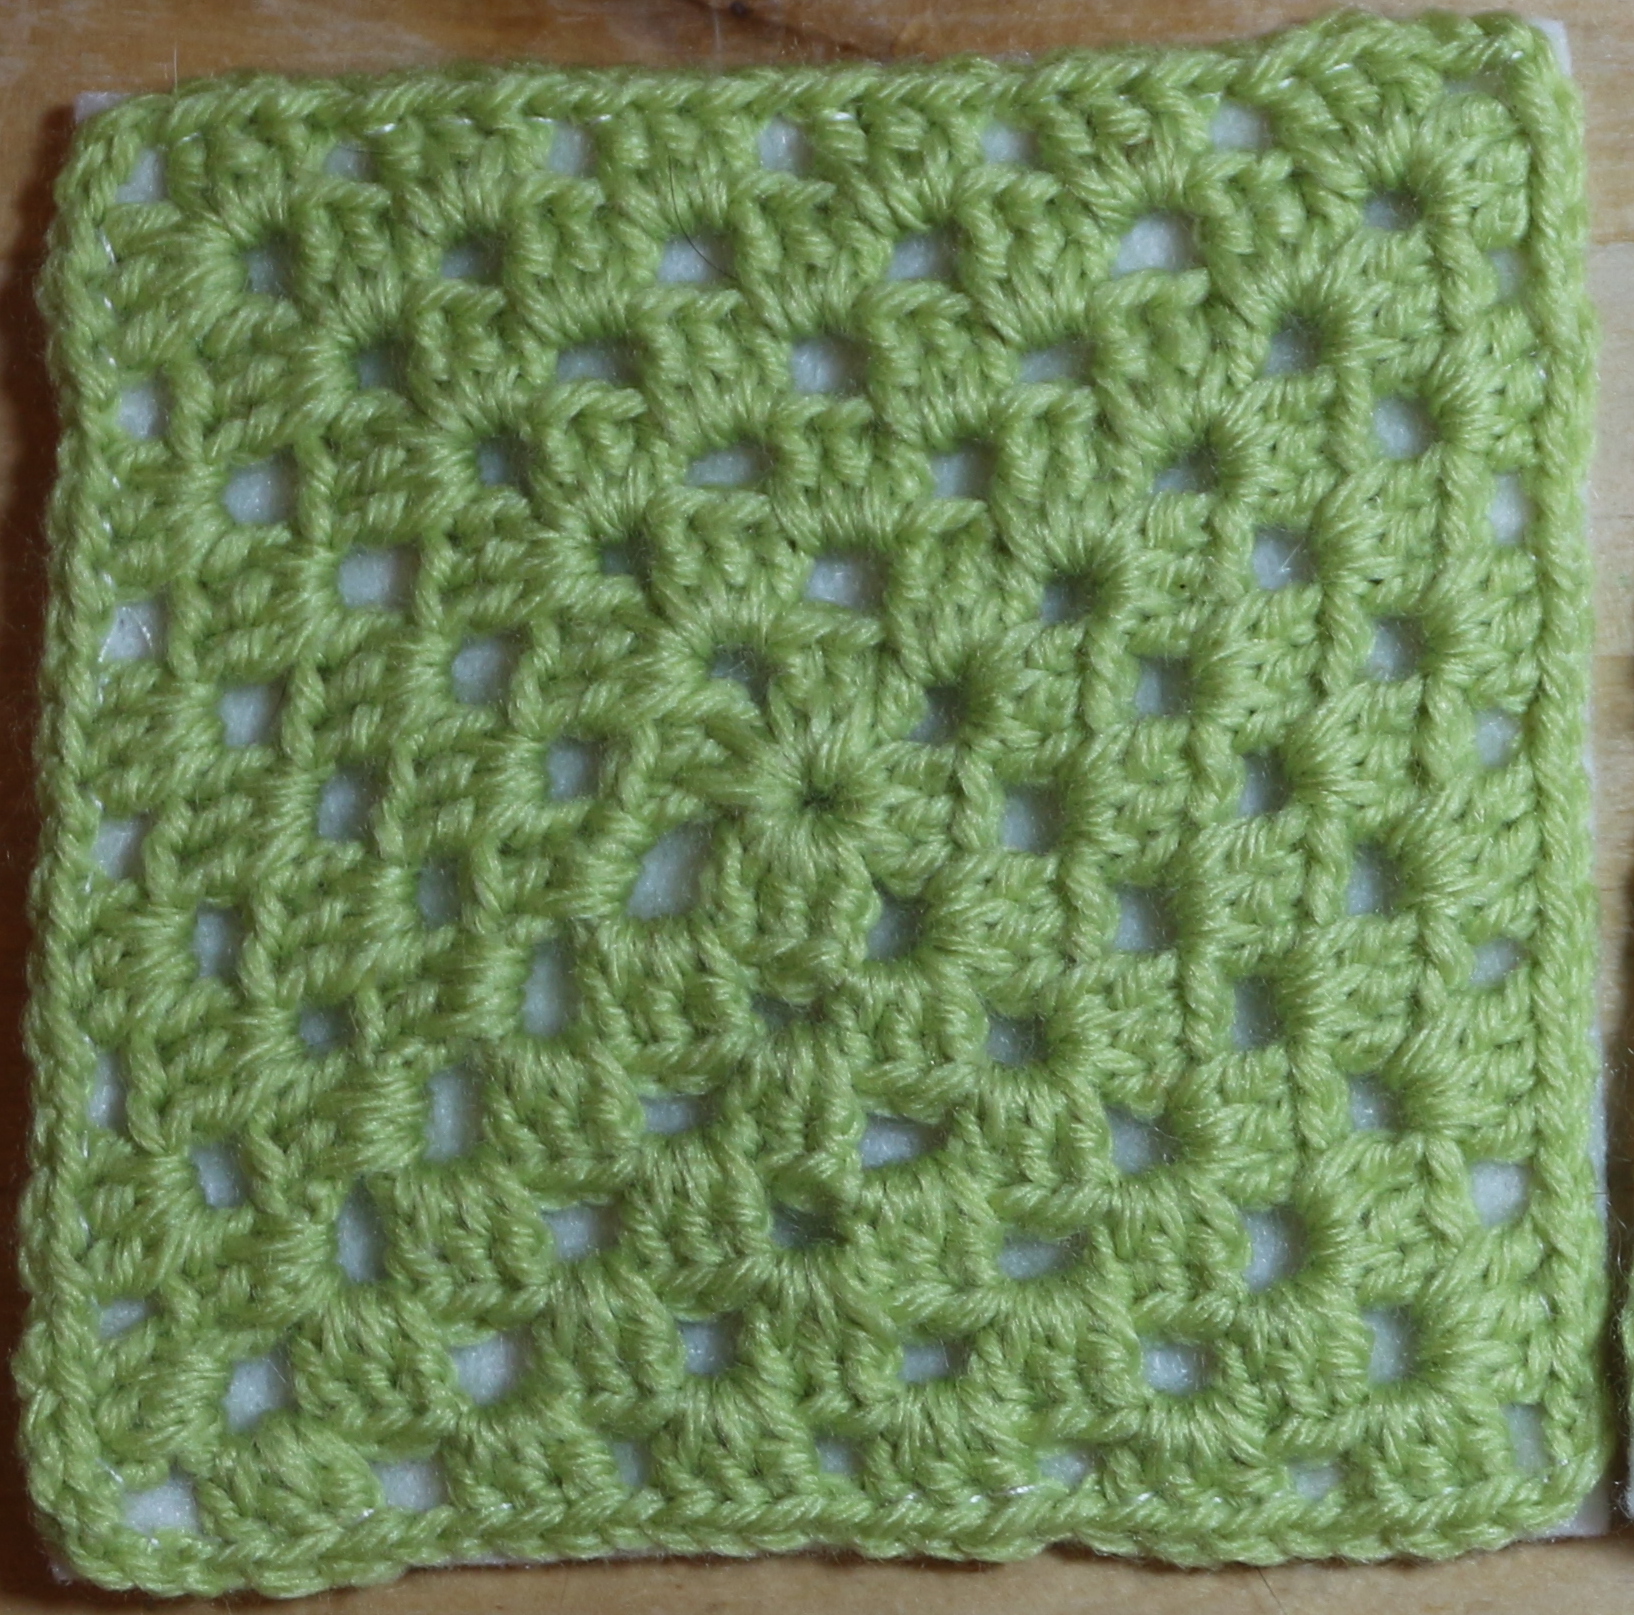
….and that was it done!
I made two of these in not a lot of time at all…………………
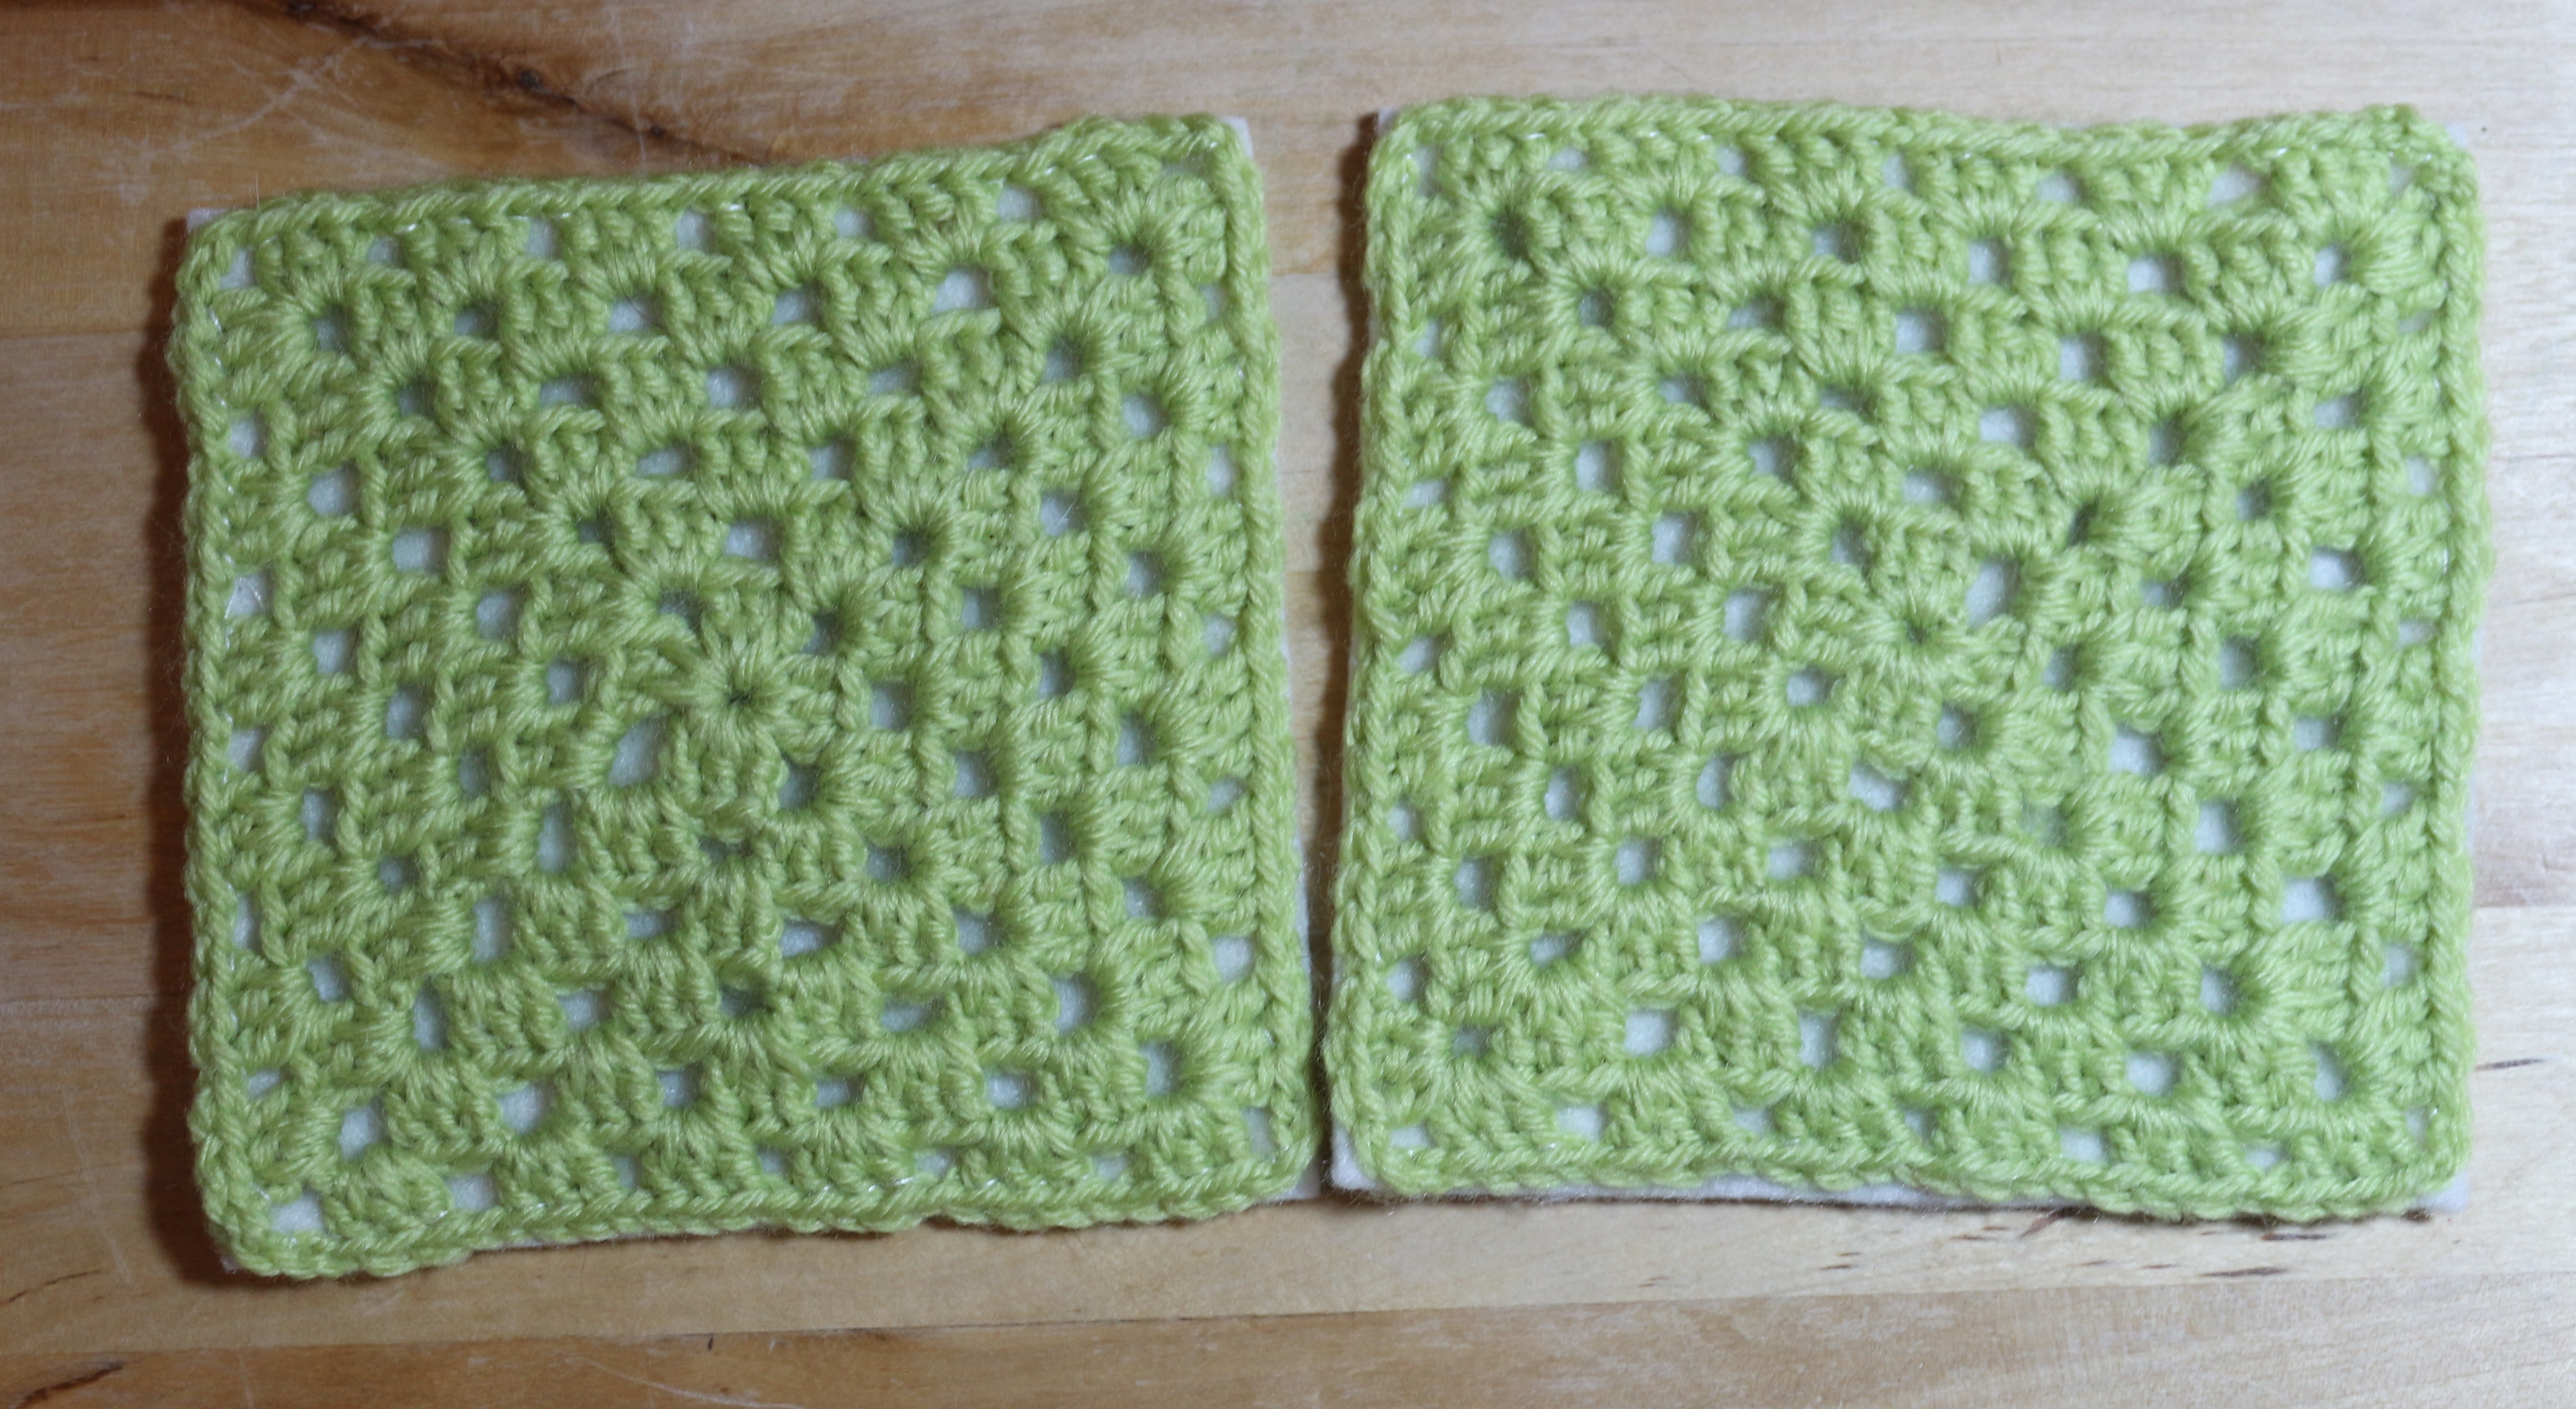
The crochet squares themselves took maybe an hour each (completed while watching tv!) The sewing onto felt backing took about ten minutes, it would have been quicker with a sewing machine, but I didn’t know whether they would be invisible enough, and it allowed me to pull the corners tight to the corners of the felt.
So, then I had two coasters, white and green, just right for our bedsides tables:
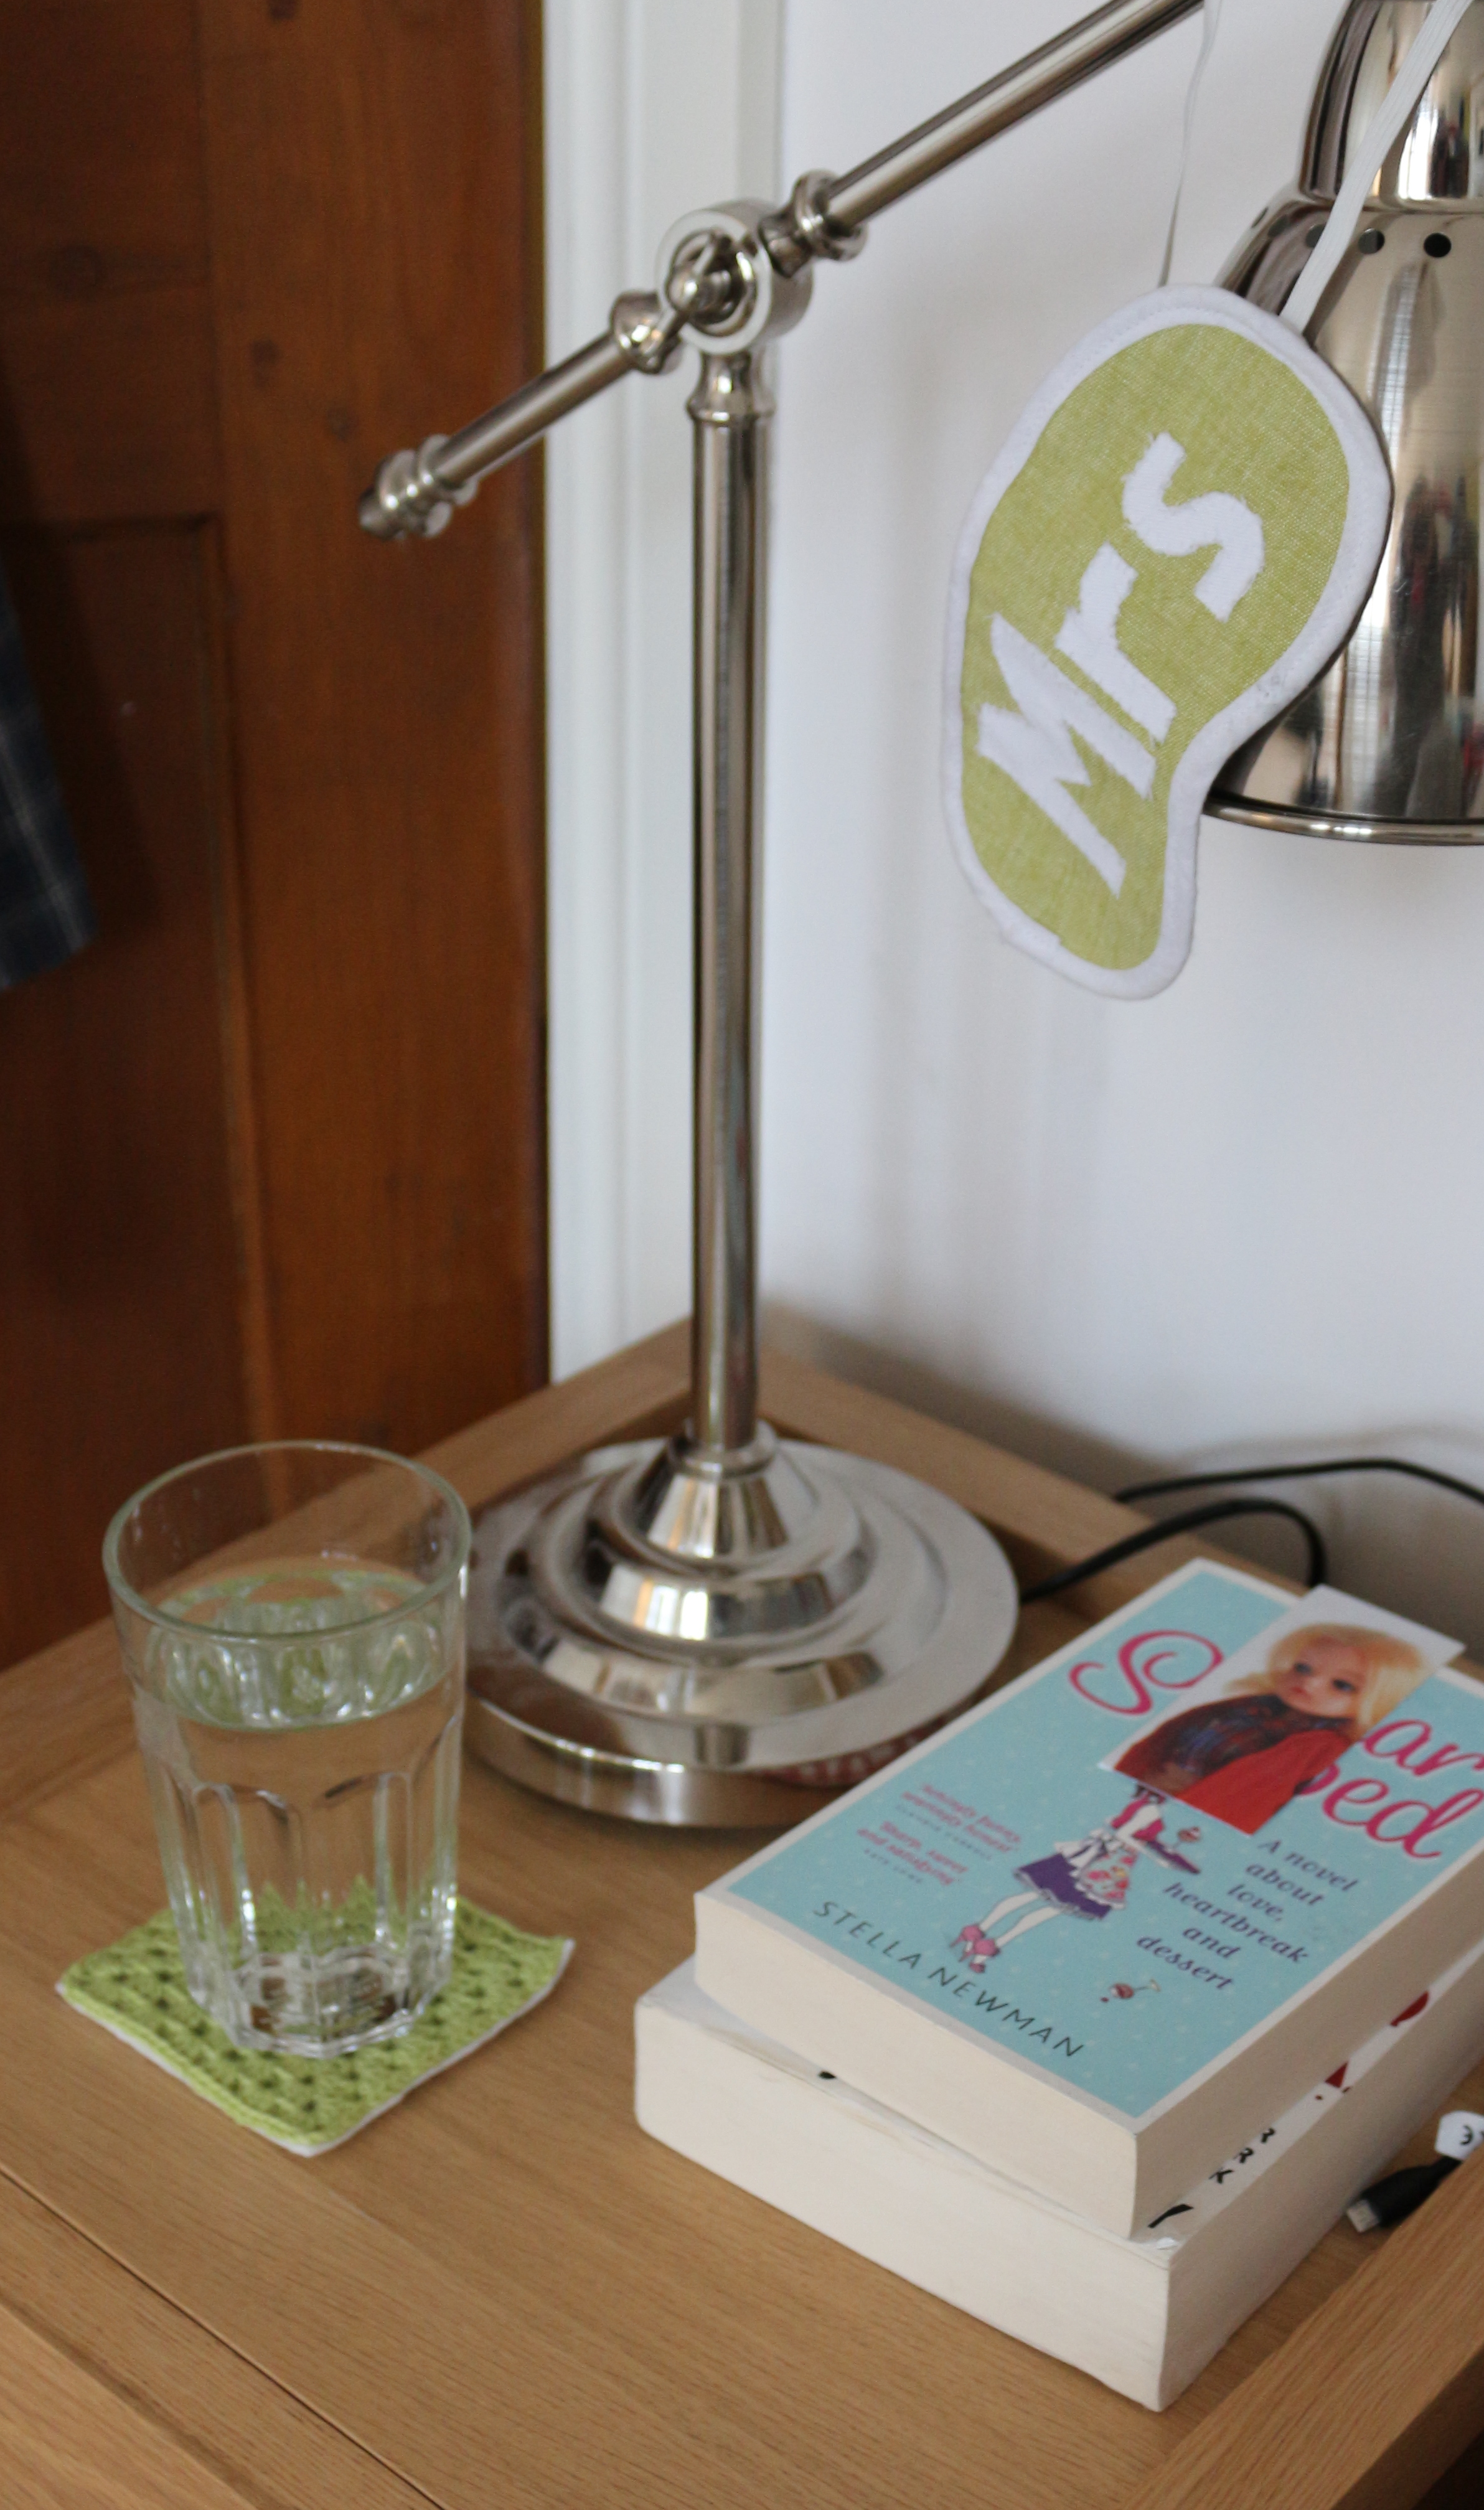
(You can also see my sleep mask hanging from the lamp, I made one for each of us from some leftover material I had from making our curtains)
The rest of today was spent assisting Mr M in assembling his new toy:
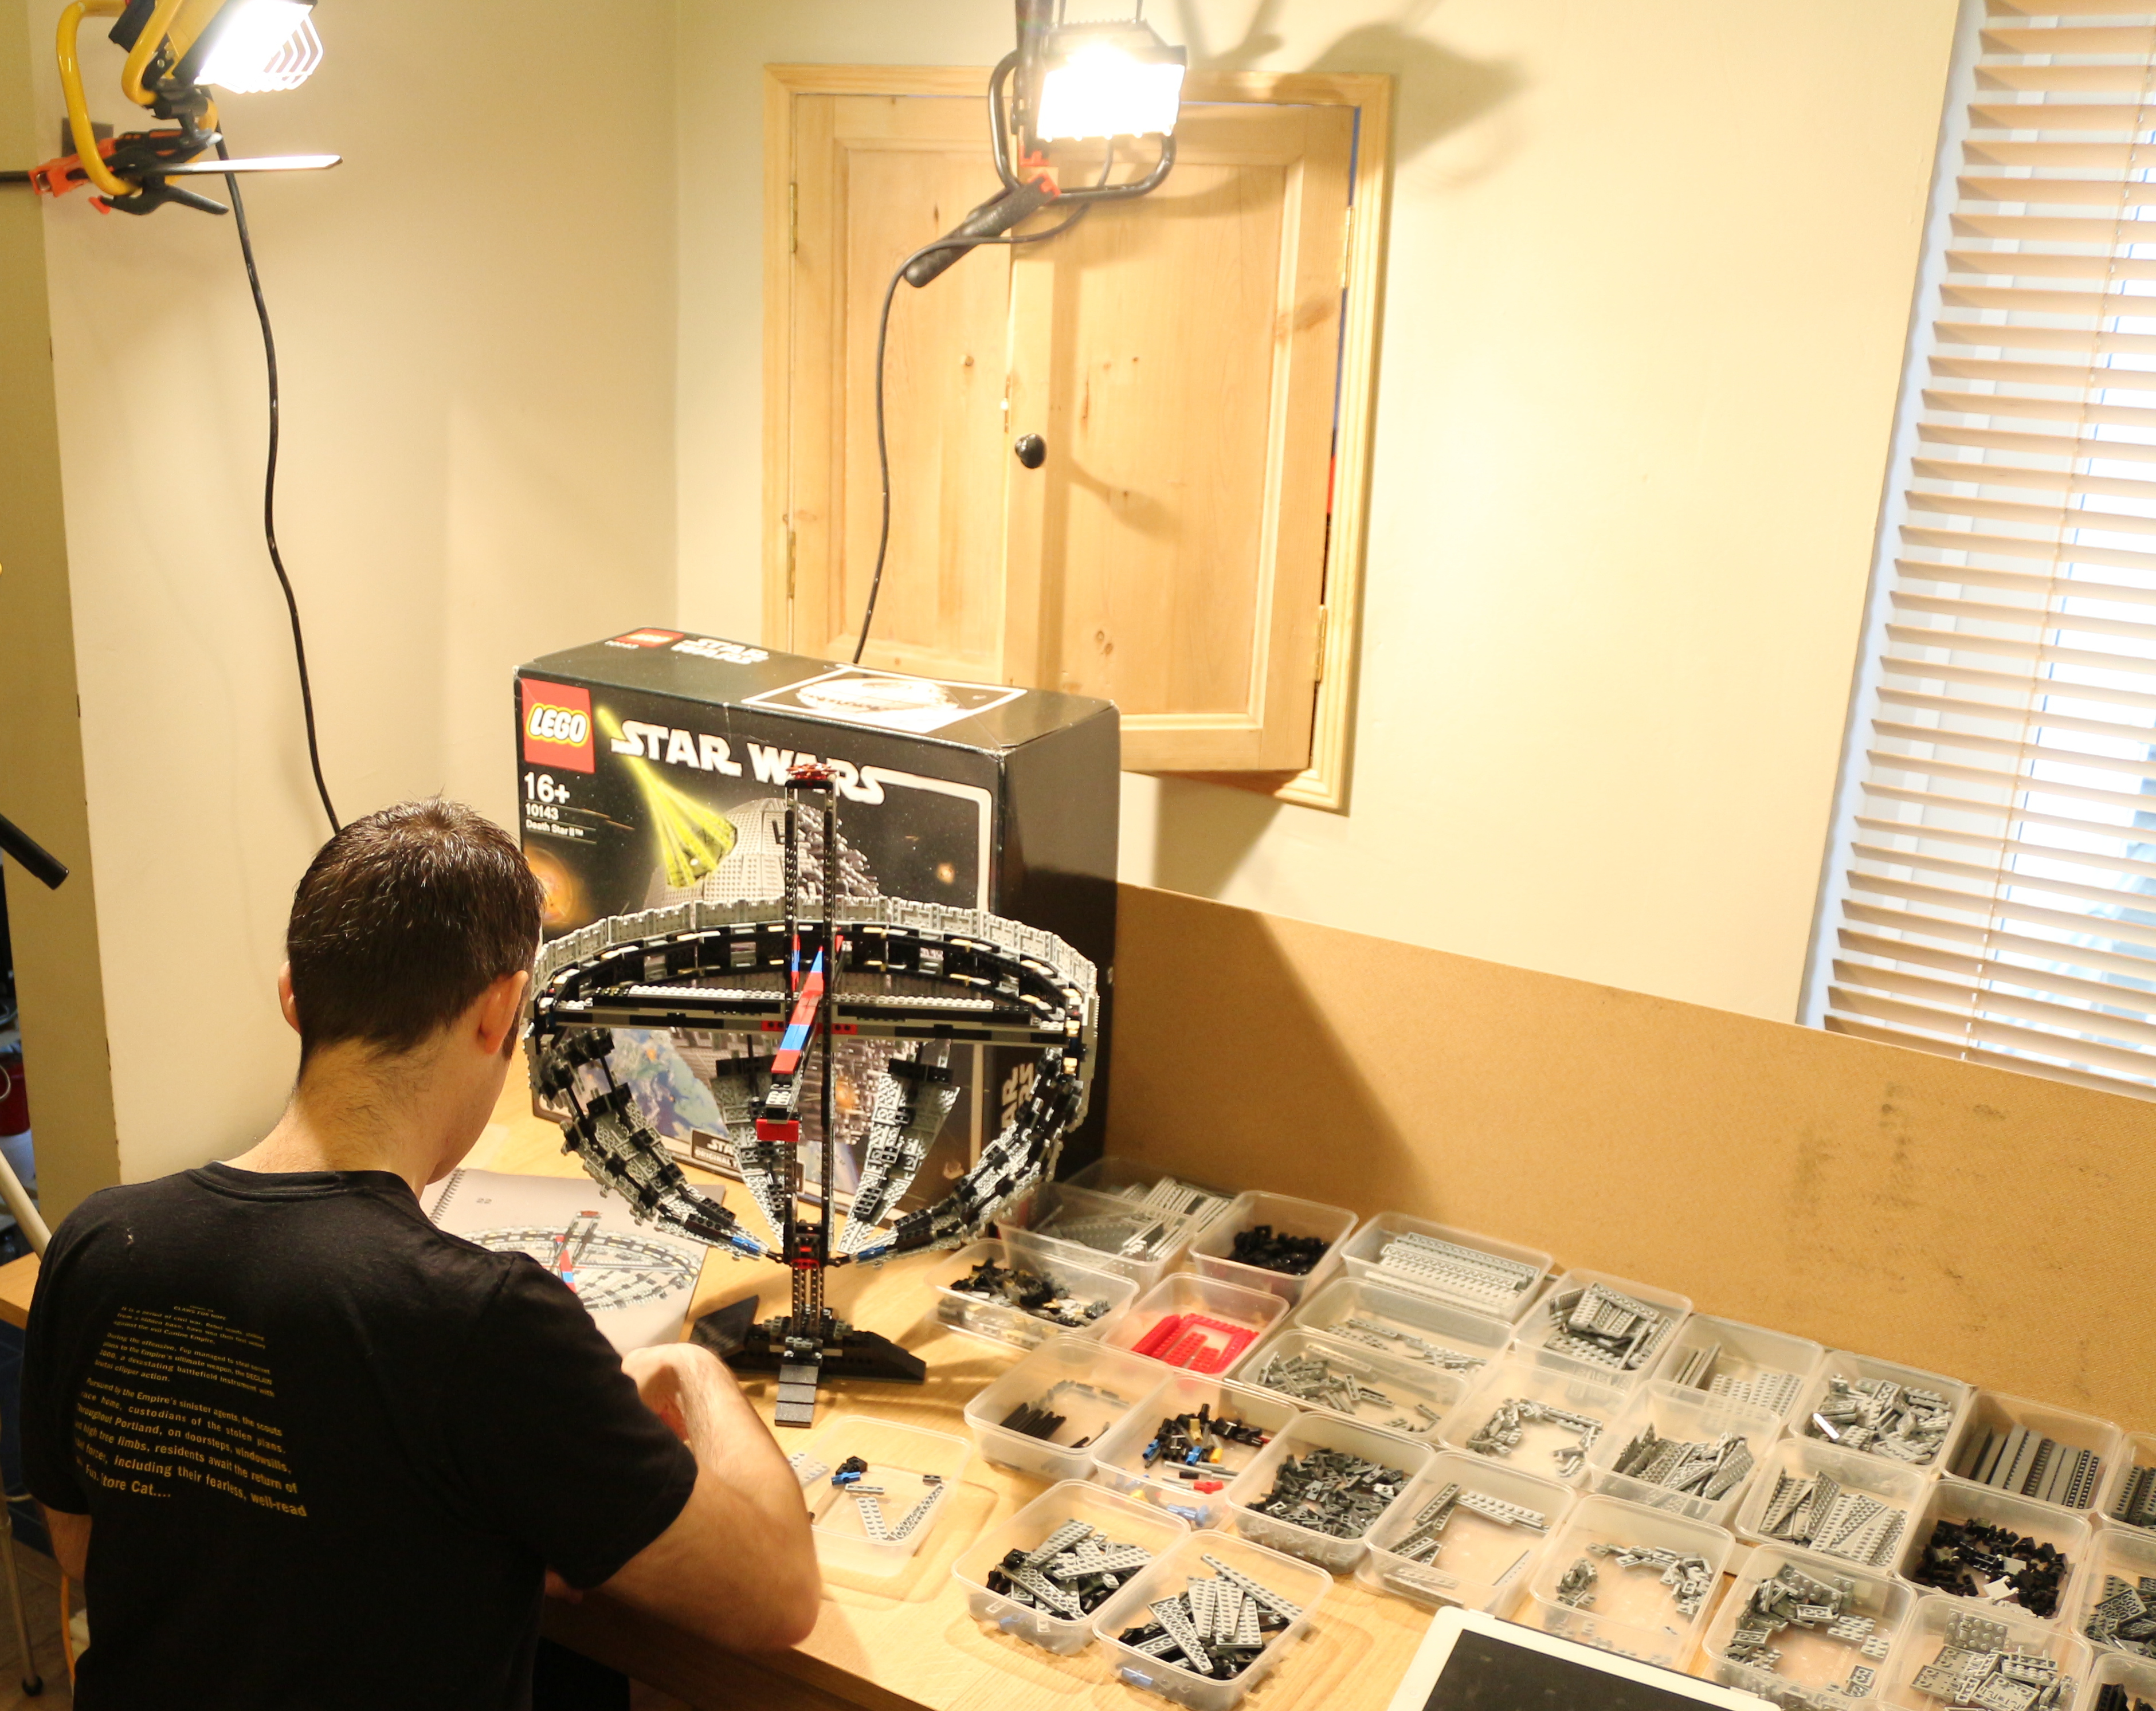
I love how he has 2 DIY lights clamped onto the hatch door and wall, and of course the backboard against the table… just in case any pieces should fall out of the pre-sorted boxes of pieces… Bless him.
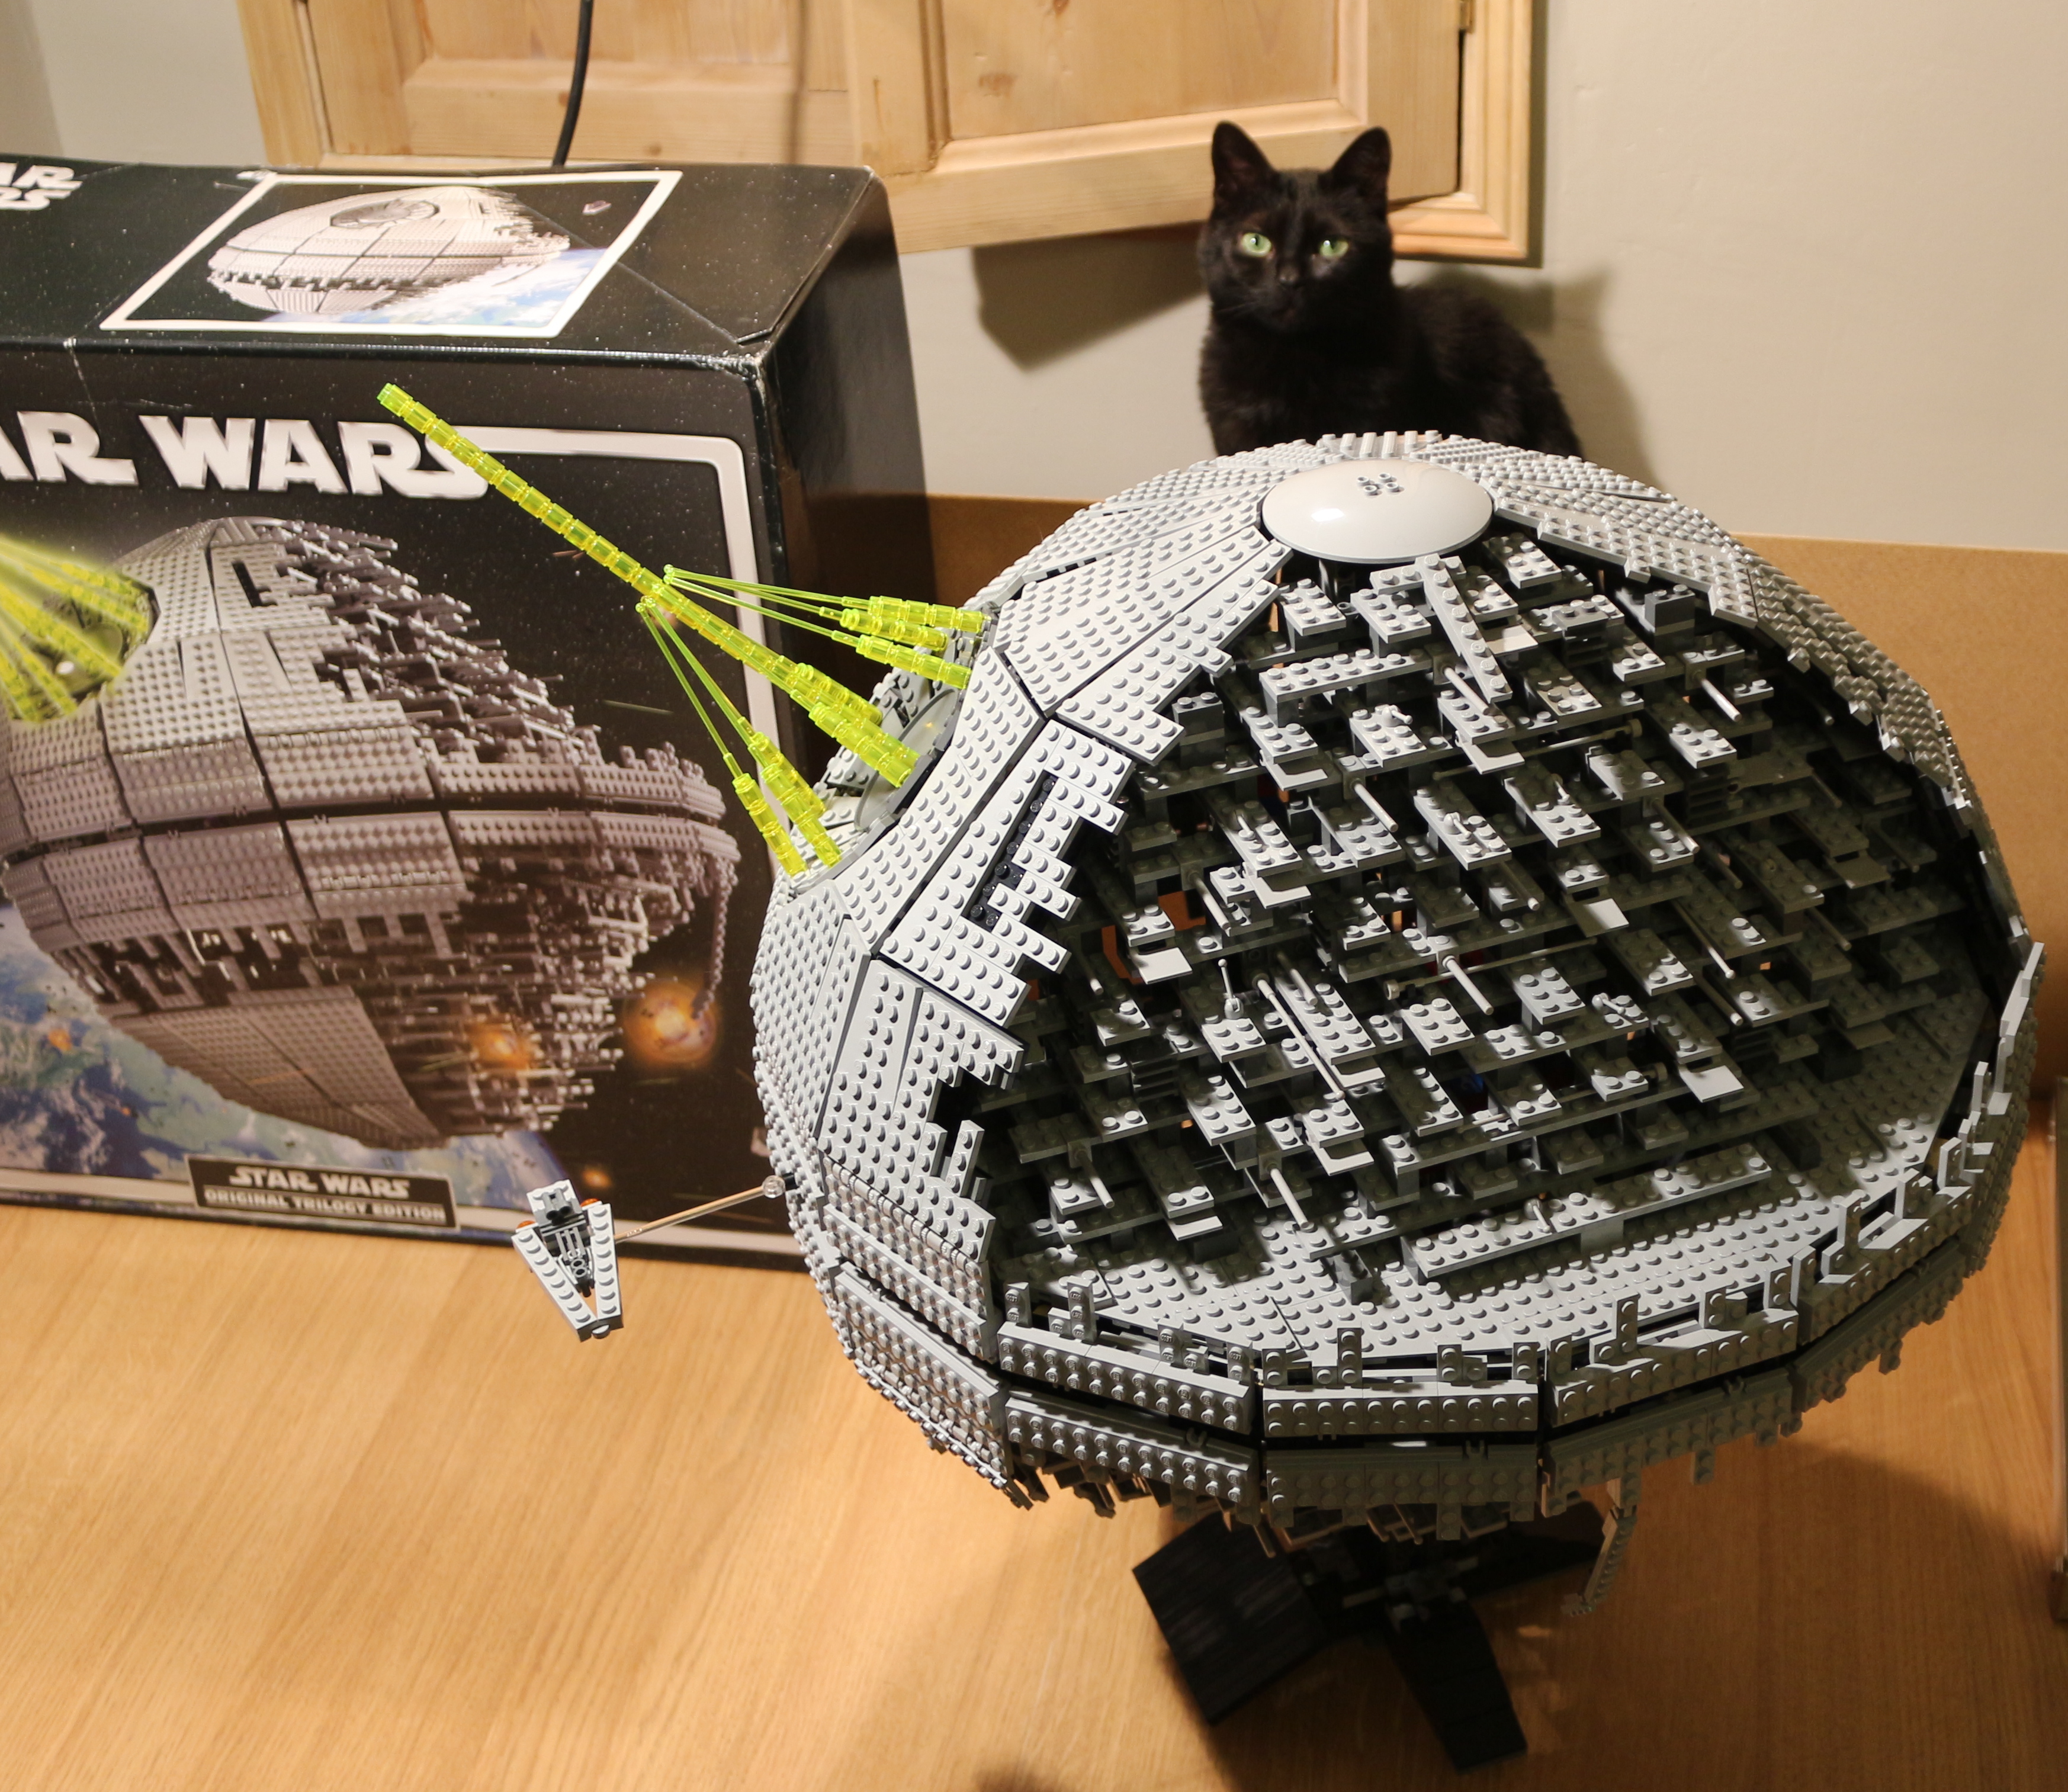
“Now witness the firepower of this fully ARMED and OPERATIONAL battle station!”
Marcie doesn’t look impressed.

