
Today, I could have gone out to the Harbour Festival. I could have been energetic and done something productive outside. But I was tired and not really feeling it. FYI, it also chucked it down with crazy torrential rain in little out of the blue showers later on, so perhaps I was as well to stay in! Anyhow, I read a book, watched some tv…. then decided to get crafty.
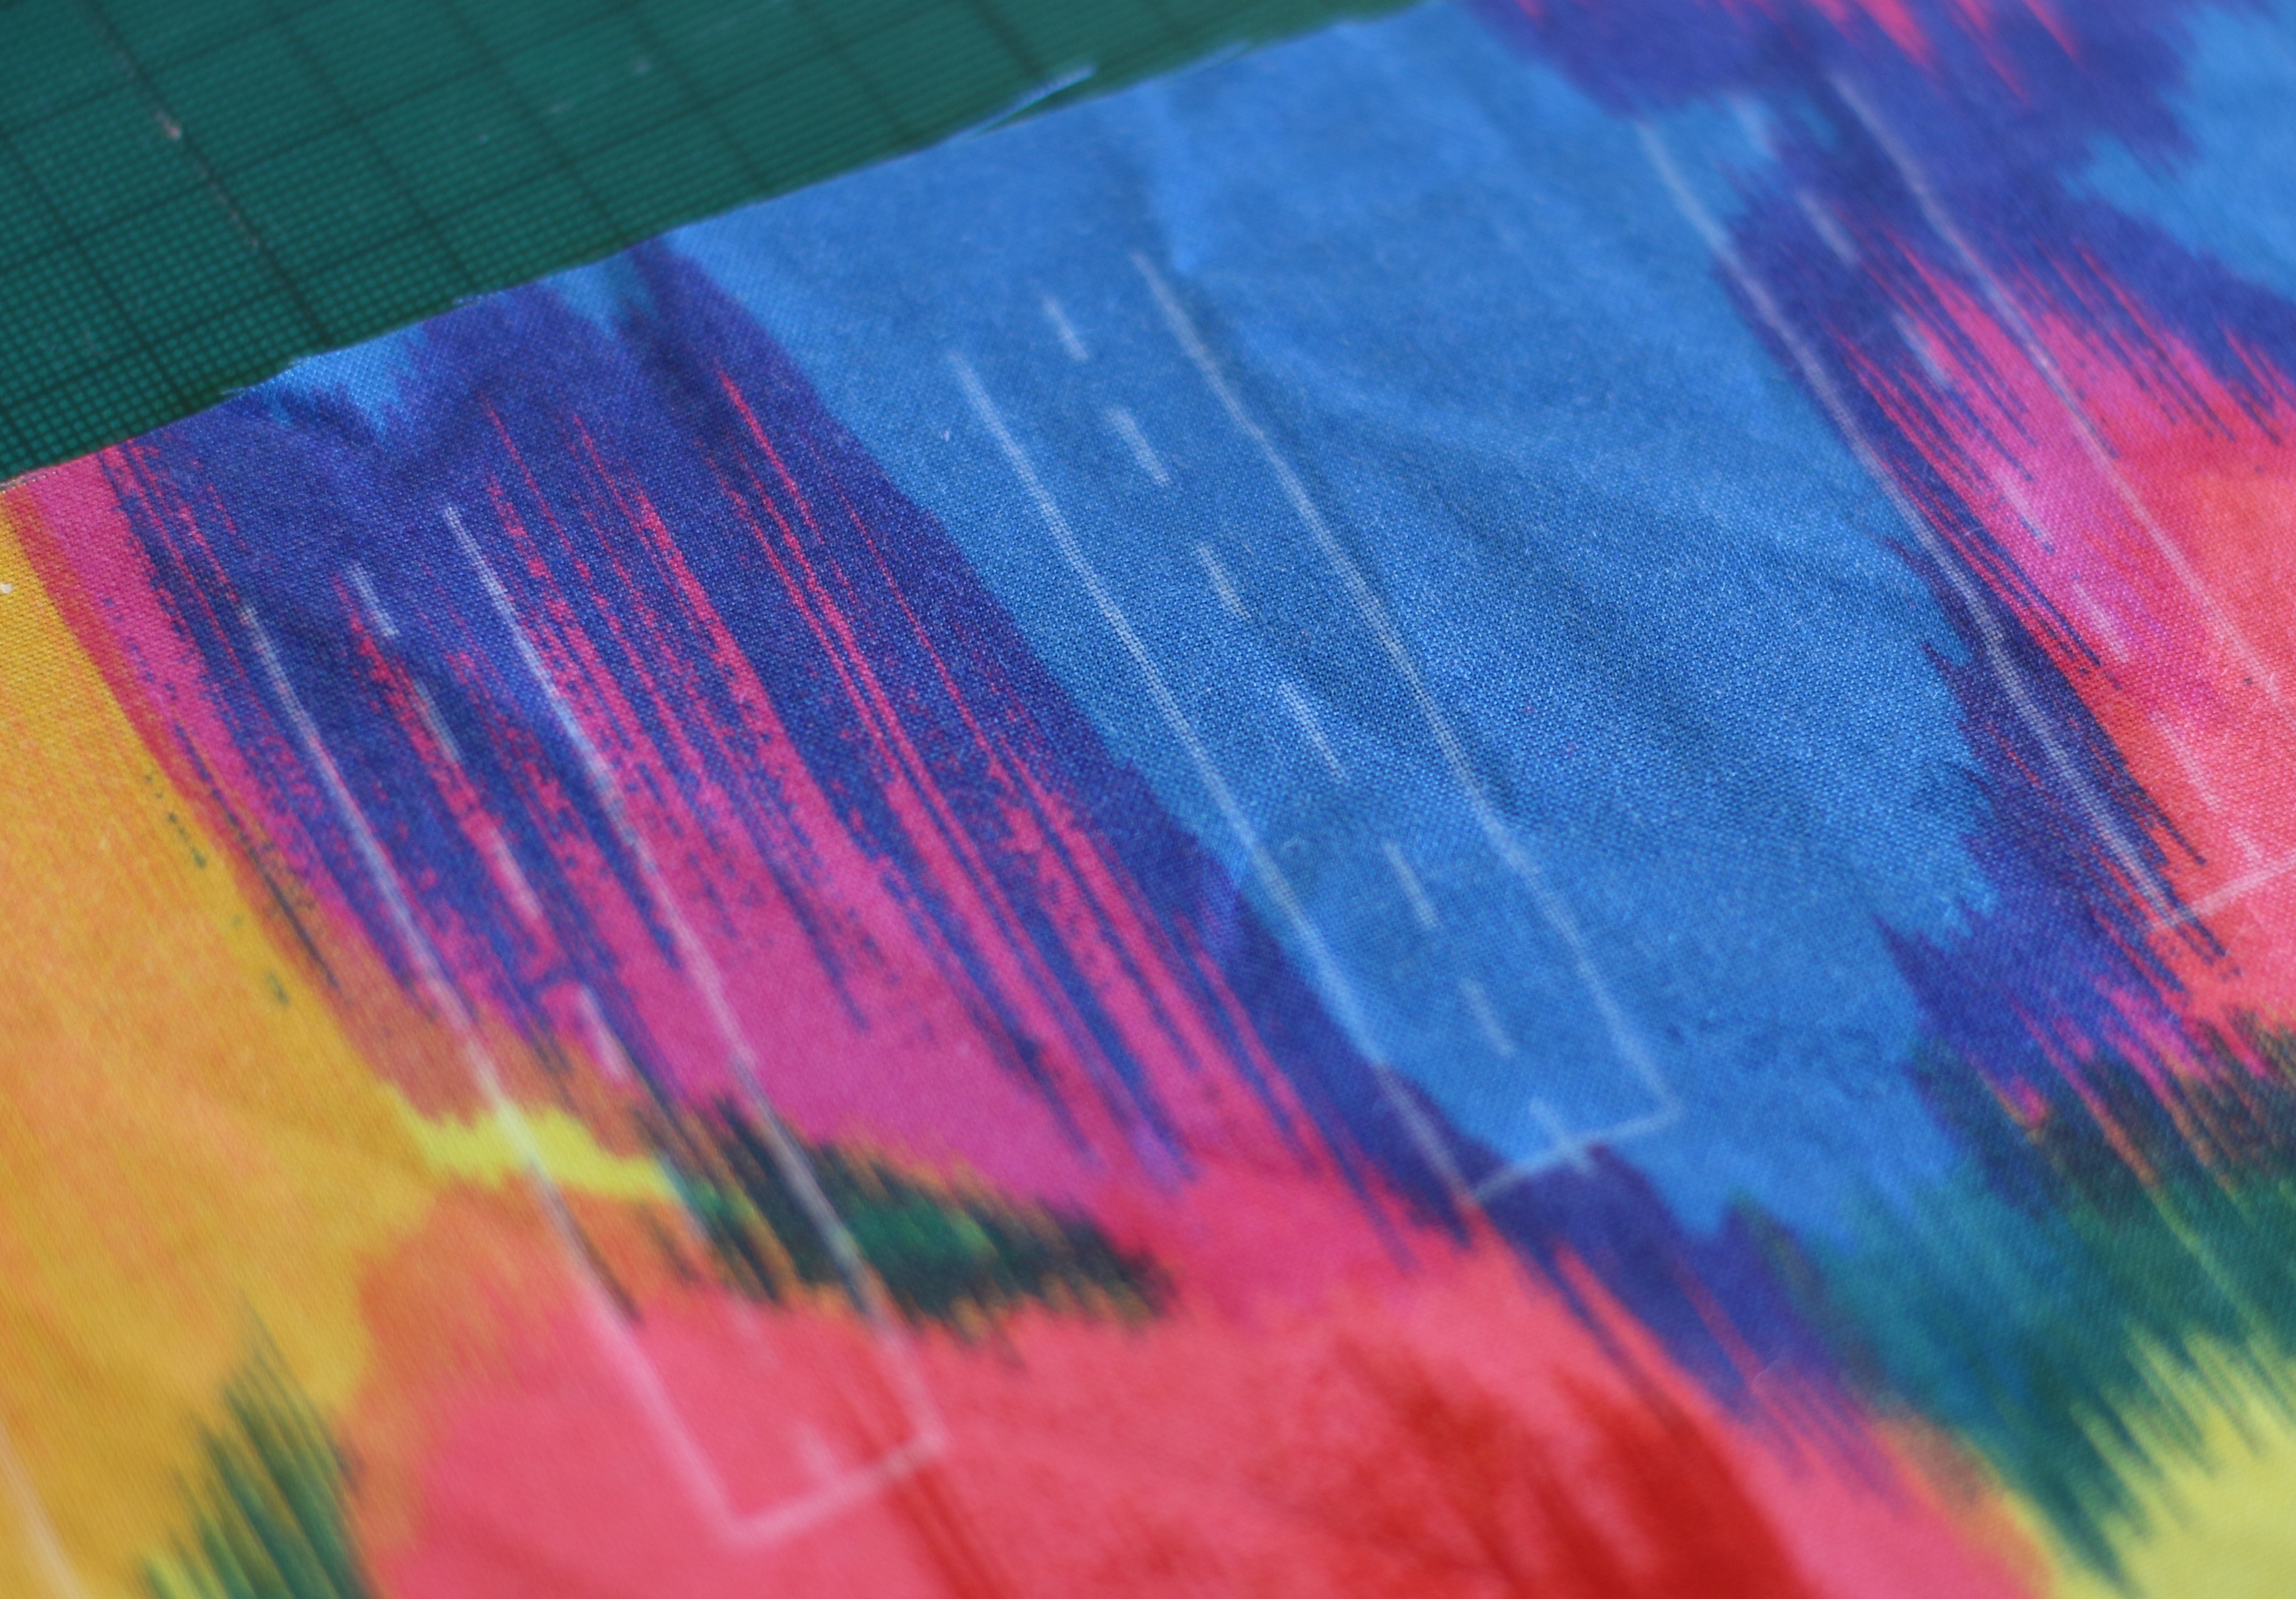
I have a top with little itty bitty straps, cotton, pretty, nice vibrantly coloured and patterned:
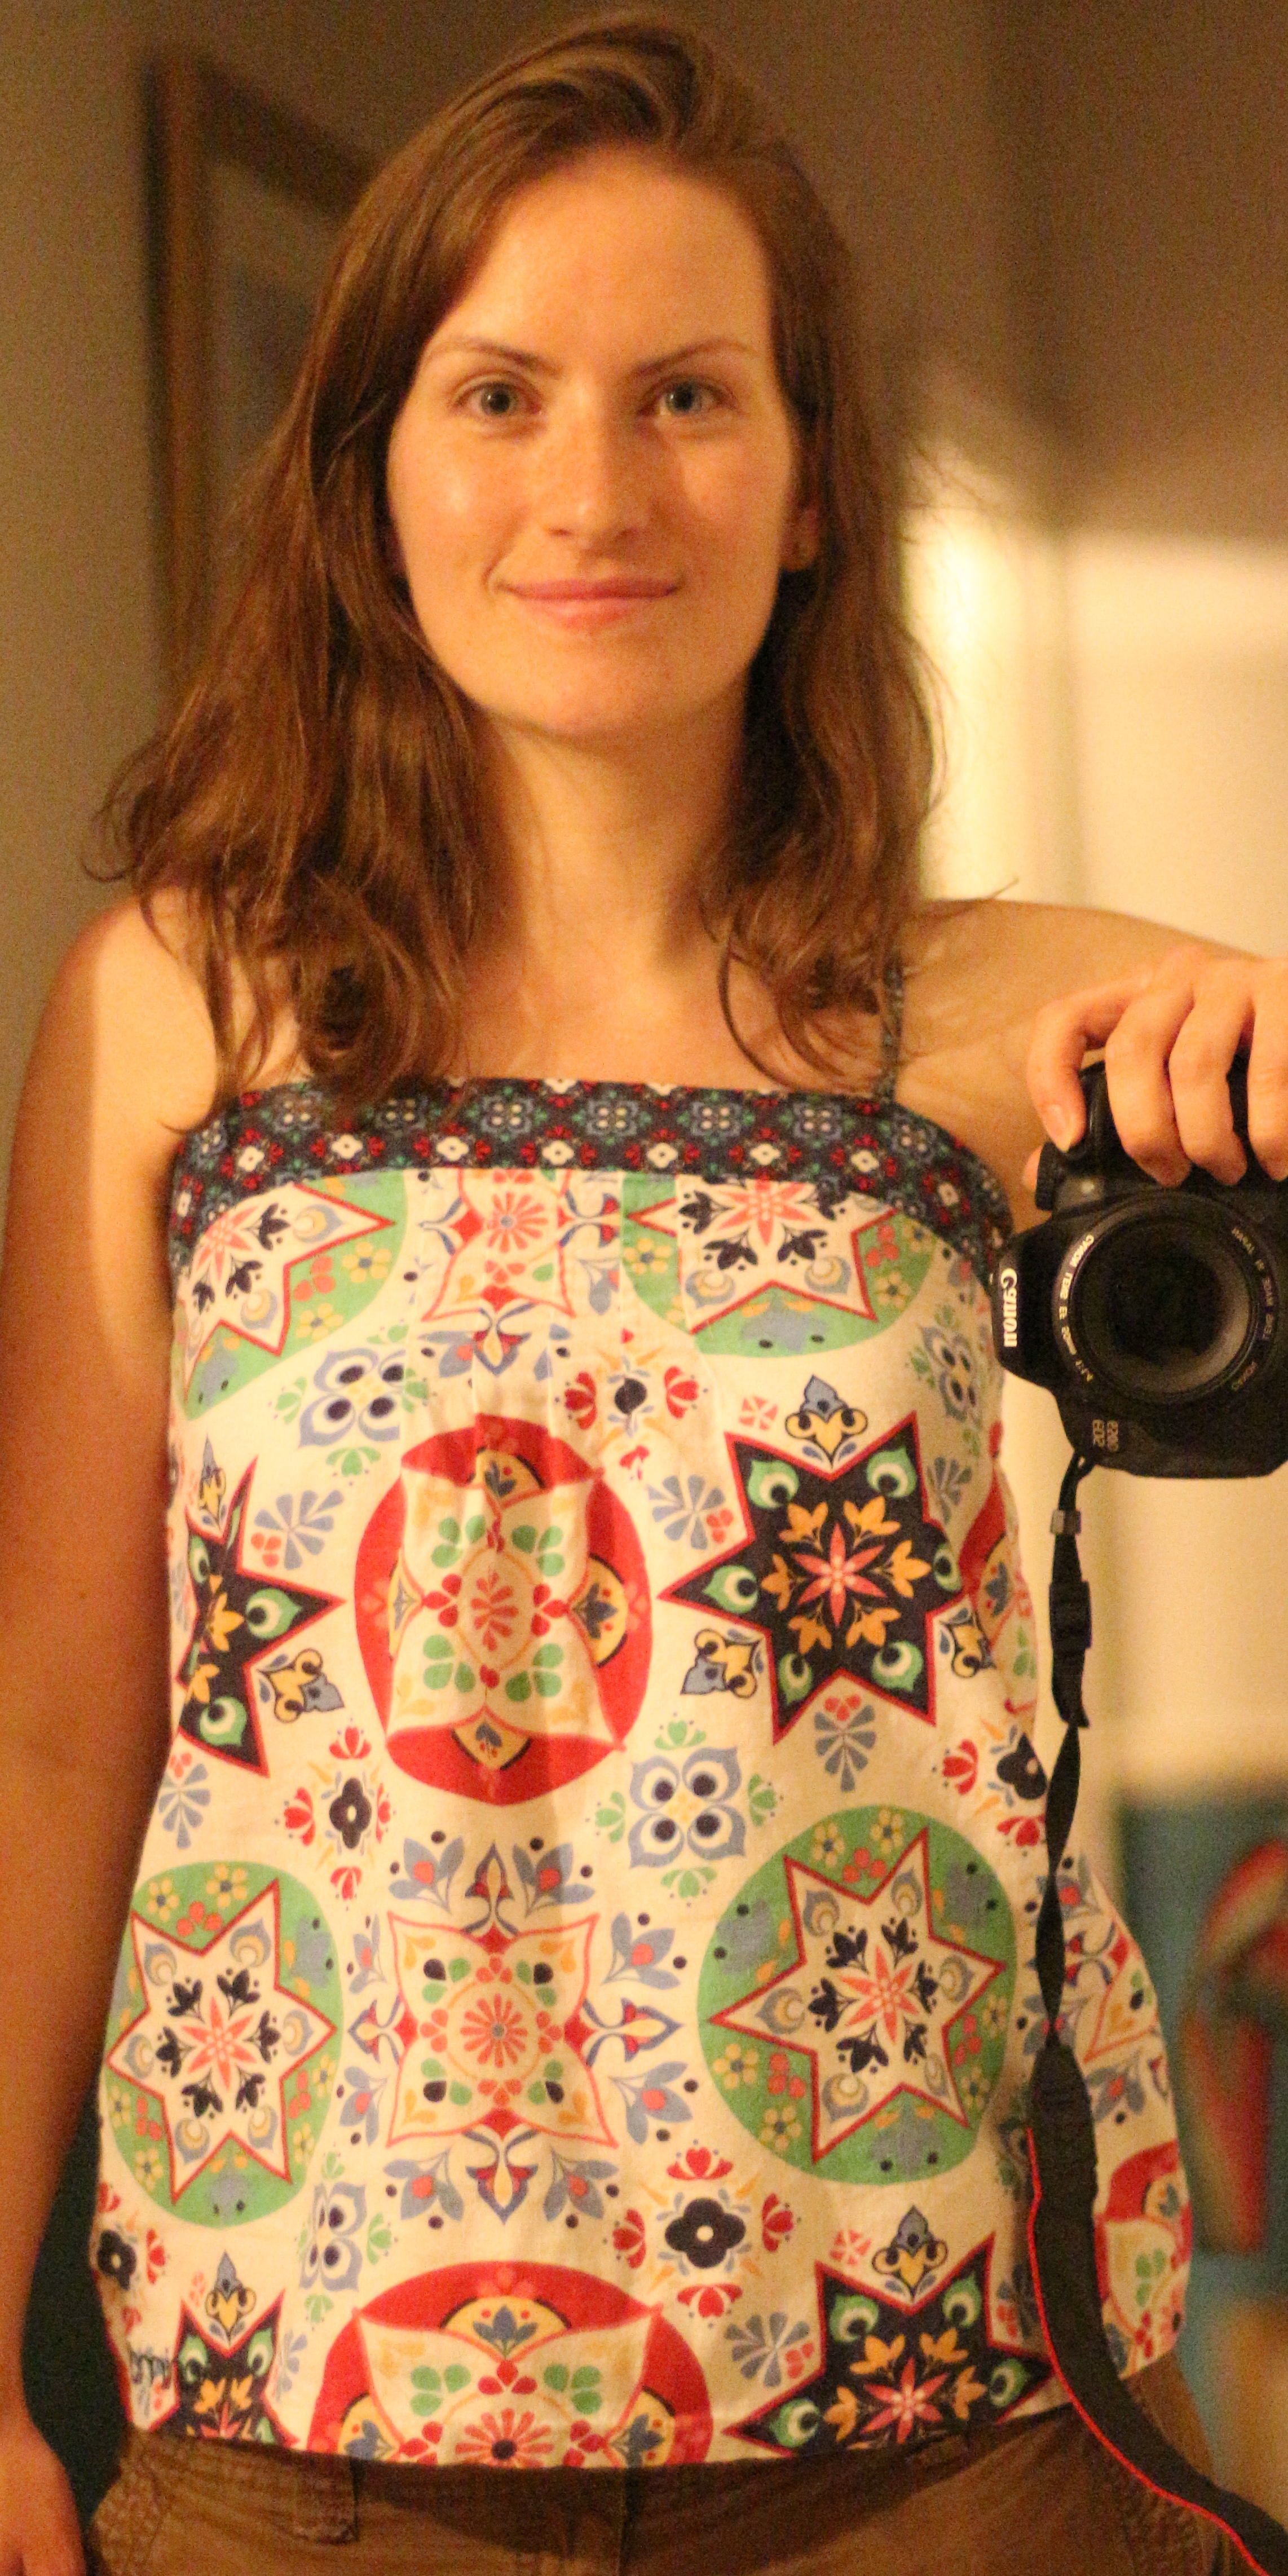
It’s an Animal top from a few years ago, and I decided to try to make another, using the original as a template.
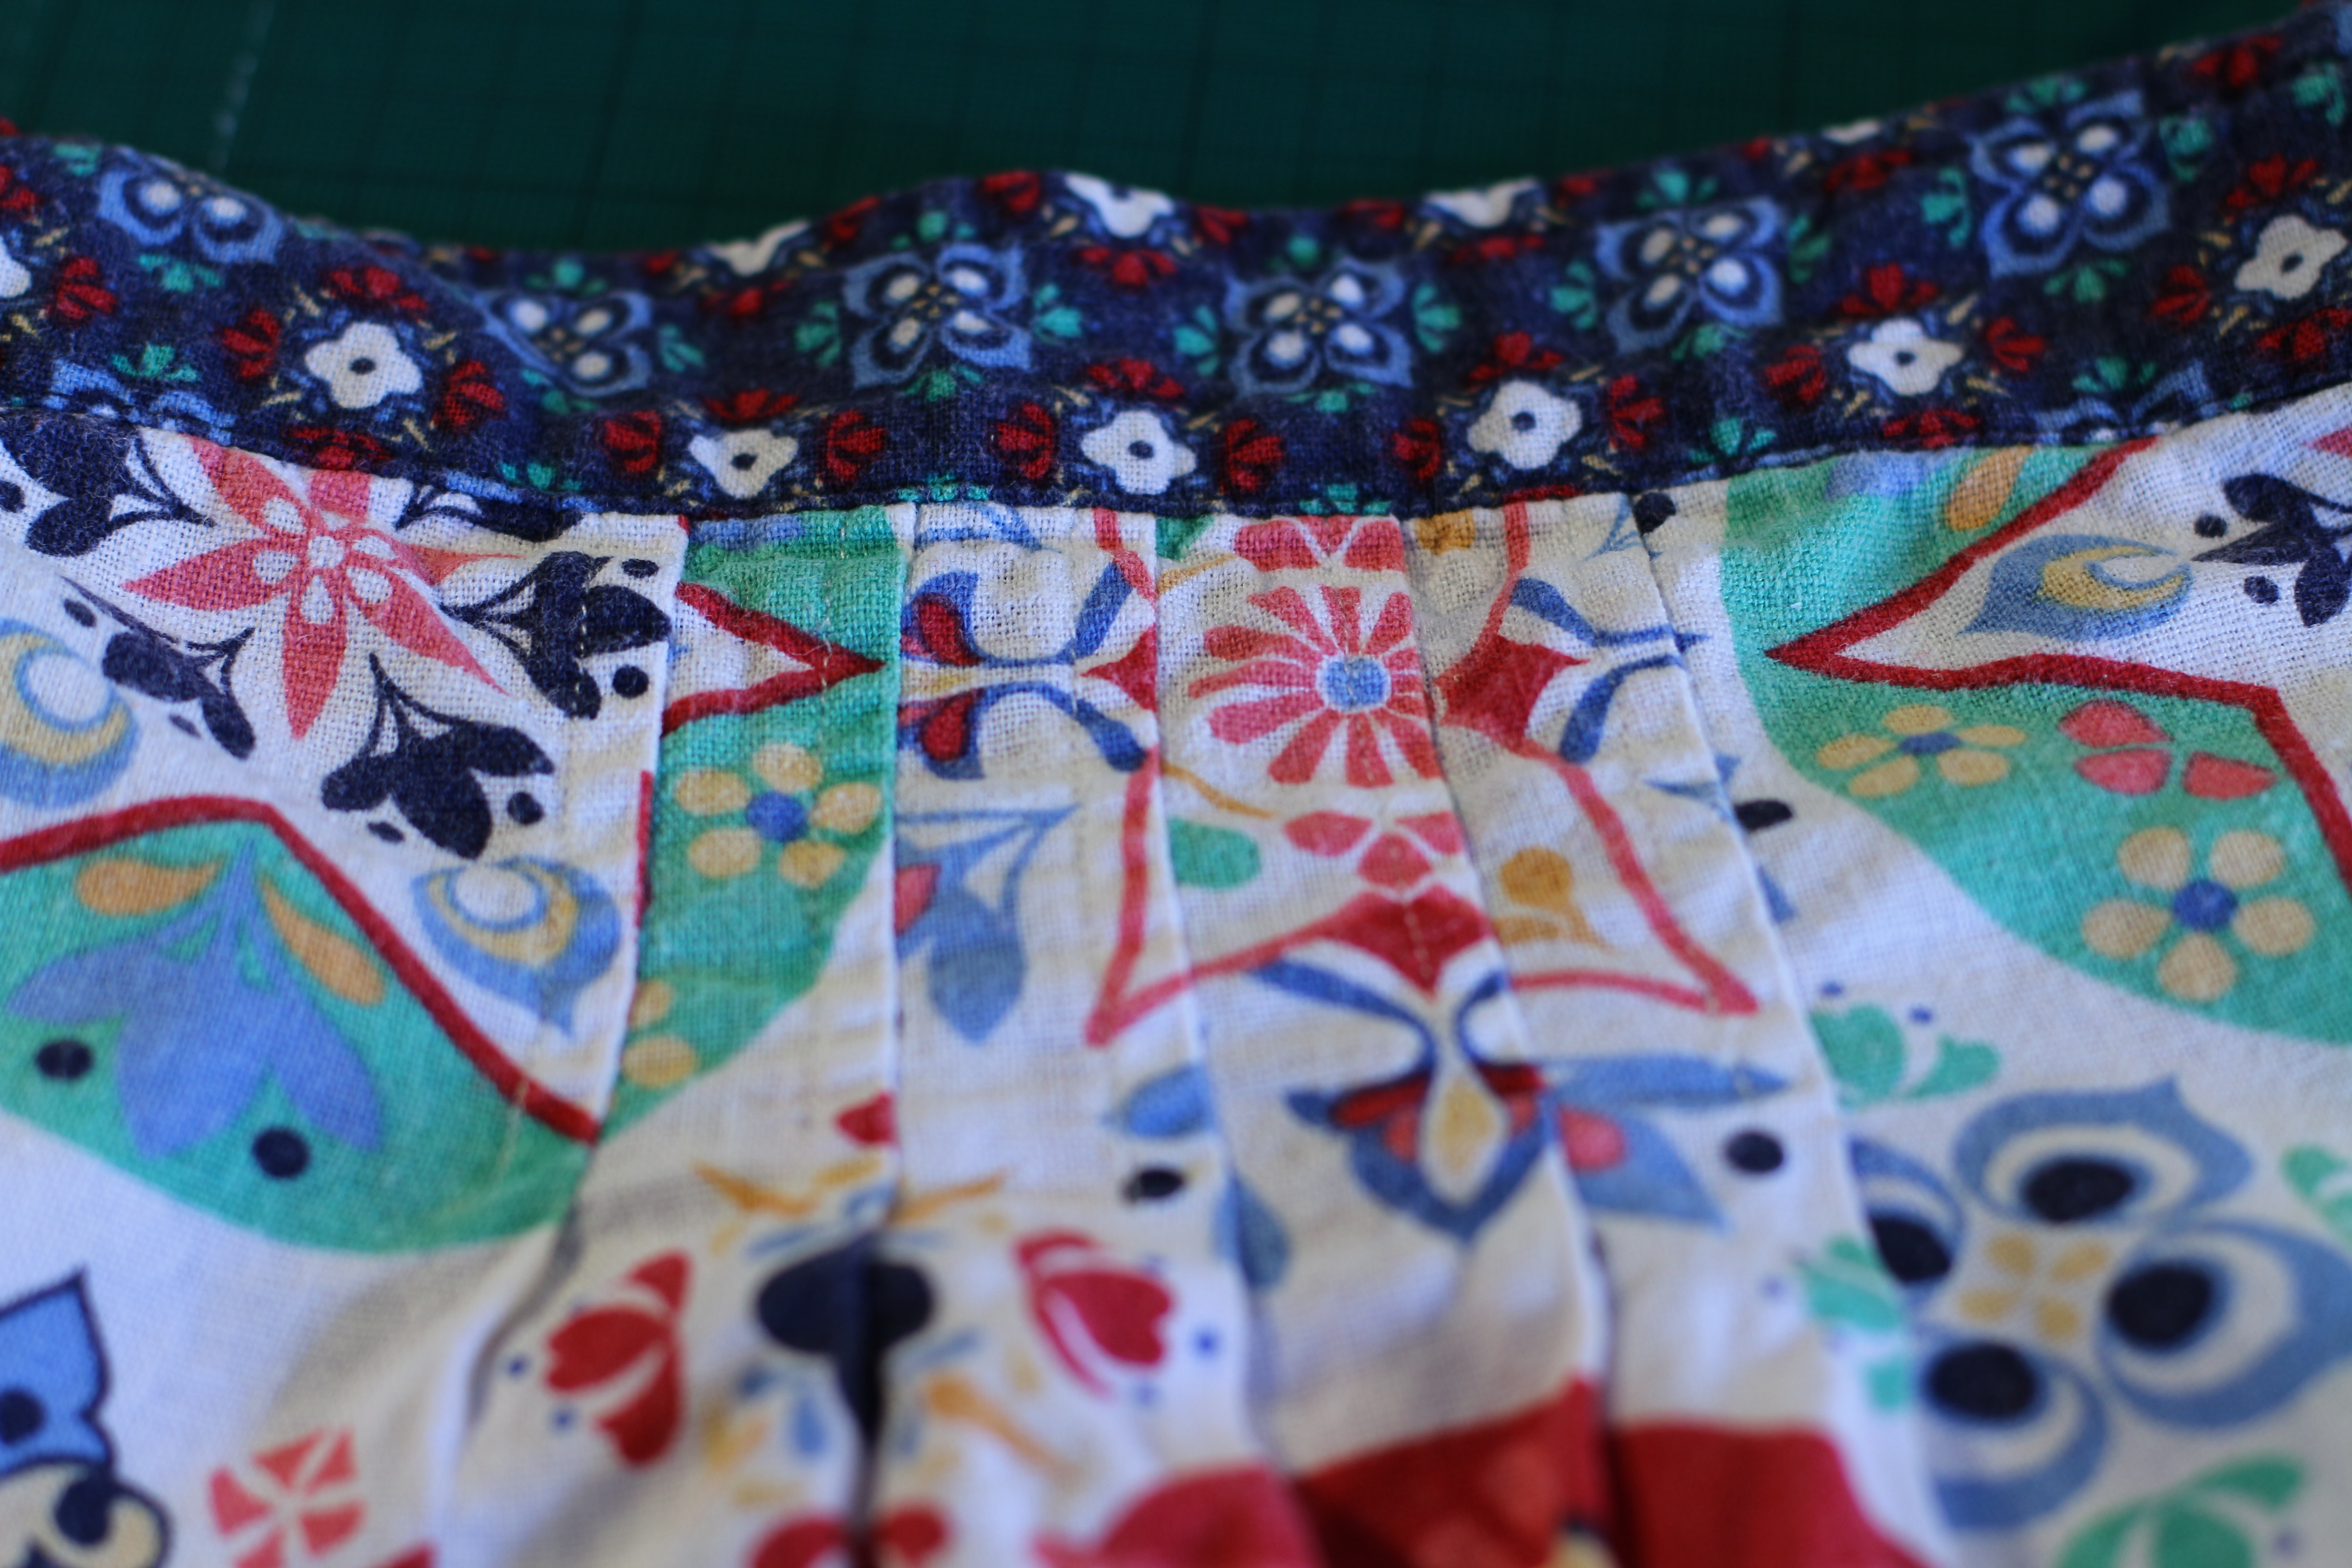
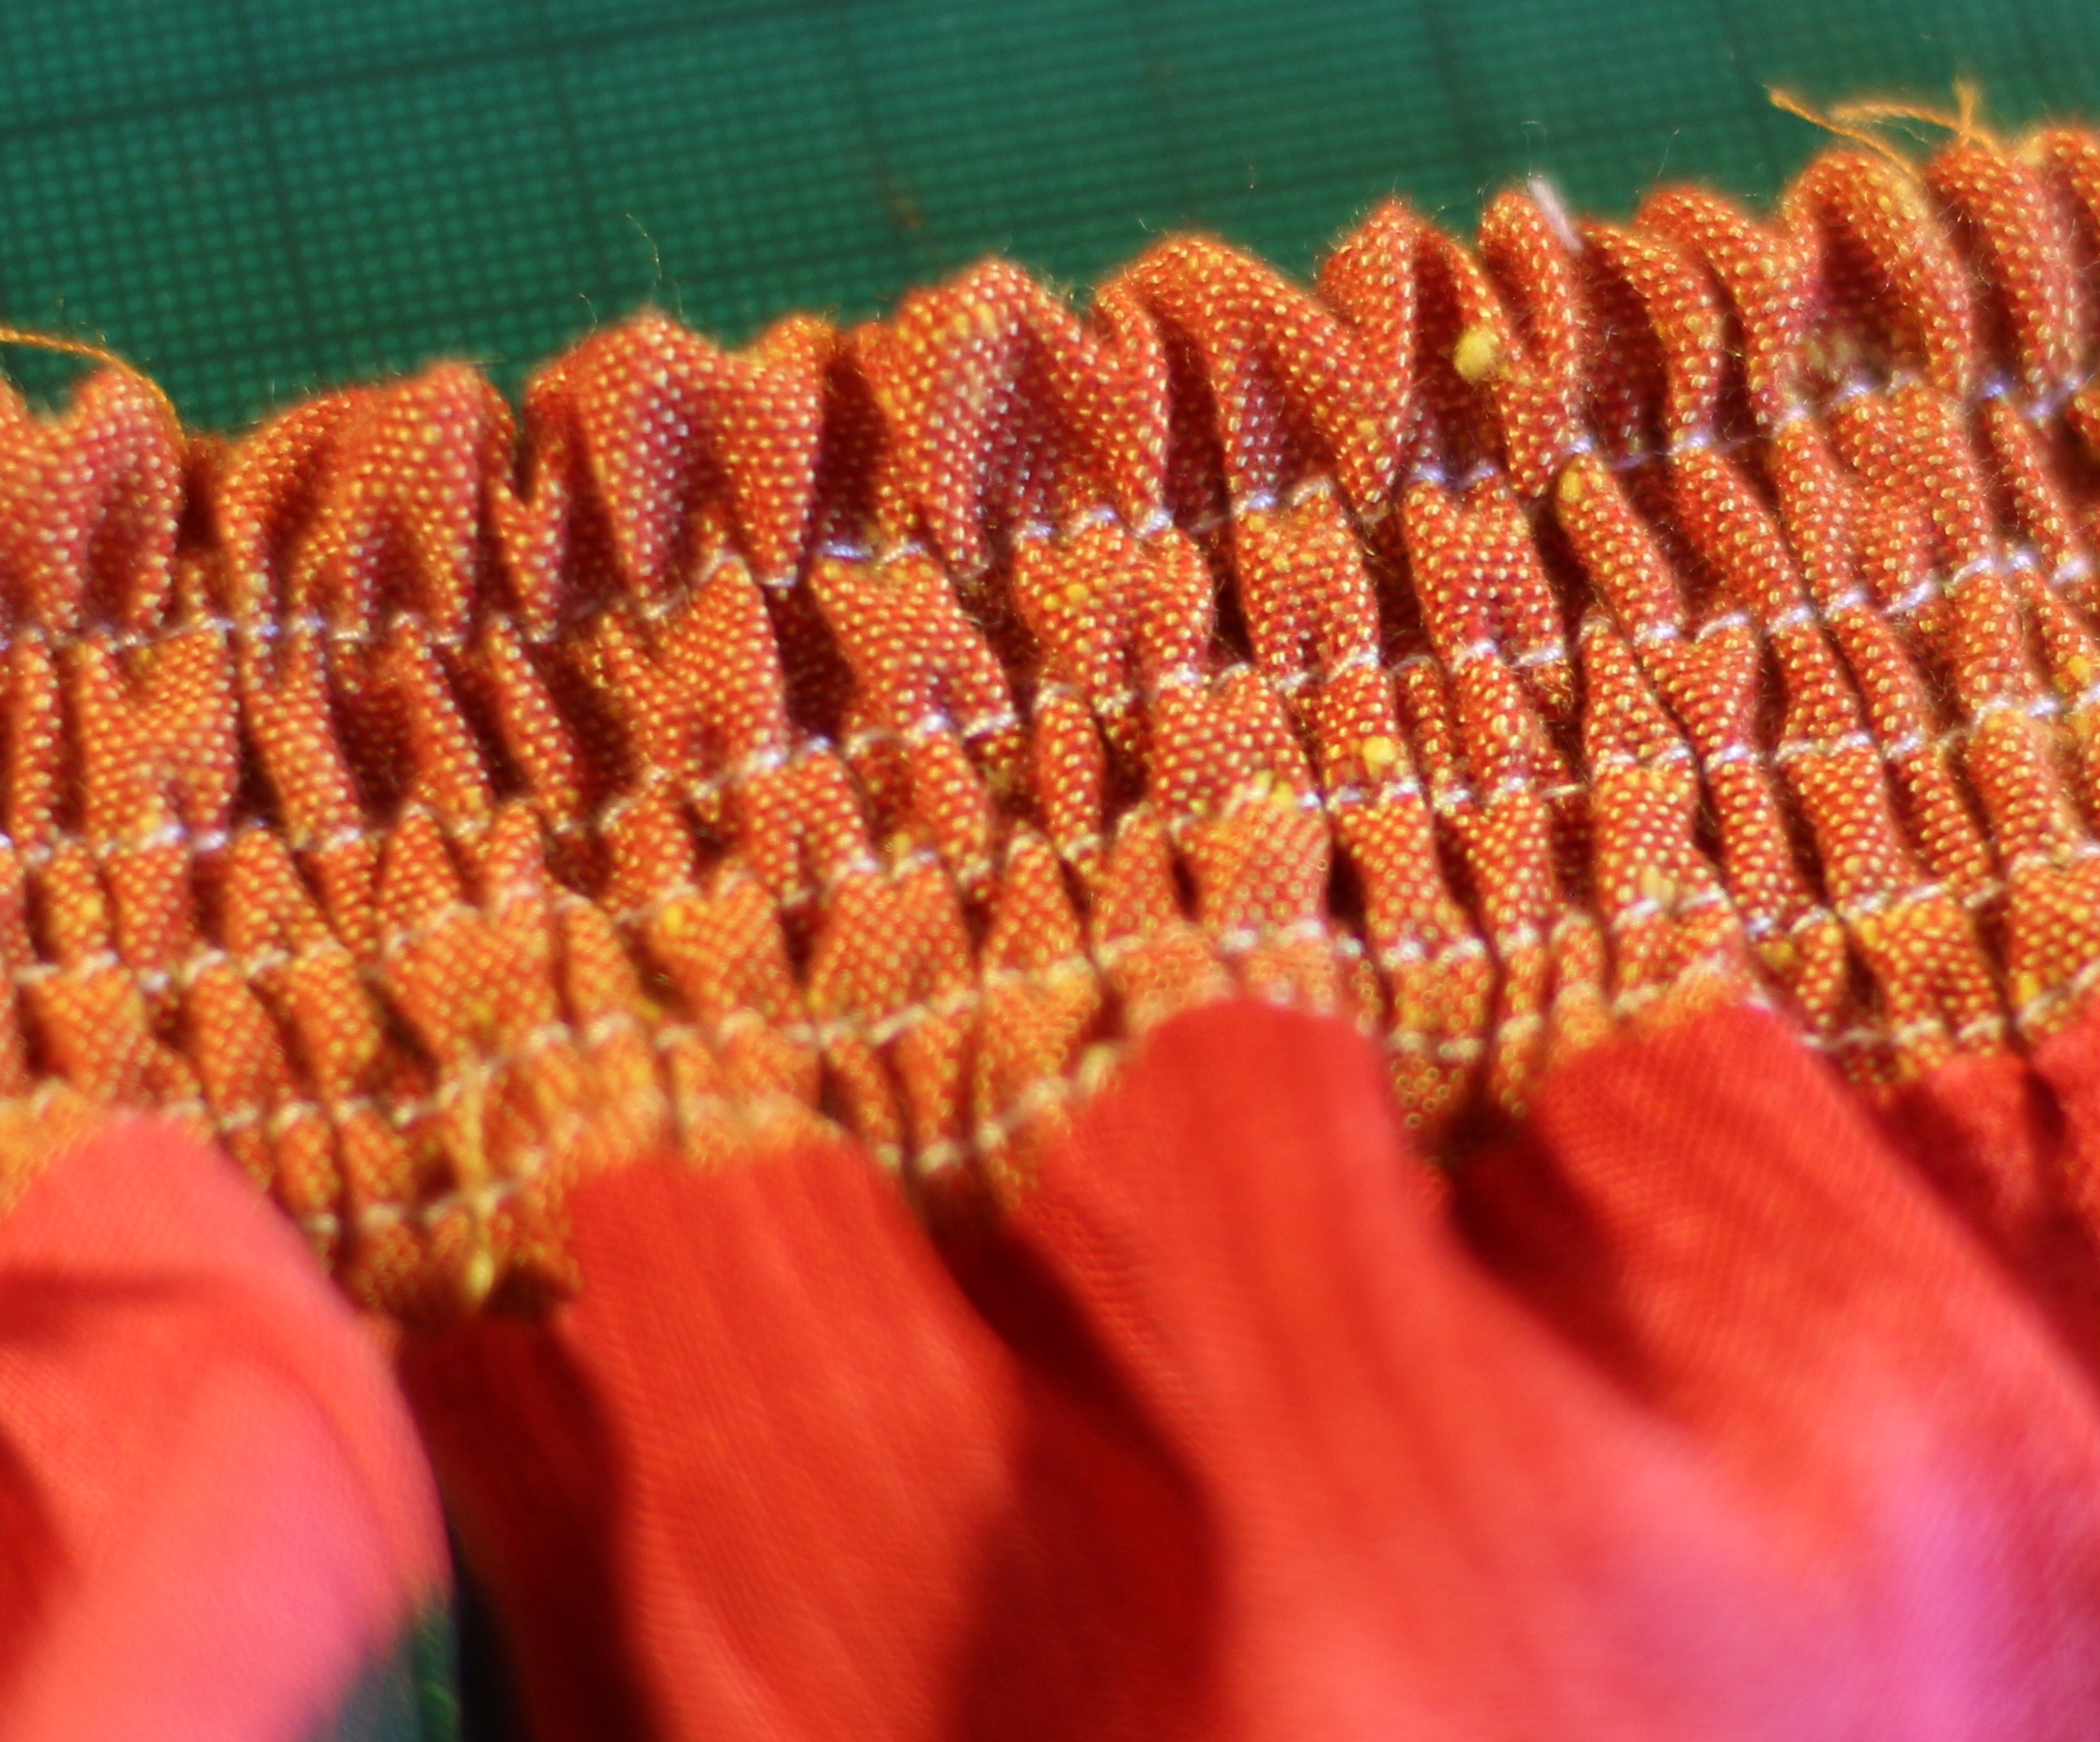
The back top piece has lines of shirring to gather it up, with an extra piece of elastic along the top. It also has this little pleated detail on the front:
So, I took some measurements and translated them into a pattern, including the markings for the pleats:
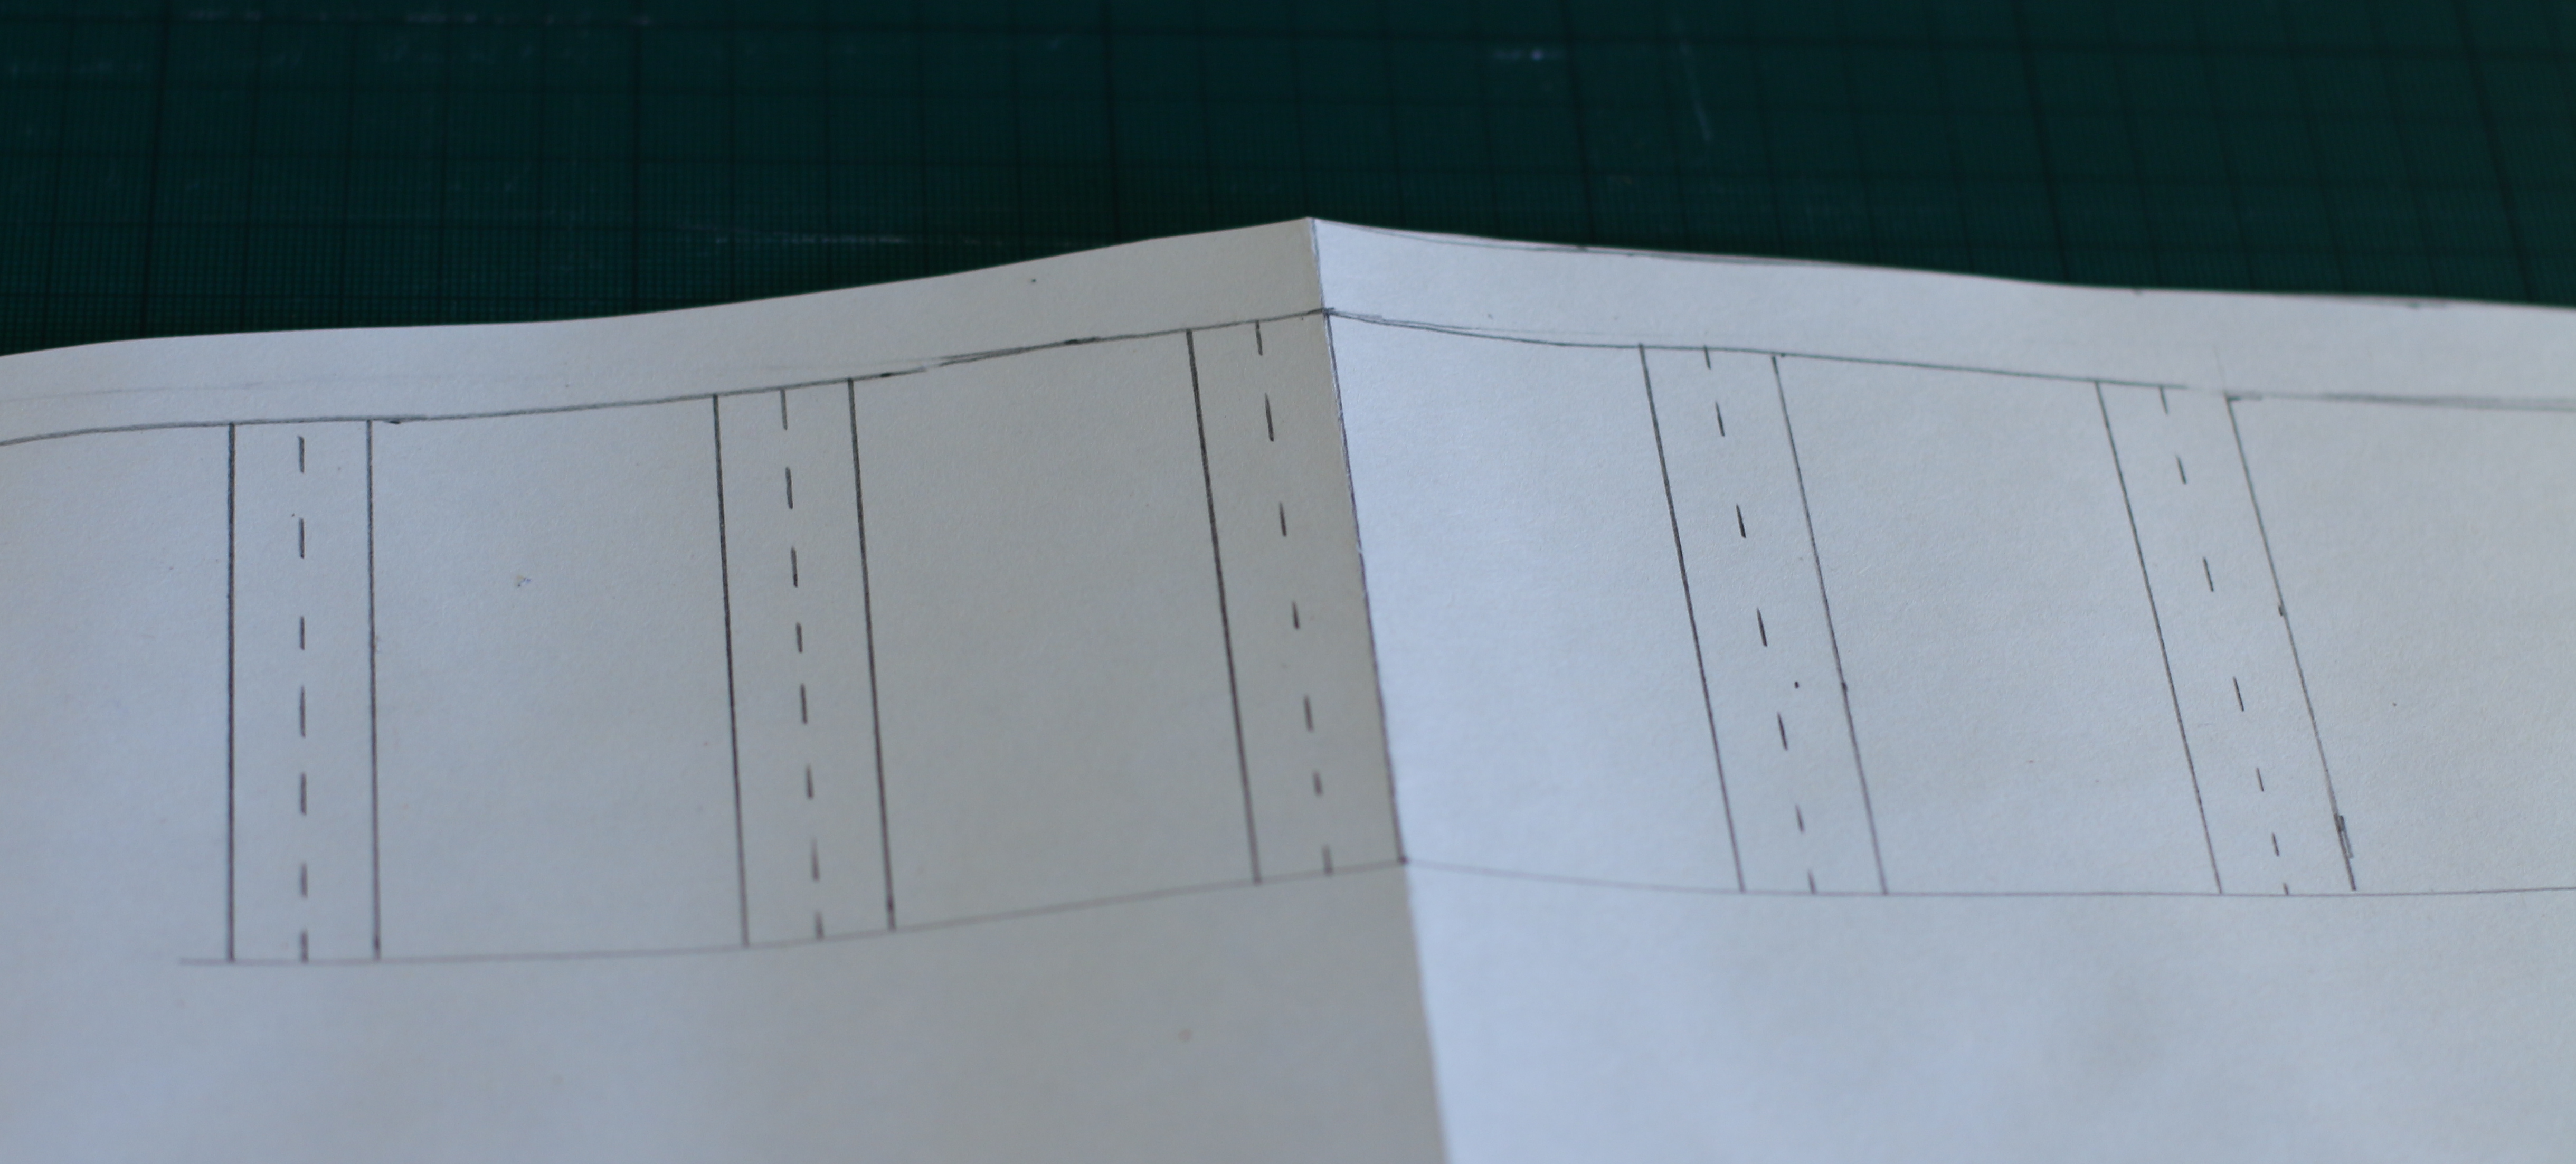
The templates consisted of:
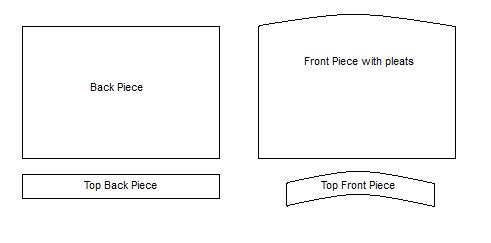
The original is a UK size 8, fitted around the bust, but quite loose around the waist. The dimensions of each piece are:
Back Piece: 52 by 37.5cm
Front Piece: 52 by 41/37.5cm (41 at the middle)
Top Back Piece: 52 by 3.5cm (cut on the fold along the top, so really more like 7cm)
Top Front Piece: 44 by 3.5cm, following the curve of the front after pleating.
I used dressmakers carbon to transfer the pleating detail to my fabric:
I pressed them into place, the dashed lines representing the inner fold, then pinned and stitched them:
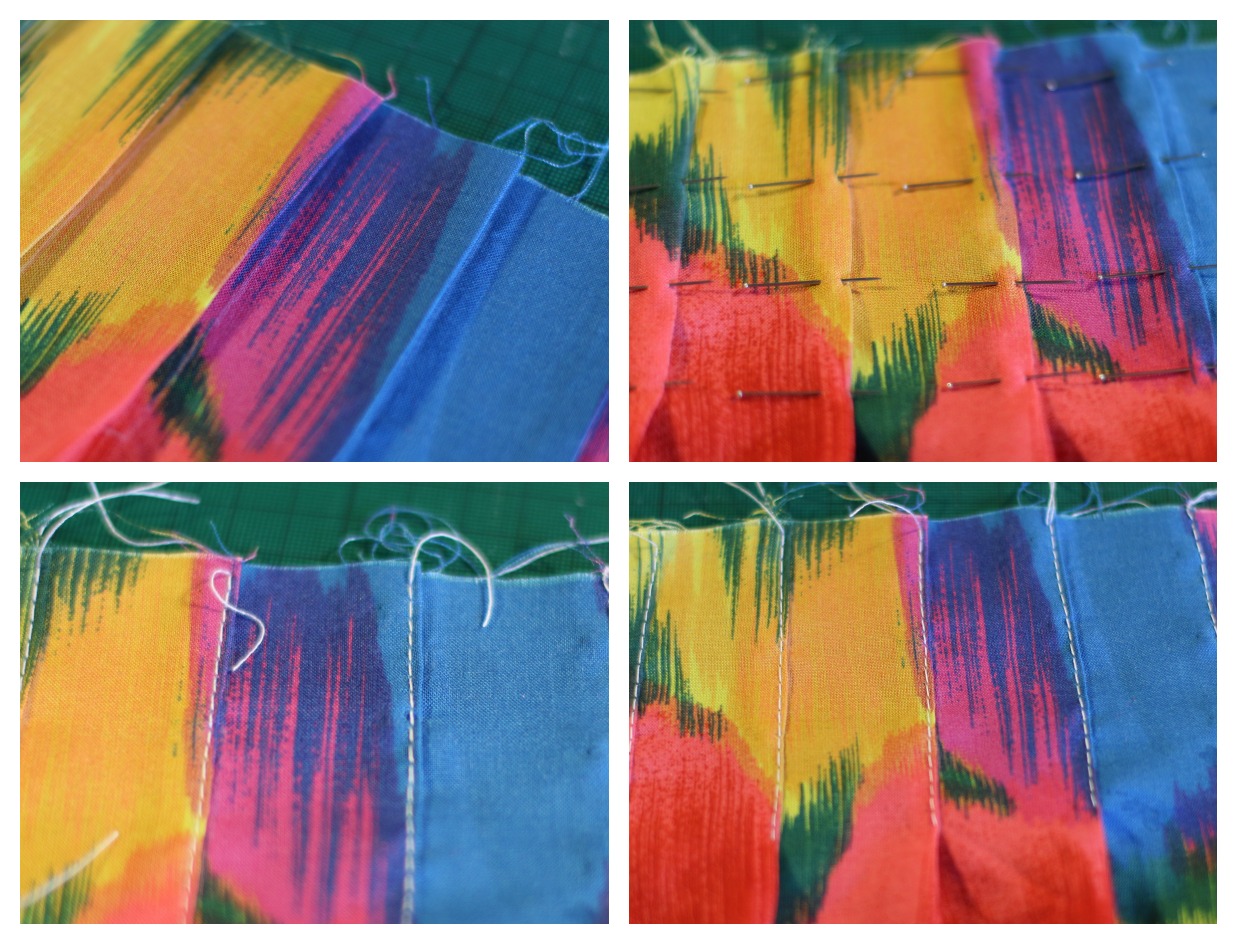
The pleats are sewn, the topstitching thread pulled through, then knotted in the back to the bobbin thread, so that there is a clean end on the front. I then sewed the top front pieces together along the top curved edge, right sides together, then sewed one of the pieces to the main front piece along the bottom curve to top curve of the main piece. You then have one piece that is not sewn at the bottom, which forms the facing. Press under your seam allowance on this piece, and the seam of the main piece upwards into the facing.
The back piece is assembled by folding the top piece over, wrong sides together, sewing this to the back piece, right sides together. then feeding some 1/4 inch elastic through the channel, and stitching lines of shirring beneath this:
The whole thing is then assembled by sewing the back to the front at the side seams, looping the front facing over the top of the back piece, so that the edges are enclosed.
The straps I made by cutting a 1inch strip of material, using my bias binding tool to form fold on the edges, then pressing those edges together to form narrow strips. These are then sewn on to the top, and overstitching done along the top and bottom of the front top piece, securing the facing.
Confused? Don’t worry, I plan on making another at some point, then will do a better job at taking progress pictures! This time around I was too busy figuring it out (and sewing things the wrong way round….) to remember. Ooops.
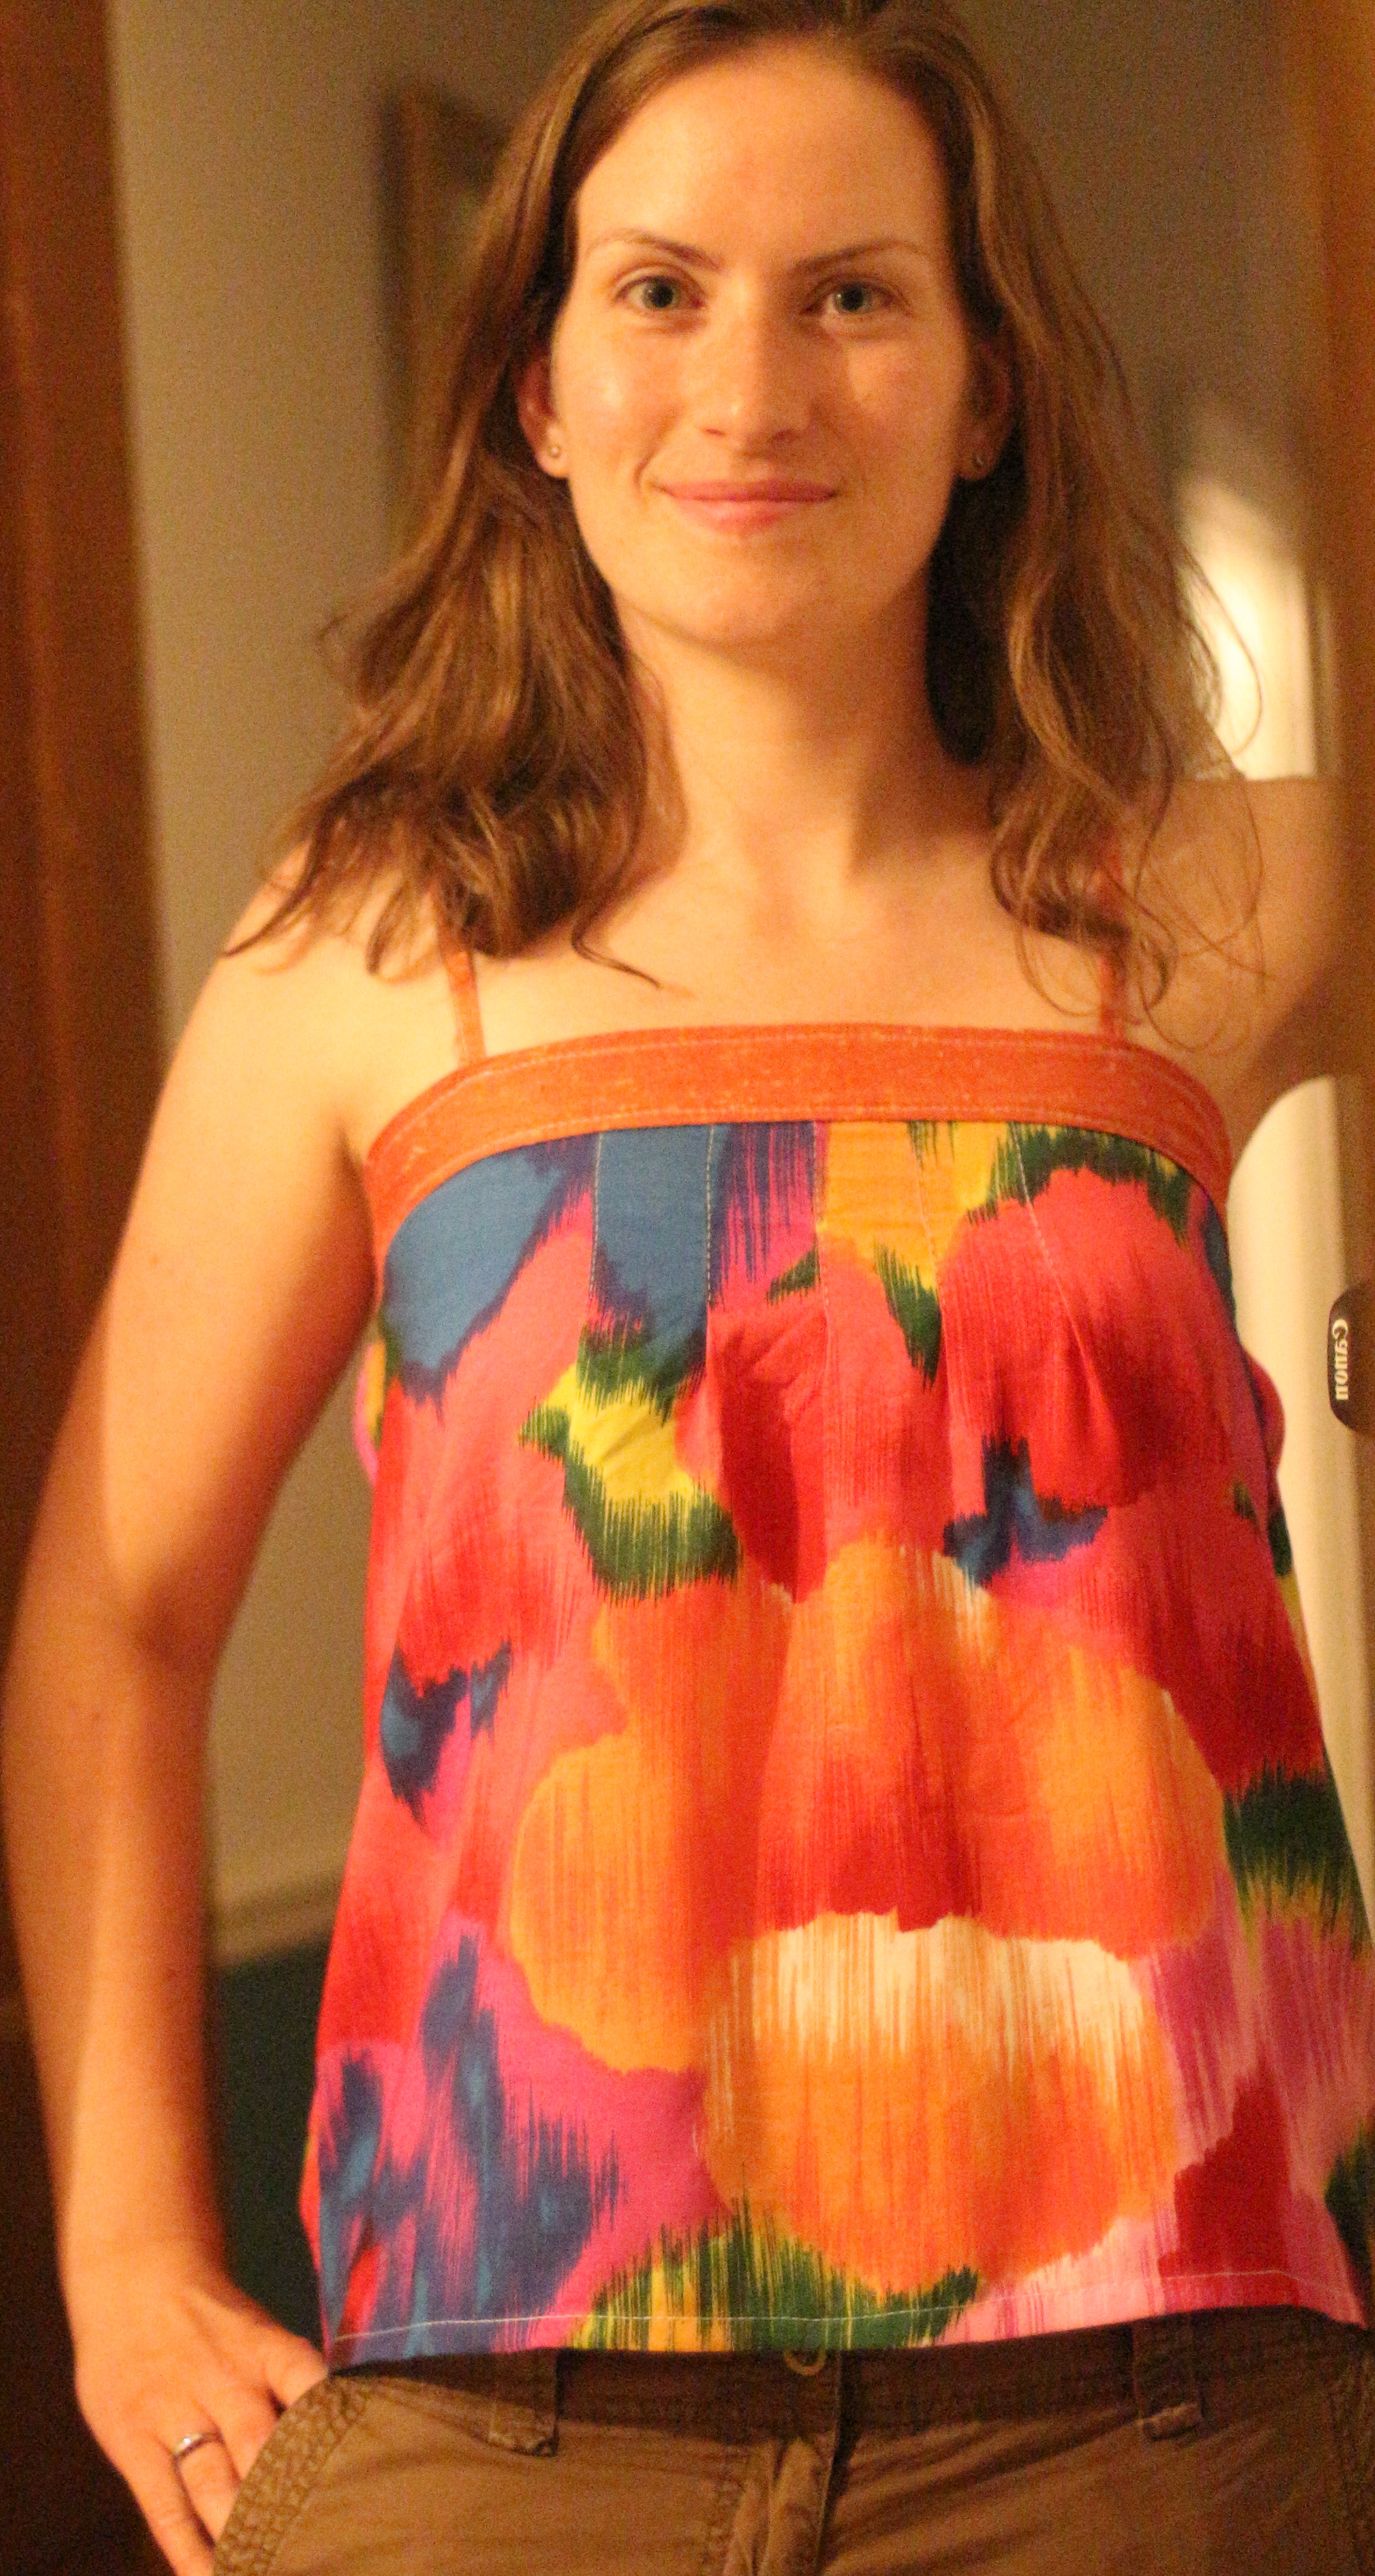
I think it came out pretty darn similar to the original though!
 .
.
Not bad I think, although I’m not sure on the colours together. The main patterned material is upcycled from an old skirt that I think was my Mum’s at some stage (note: I am kinda LOVING it), the orange is leftover from the material that I made the aprons from recently. Perhaps with white instead! Also I think it would work great as a more dressy top, perhaps with some silky/satin fabric.


Ooh that’s lovely!! ❤
Thanks love! I am just in the process of making another, and putting together a more proper tutorial!