This quick little project started when I saw some little laser cut wood shapes at Michaels, while I was in there for some DMC threads the other day….. and with a coupon, cost all of 50c! (plus tax) I know, I should have probably used the 50% off on something a little more exciting, but I literally bought some 39c threads, and this $1 wood shape!
They have a few different shapes, including some speech bubbles, which I was very tempted to buy too, but in the end I went for this Chandelier shape.
With regards to using it, I had thought to perhaps mount it on a fabric-covered embroidery hoop, but then found a random unused RIBBA frame in a drawer and decided to use that instead.
It wasn’t tricky.
It wasn’t complicated.
But here you go:
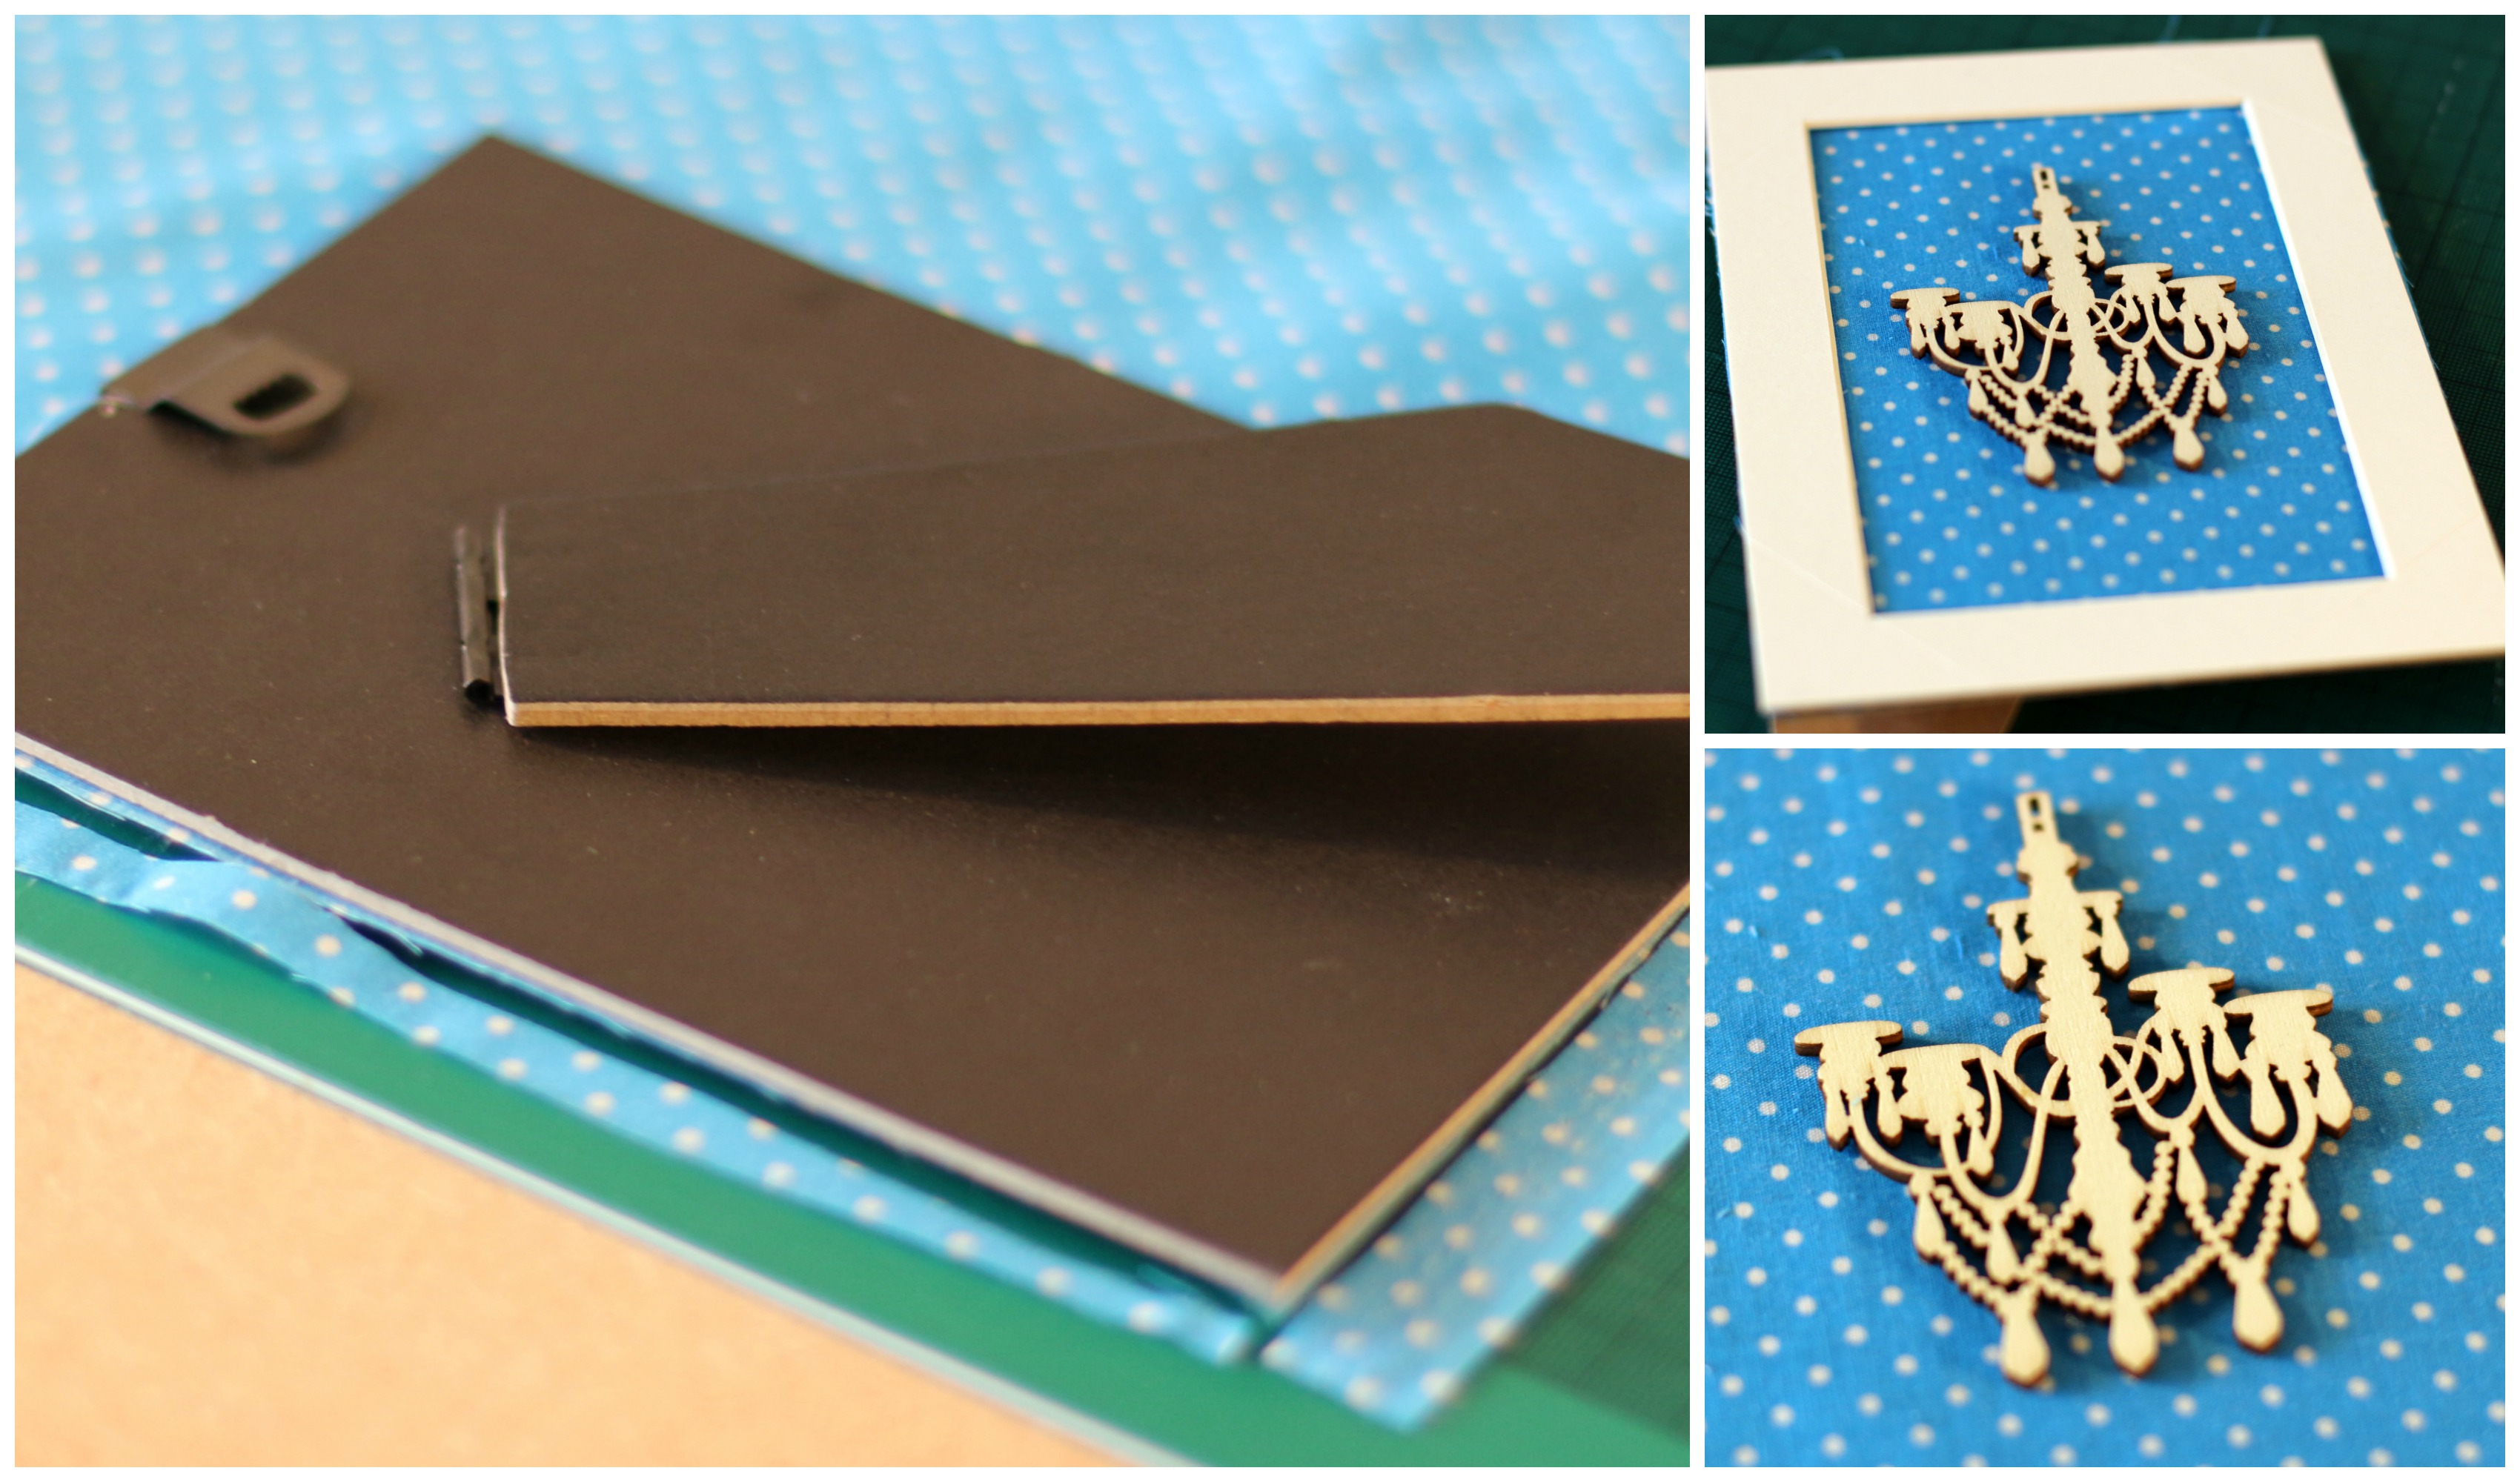
Use the backboard of the frame as a template to cut out some fabric (or paper) for the backing.
Glue to the backboard – I just used some pritt, it doesn’t have to be a strong hold, and this way I can always change it up later!
Centre the shape, I was using a frame with a white mount, so used this to help make sure it was in the middle.
Glue the shape on – I used my glue gun, again, it doesn’t have to be a super strong hold, the pressure from the glass front of the frame will help hold it in place, also again, I can change it up later if I want!
Reassemble the frame….
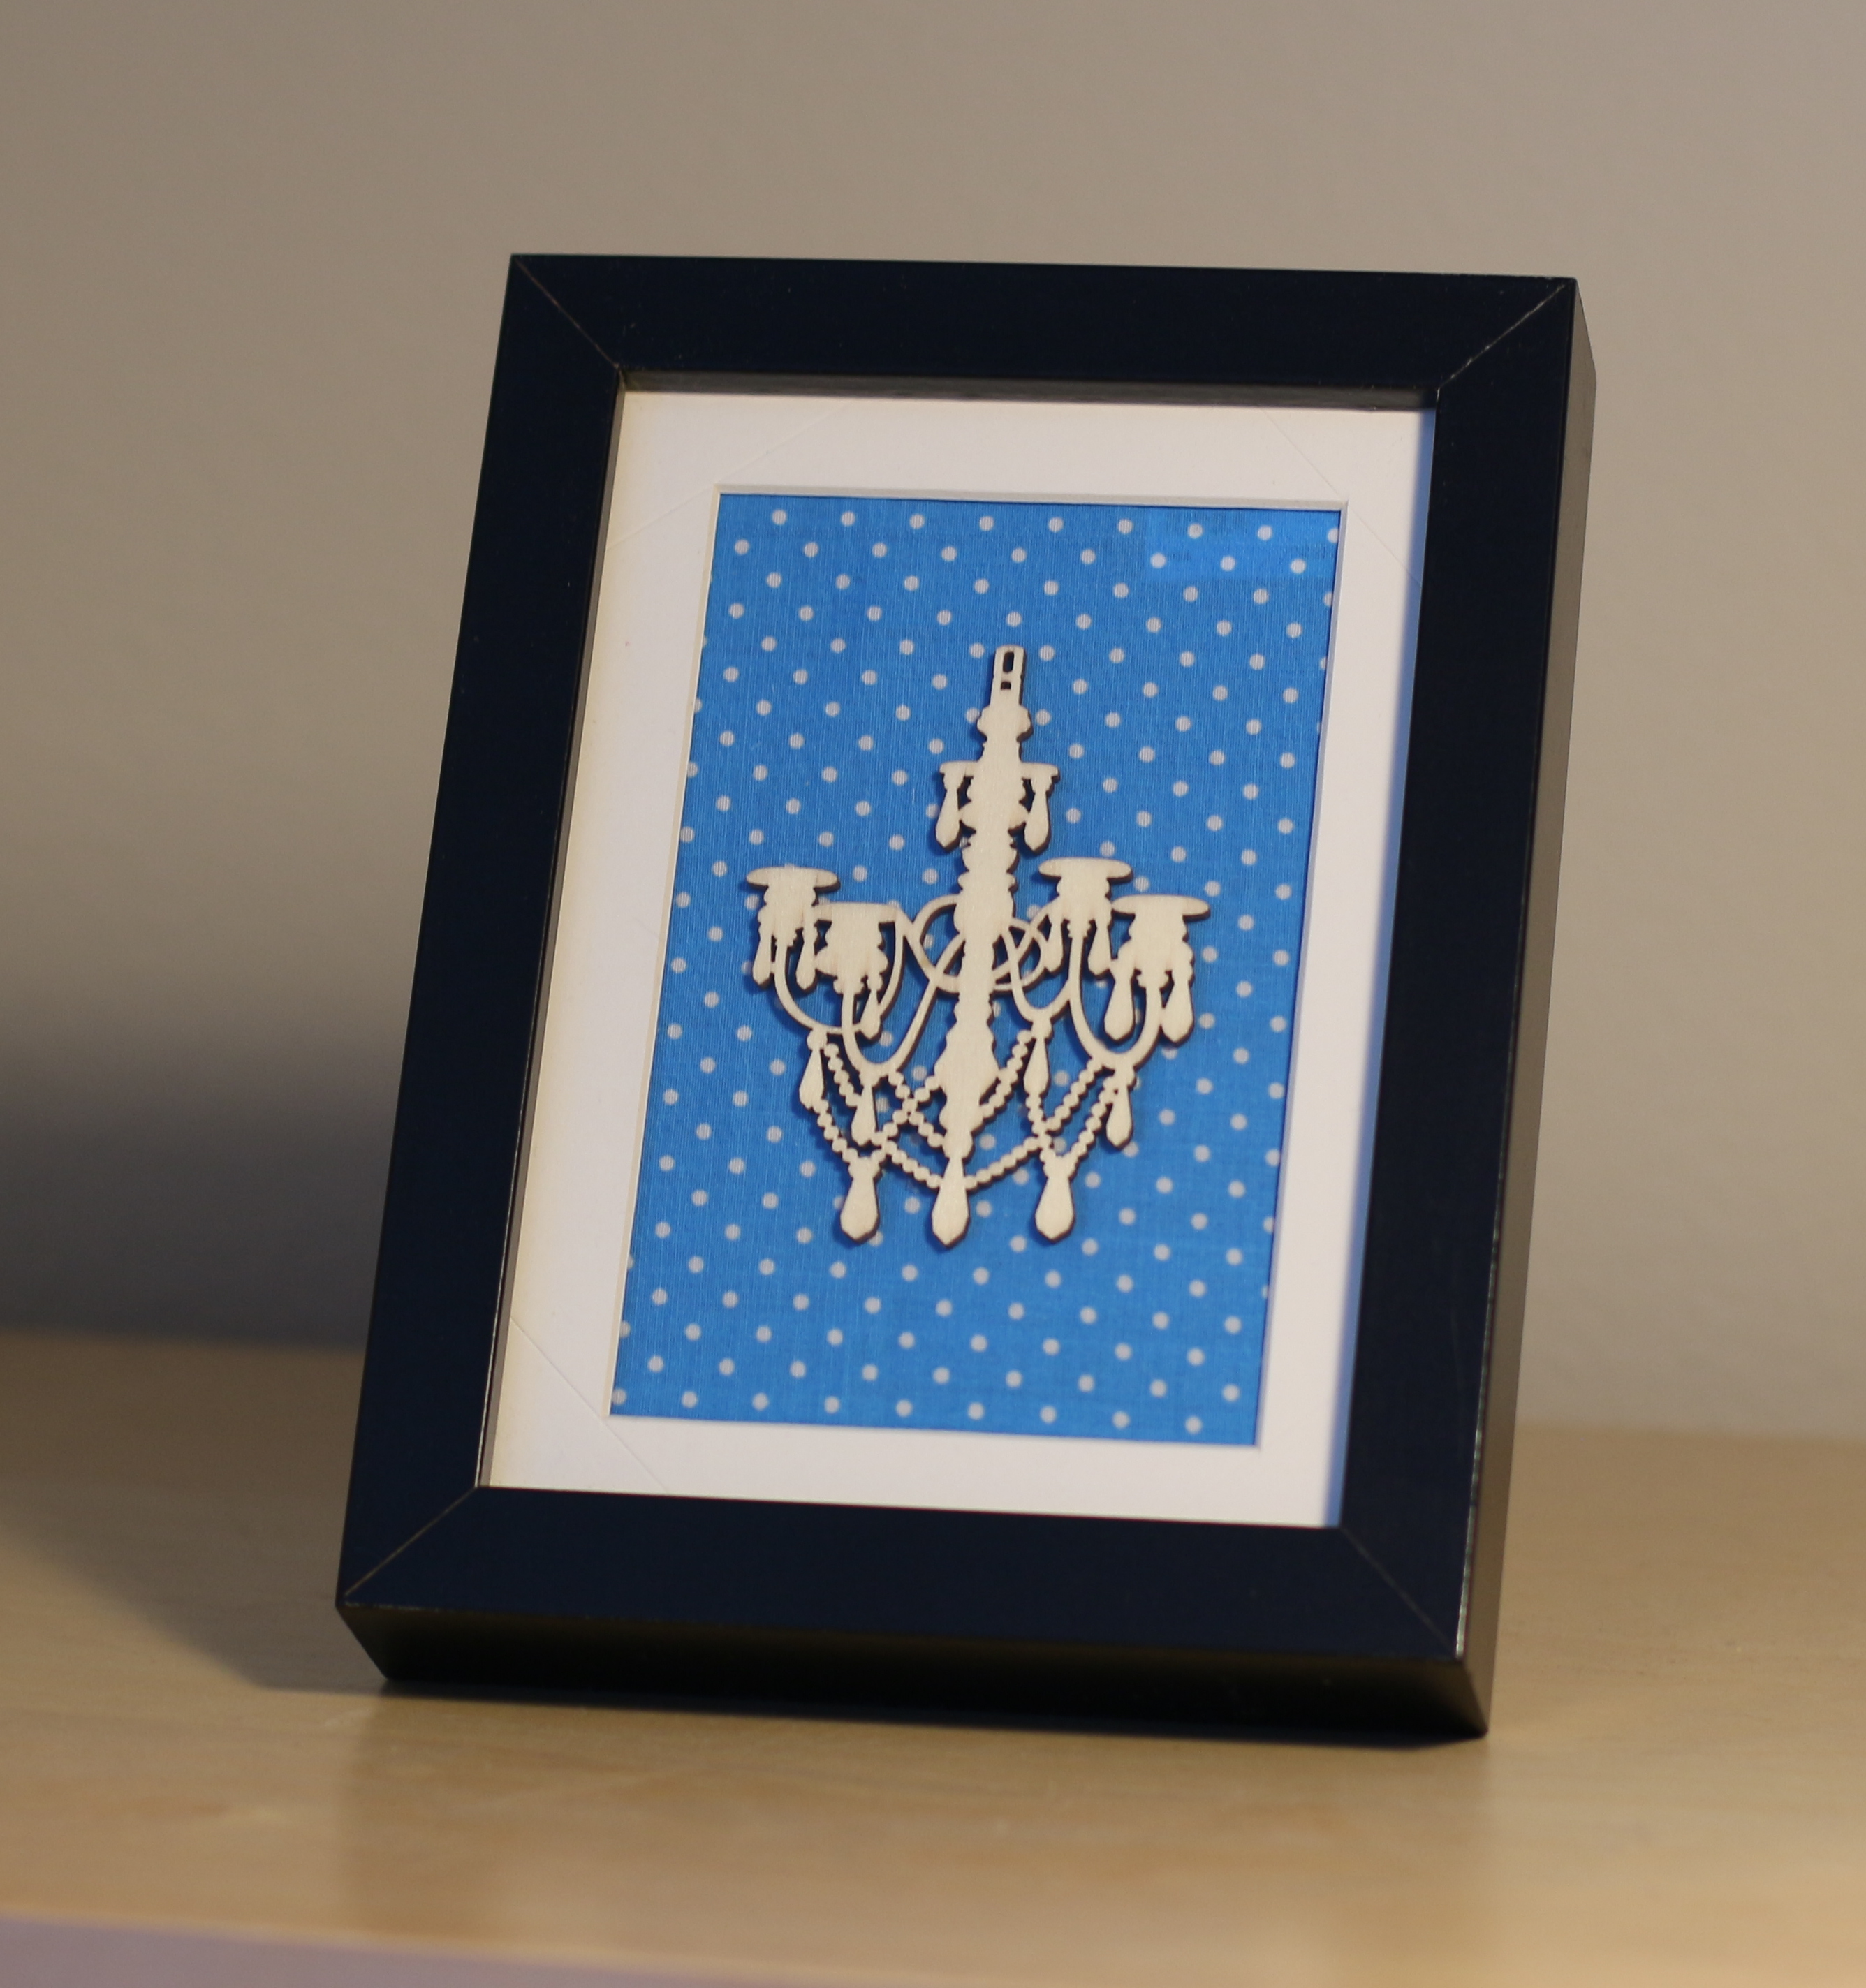
Ta dah!
Yep. Not particularly tricky!
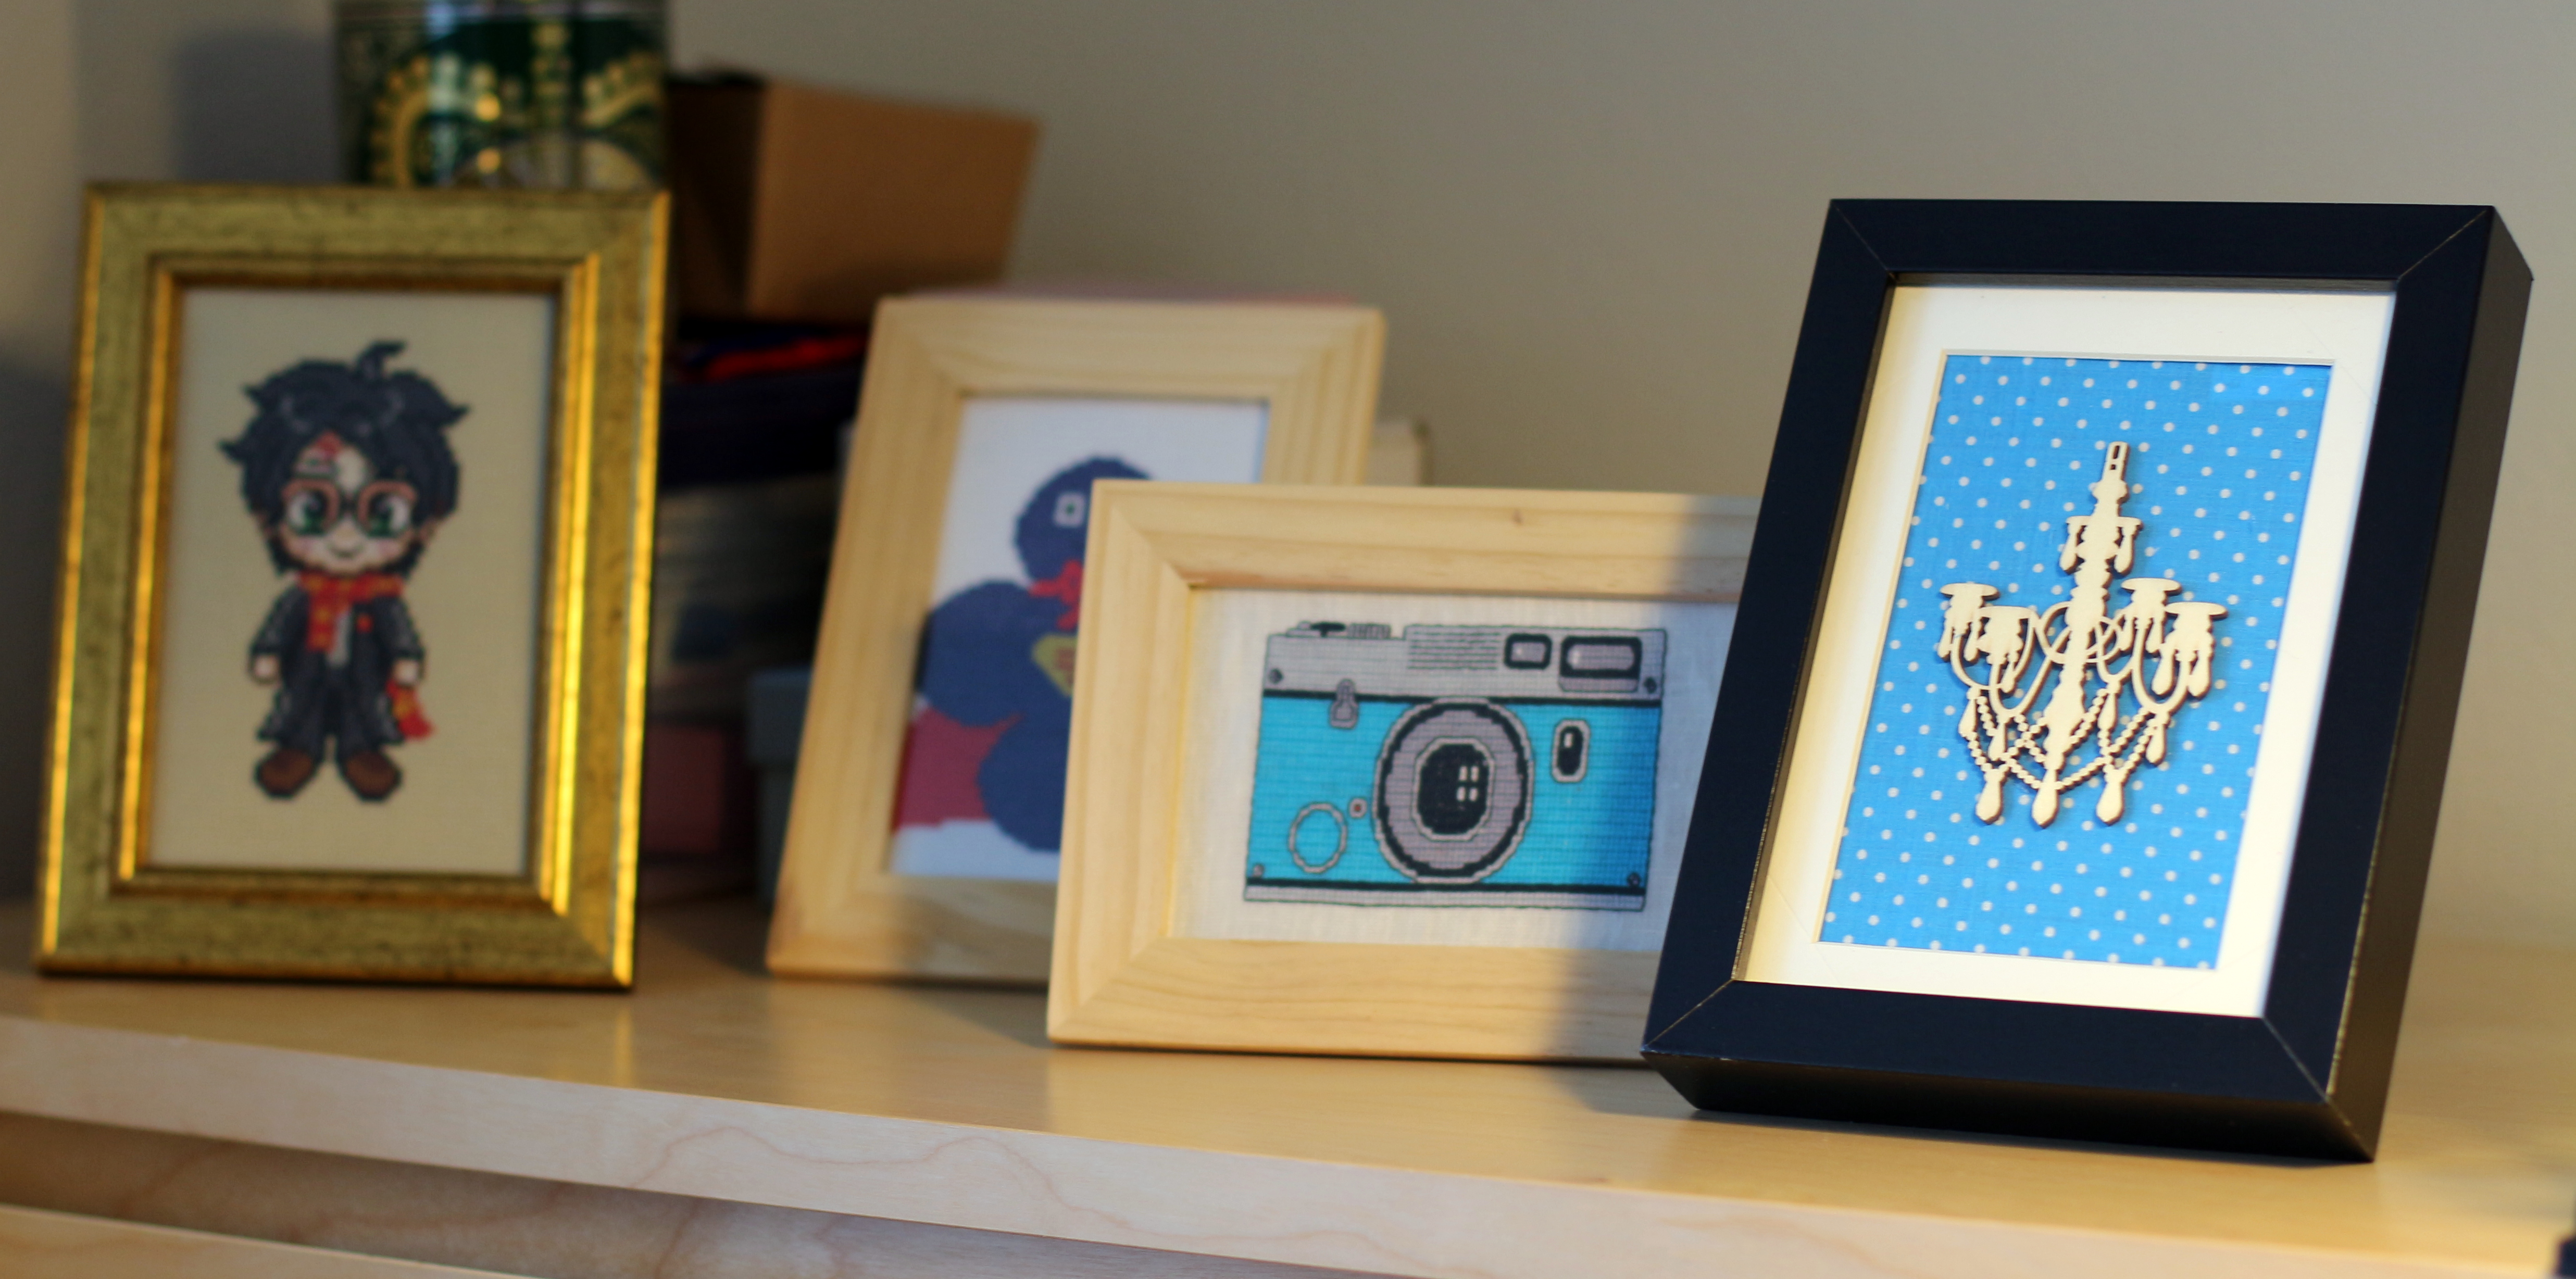
I think it looks cute though, I have put it with my other little projects, mainly of the cross stitched variety (from L to R, Harry Potter, MRSA, Camera), up on the drawers in my crafting room:
Procrastination over.
Now back to studying……….

