
Before we went on holiday in March, we had to get our spare room ready for guests, as a friend of mine from work was staying in our house to look after it and our cats while we were away. In preparation, mainly it involved transforming the room of shame into a more organised and pleasant environment, but we also bought a new guest bed with more storage so that there wasn’t piles of spare duvets and covers all over the place.

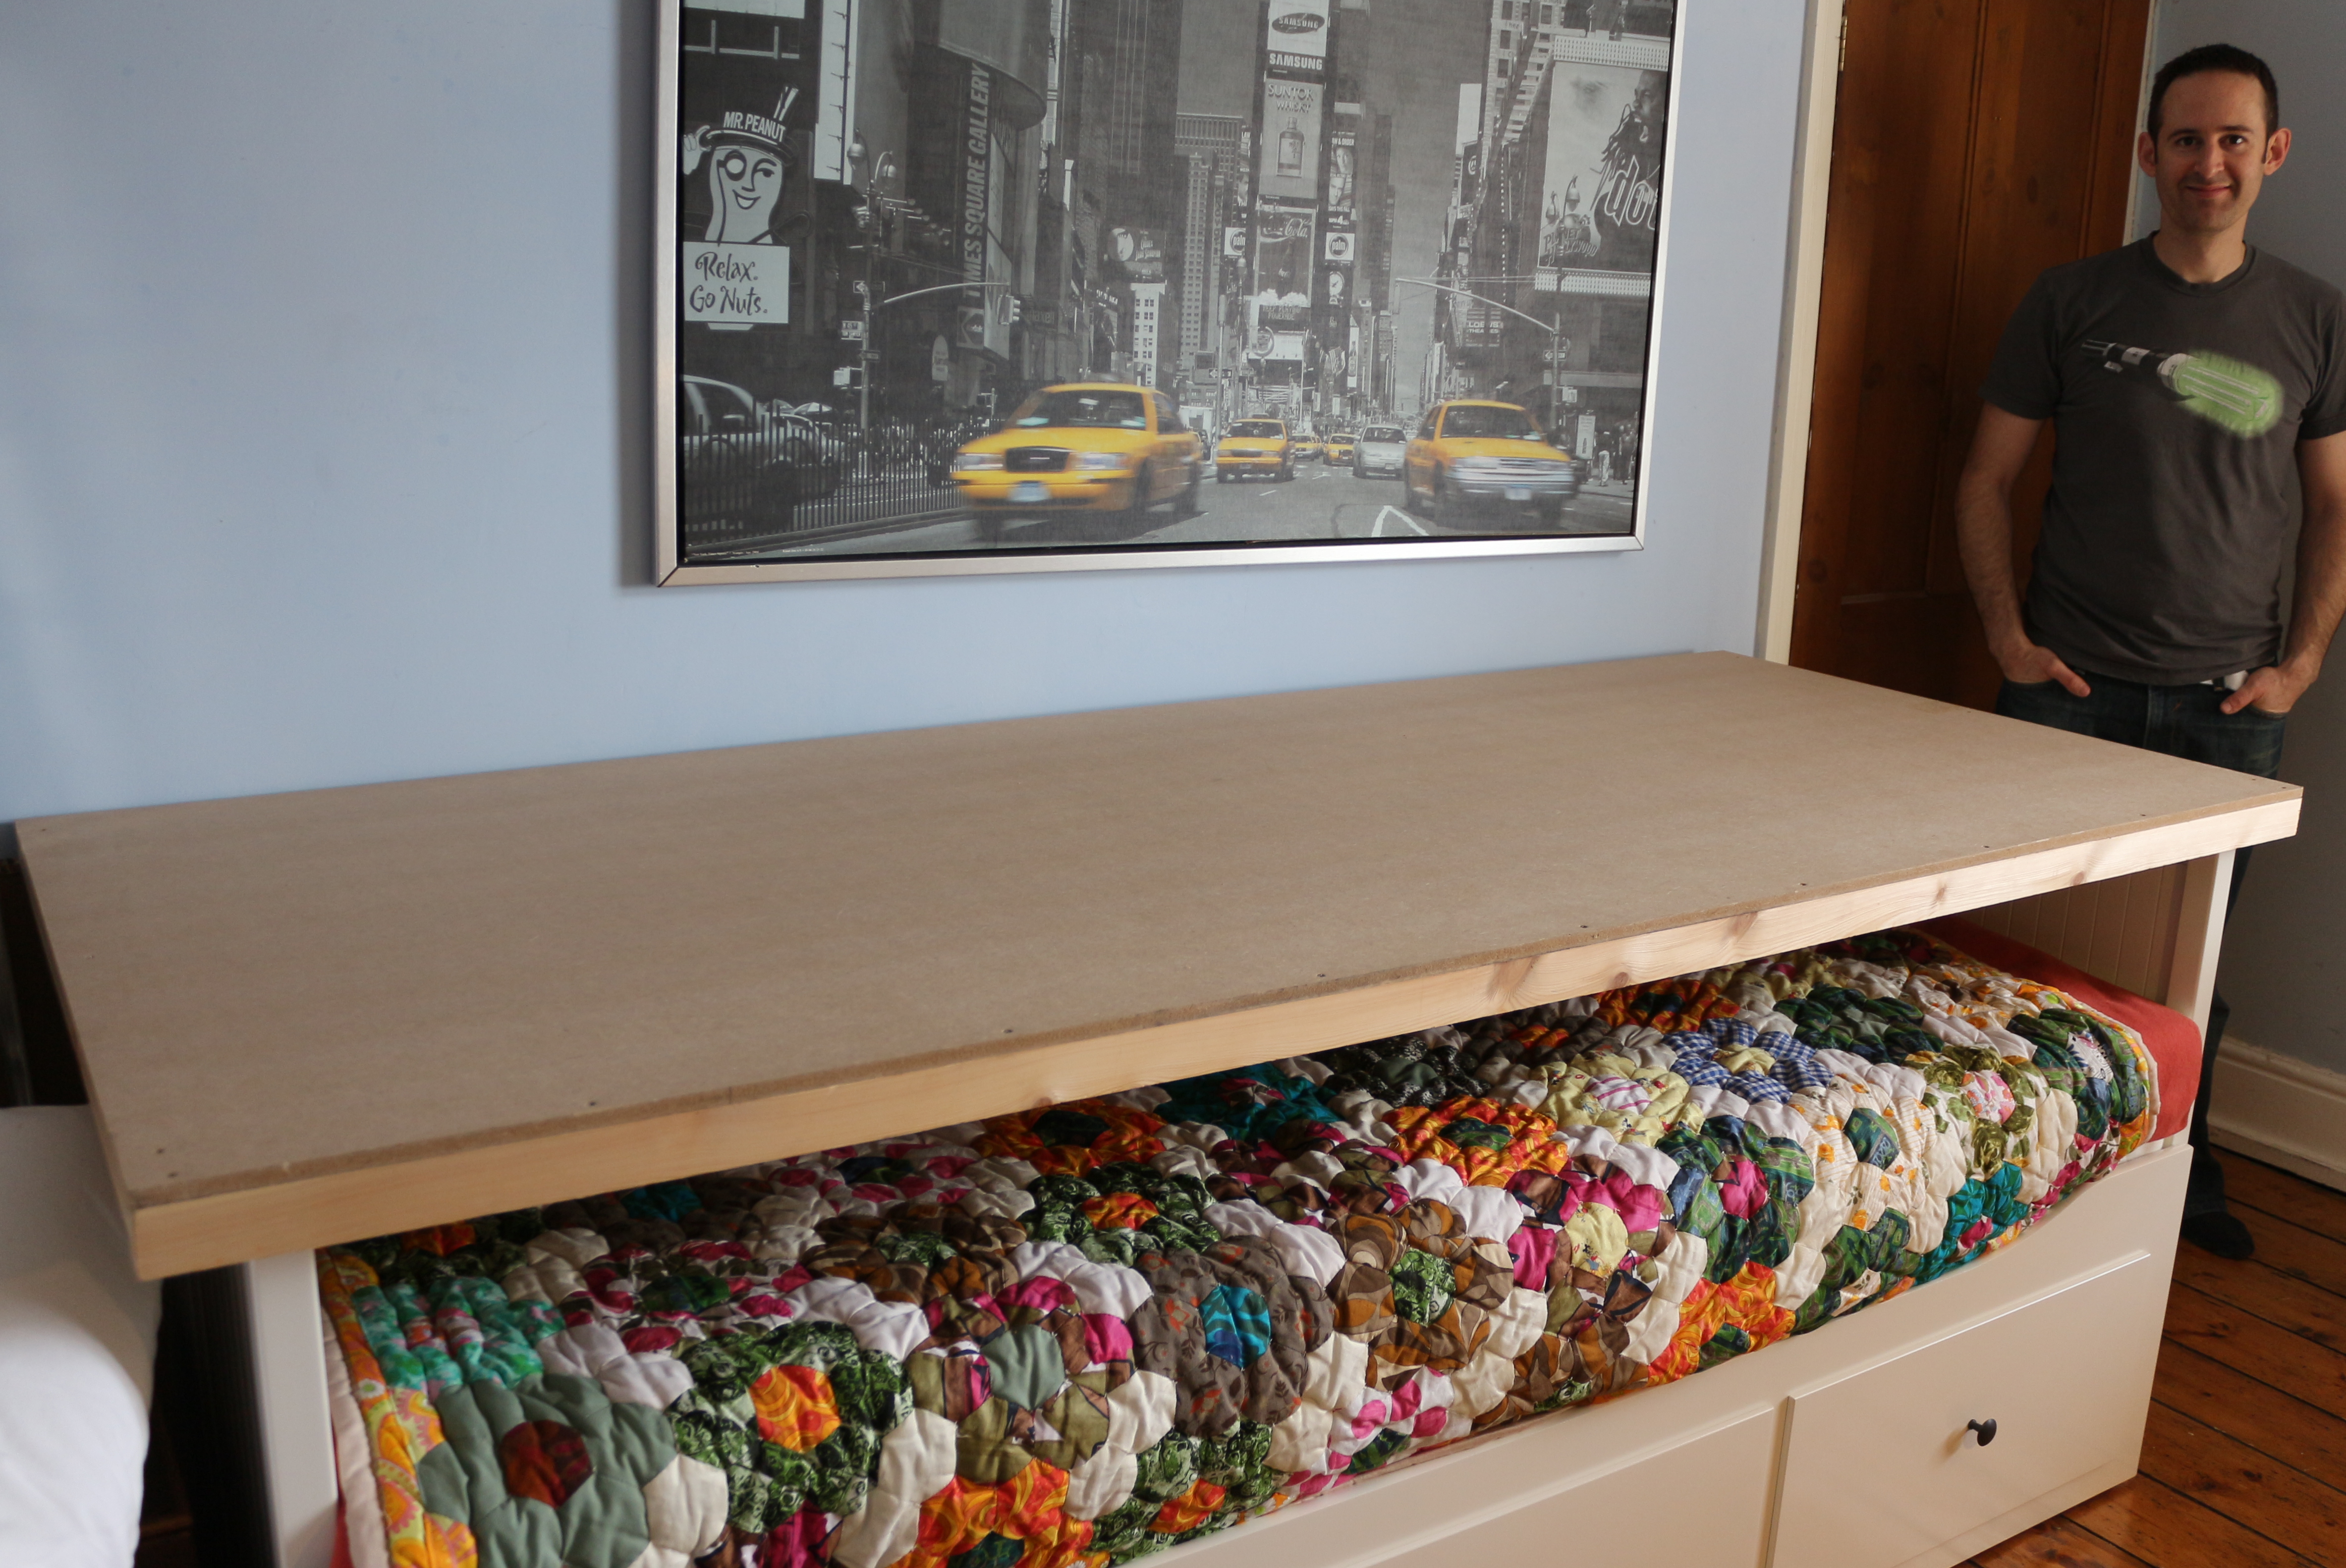
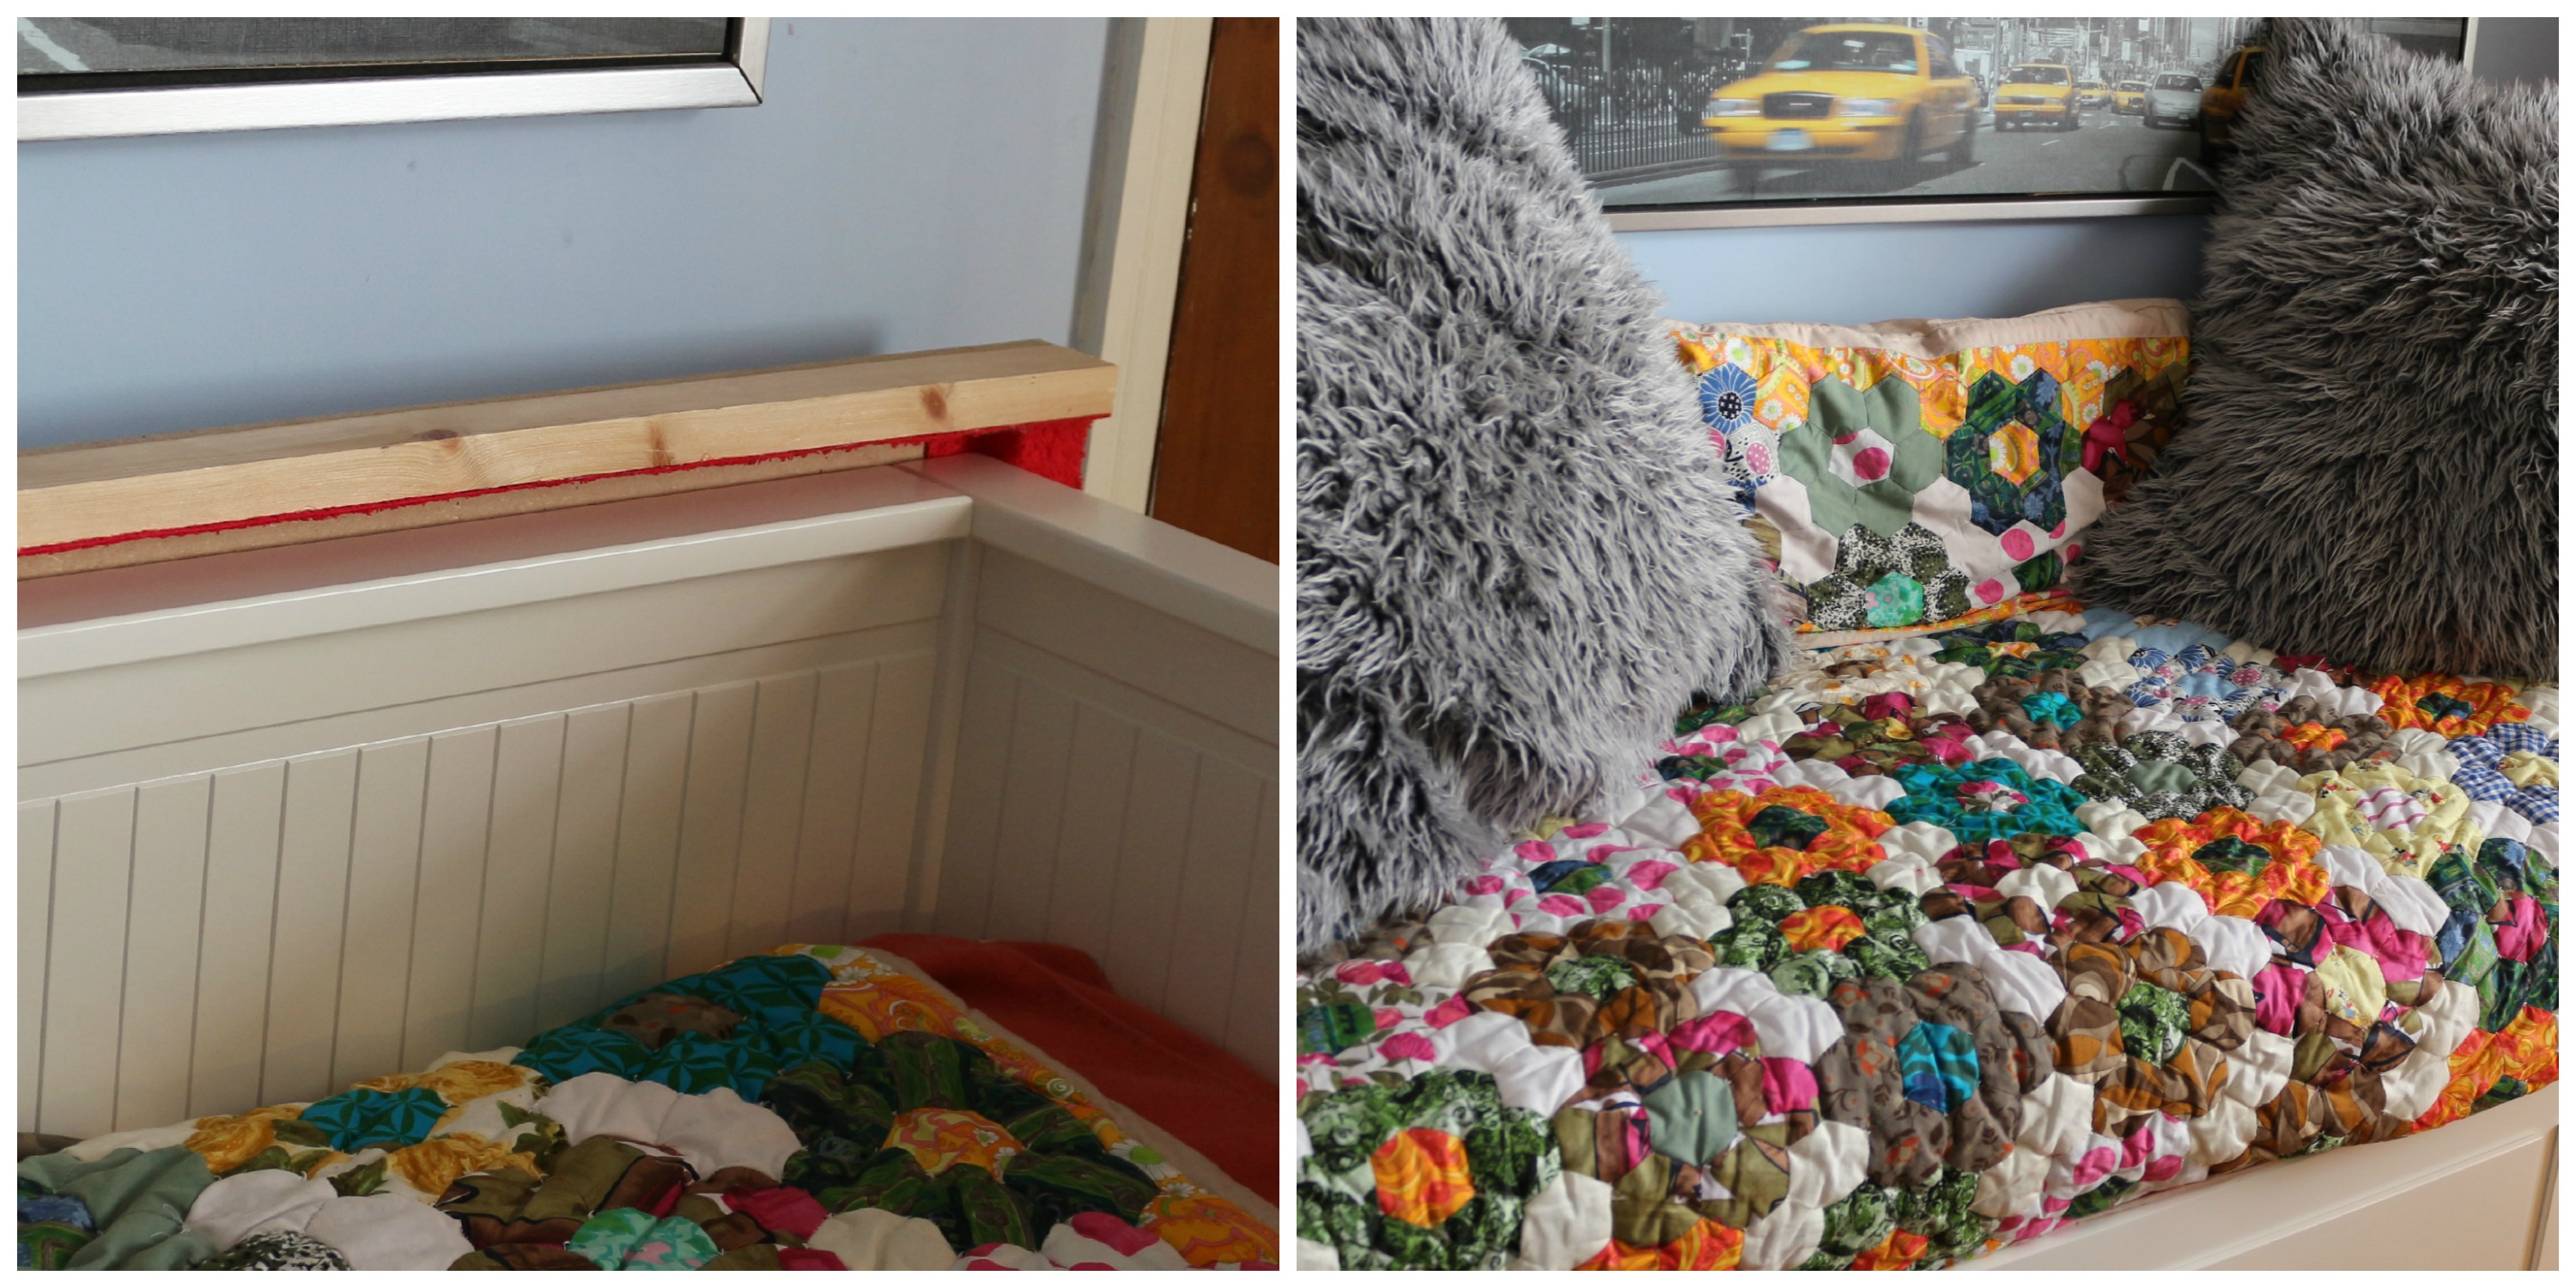
It is a Hemnes day bed from IKEA, accessorised with a patchwork quilt that we won in a raffle (I love how colourful it is), and some large floor cushions that we acquired from some previous tenants of the very first flat we lived in together and that I covered in shaggy fur.
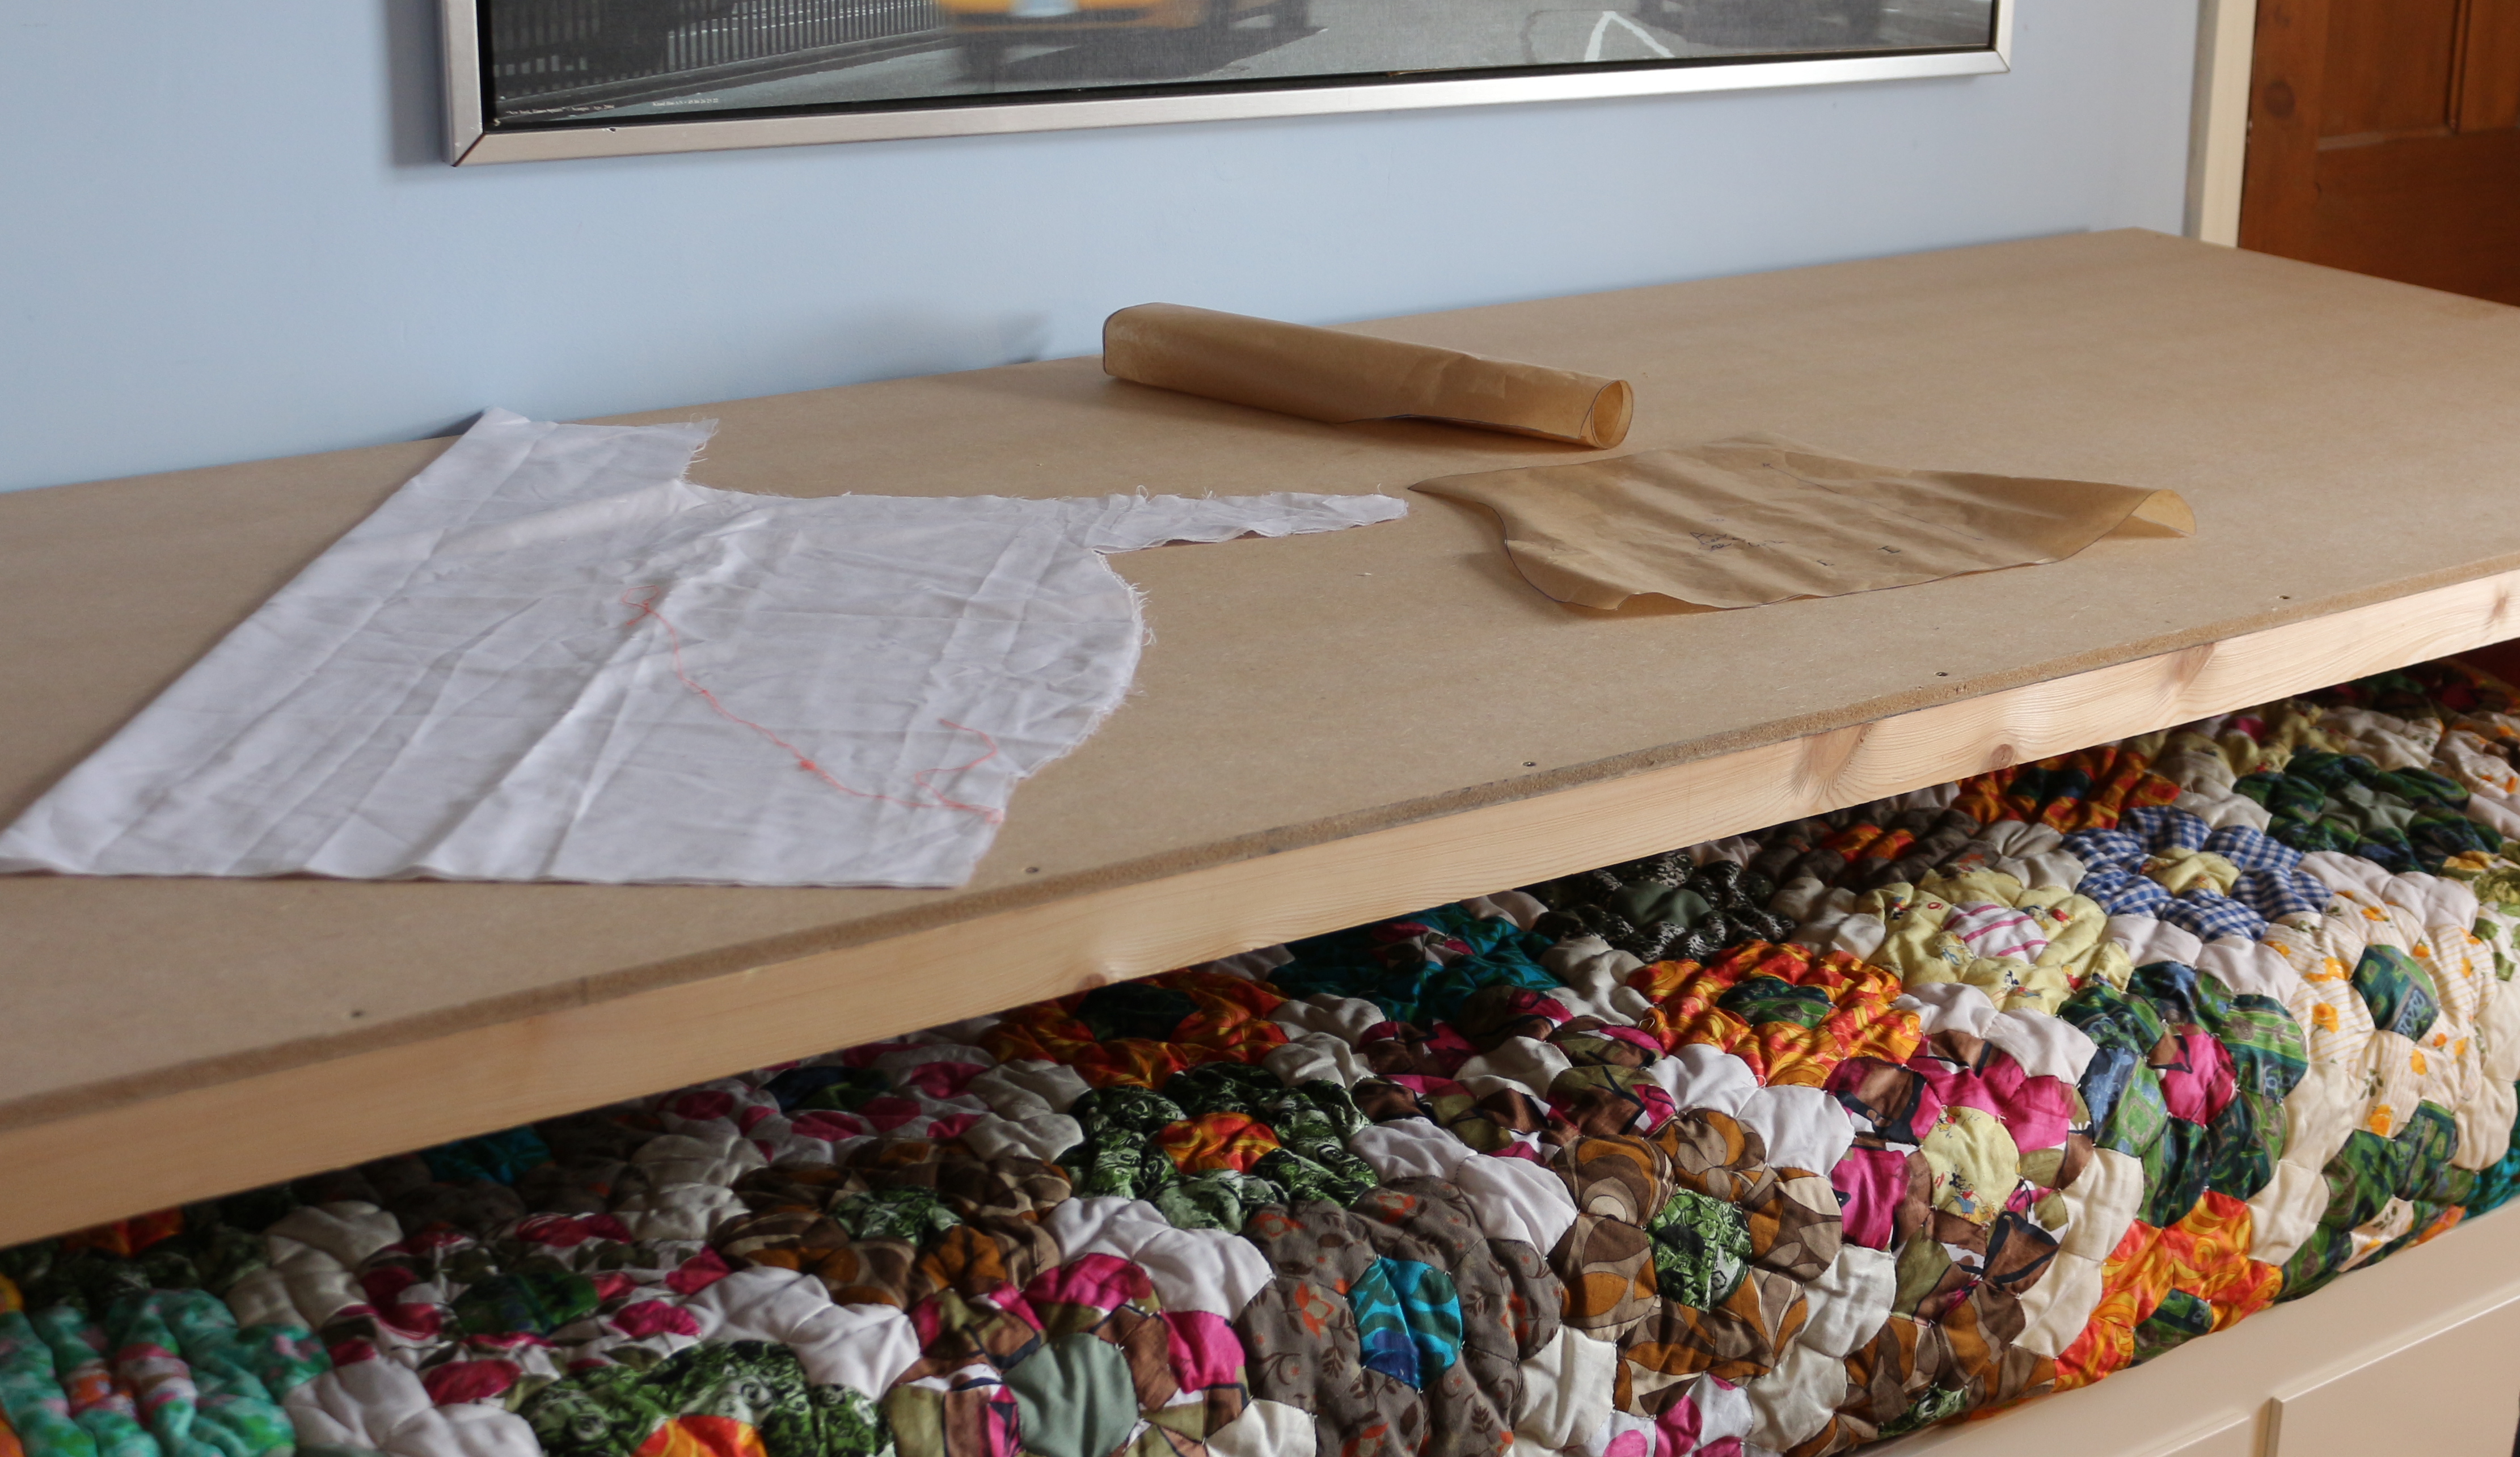
My only work surface in said crafting room however is a desk that usually has my sewing machine on it along with a little old 14″ CRT TV that I like to use to watch various random DVDs while crafting (period dramas being a favourite, although have been watching a bit of Kill Bill this week). It’s not a massive surface (even without the sewing machine), and the floor is very uneven, with gaps between the floorboards, so also not really lending itself to laying out and cutting patterns.
So I came up with a plan. A plan to rectify the situation.
The bed has a raised back part, and sides, so I decided to make a surface that would rest on top of this, which would make it at just about the right height, and give a quite large surface to work on.
The main surface is made up of a piece of 8mm MDF, cut to size in B&Q (the dimensions of the top of the bed, plus extra to allow for batons). We went for this thickness to try and keep the weight of it down, but with this thickness there is a bit of a bend in the middle.
The surface would be supported at the back and sides by resting on the raised back and sides of the bed, but to support the front edge and prevent it from sagging in the middle, we attached a wooden baton across the front. We also then attached wooden batons to the sides to stop it slipping around.
They are screwed together from the top, so currently you can see the tops of the screws. I am thinking about whether to fill them in and perhaps paint the surface, or cover it in fabric to assist in laying out fabric to cut, but for the moment I shall leave it as is.
Technical support and nagging provided by Mr M.
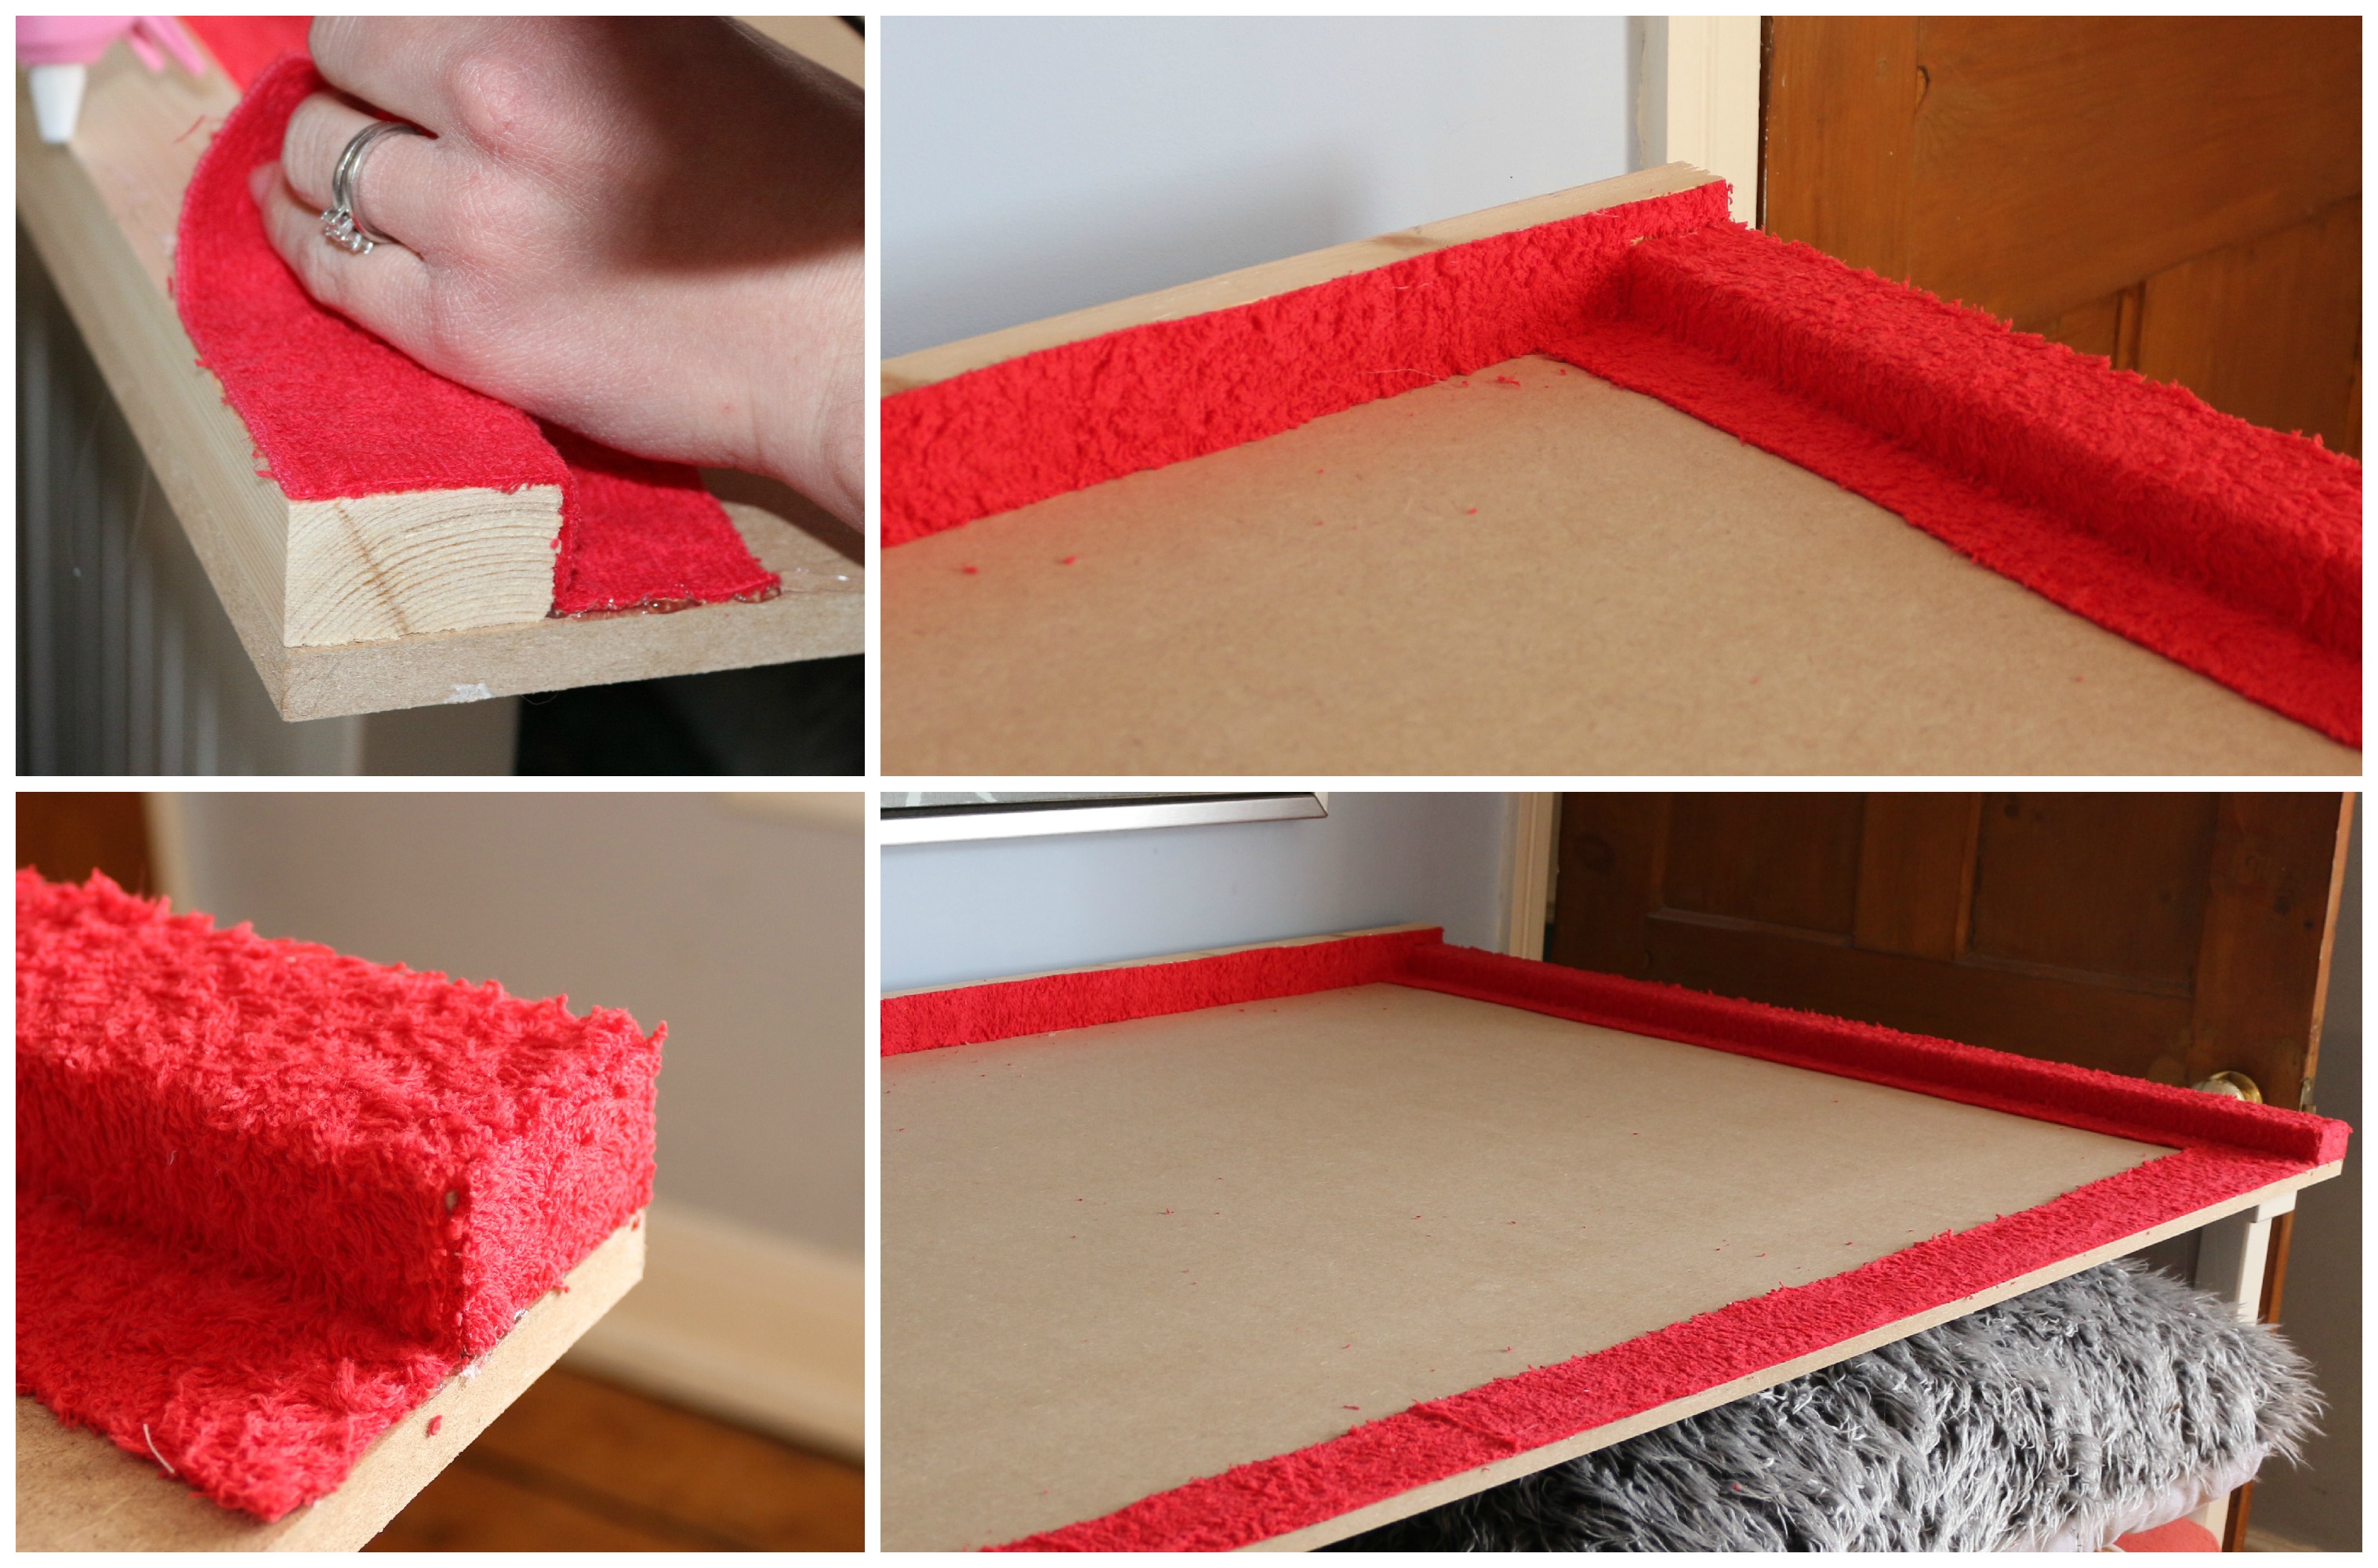
I lined the edges/ batons with some leftovers strips of towelling material that I had so that it wouldn’t mark the bed.
It is done and ready for action! Although I think I could do with some lights over there too, perhaps some that clip onto the sides.
When not in use it can be stored behind the bed against the wall, with the cushions back in place you wouldn’t even know it was there:


am impressed .Well done Andrew, Lindsay
I have been trying it out and am loving it. Think I need some lights though.
Genius Lindsay! Looks great! How very pretty and practical.
(What kind of a raffle gives patchwork quilt away? 😉 )
The good kind! 😉
Hi. I am about to do exactly this. Any tips after living with it for a while? Thanks!!
Umm, pad the back edge too, I am always worried I am going to scrape the wall!
Other than that, I use it a lot and it has been really useful and I love it!
Hi! What an awesome thing! I googled to see if anyone had done it with the hemnes day bed…i am also sharing a crafting area with the bedroom. I dont see a material list and sizes. Did you write down your process at all? I want to know everything. (Rubs hands greedily). Brilliant. Nice work.
So I’m a little late to the party but the room of shame! That is such a perfect description as I too have one of those. I need to look around here a bit more for some organizing ideas. Great improvised table