
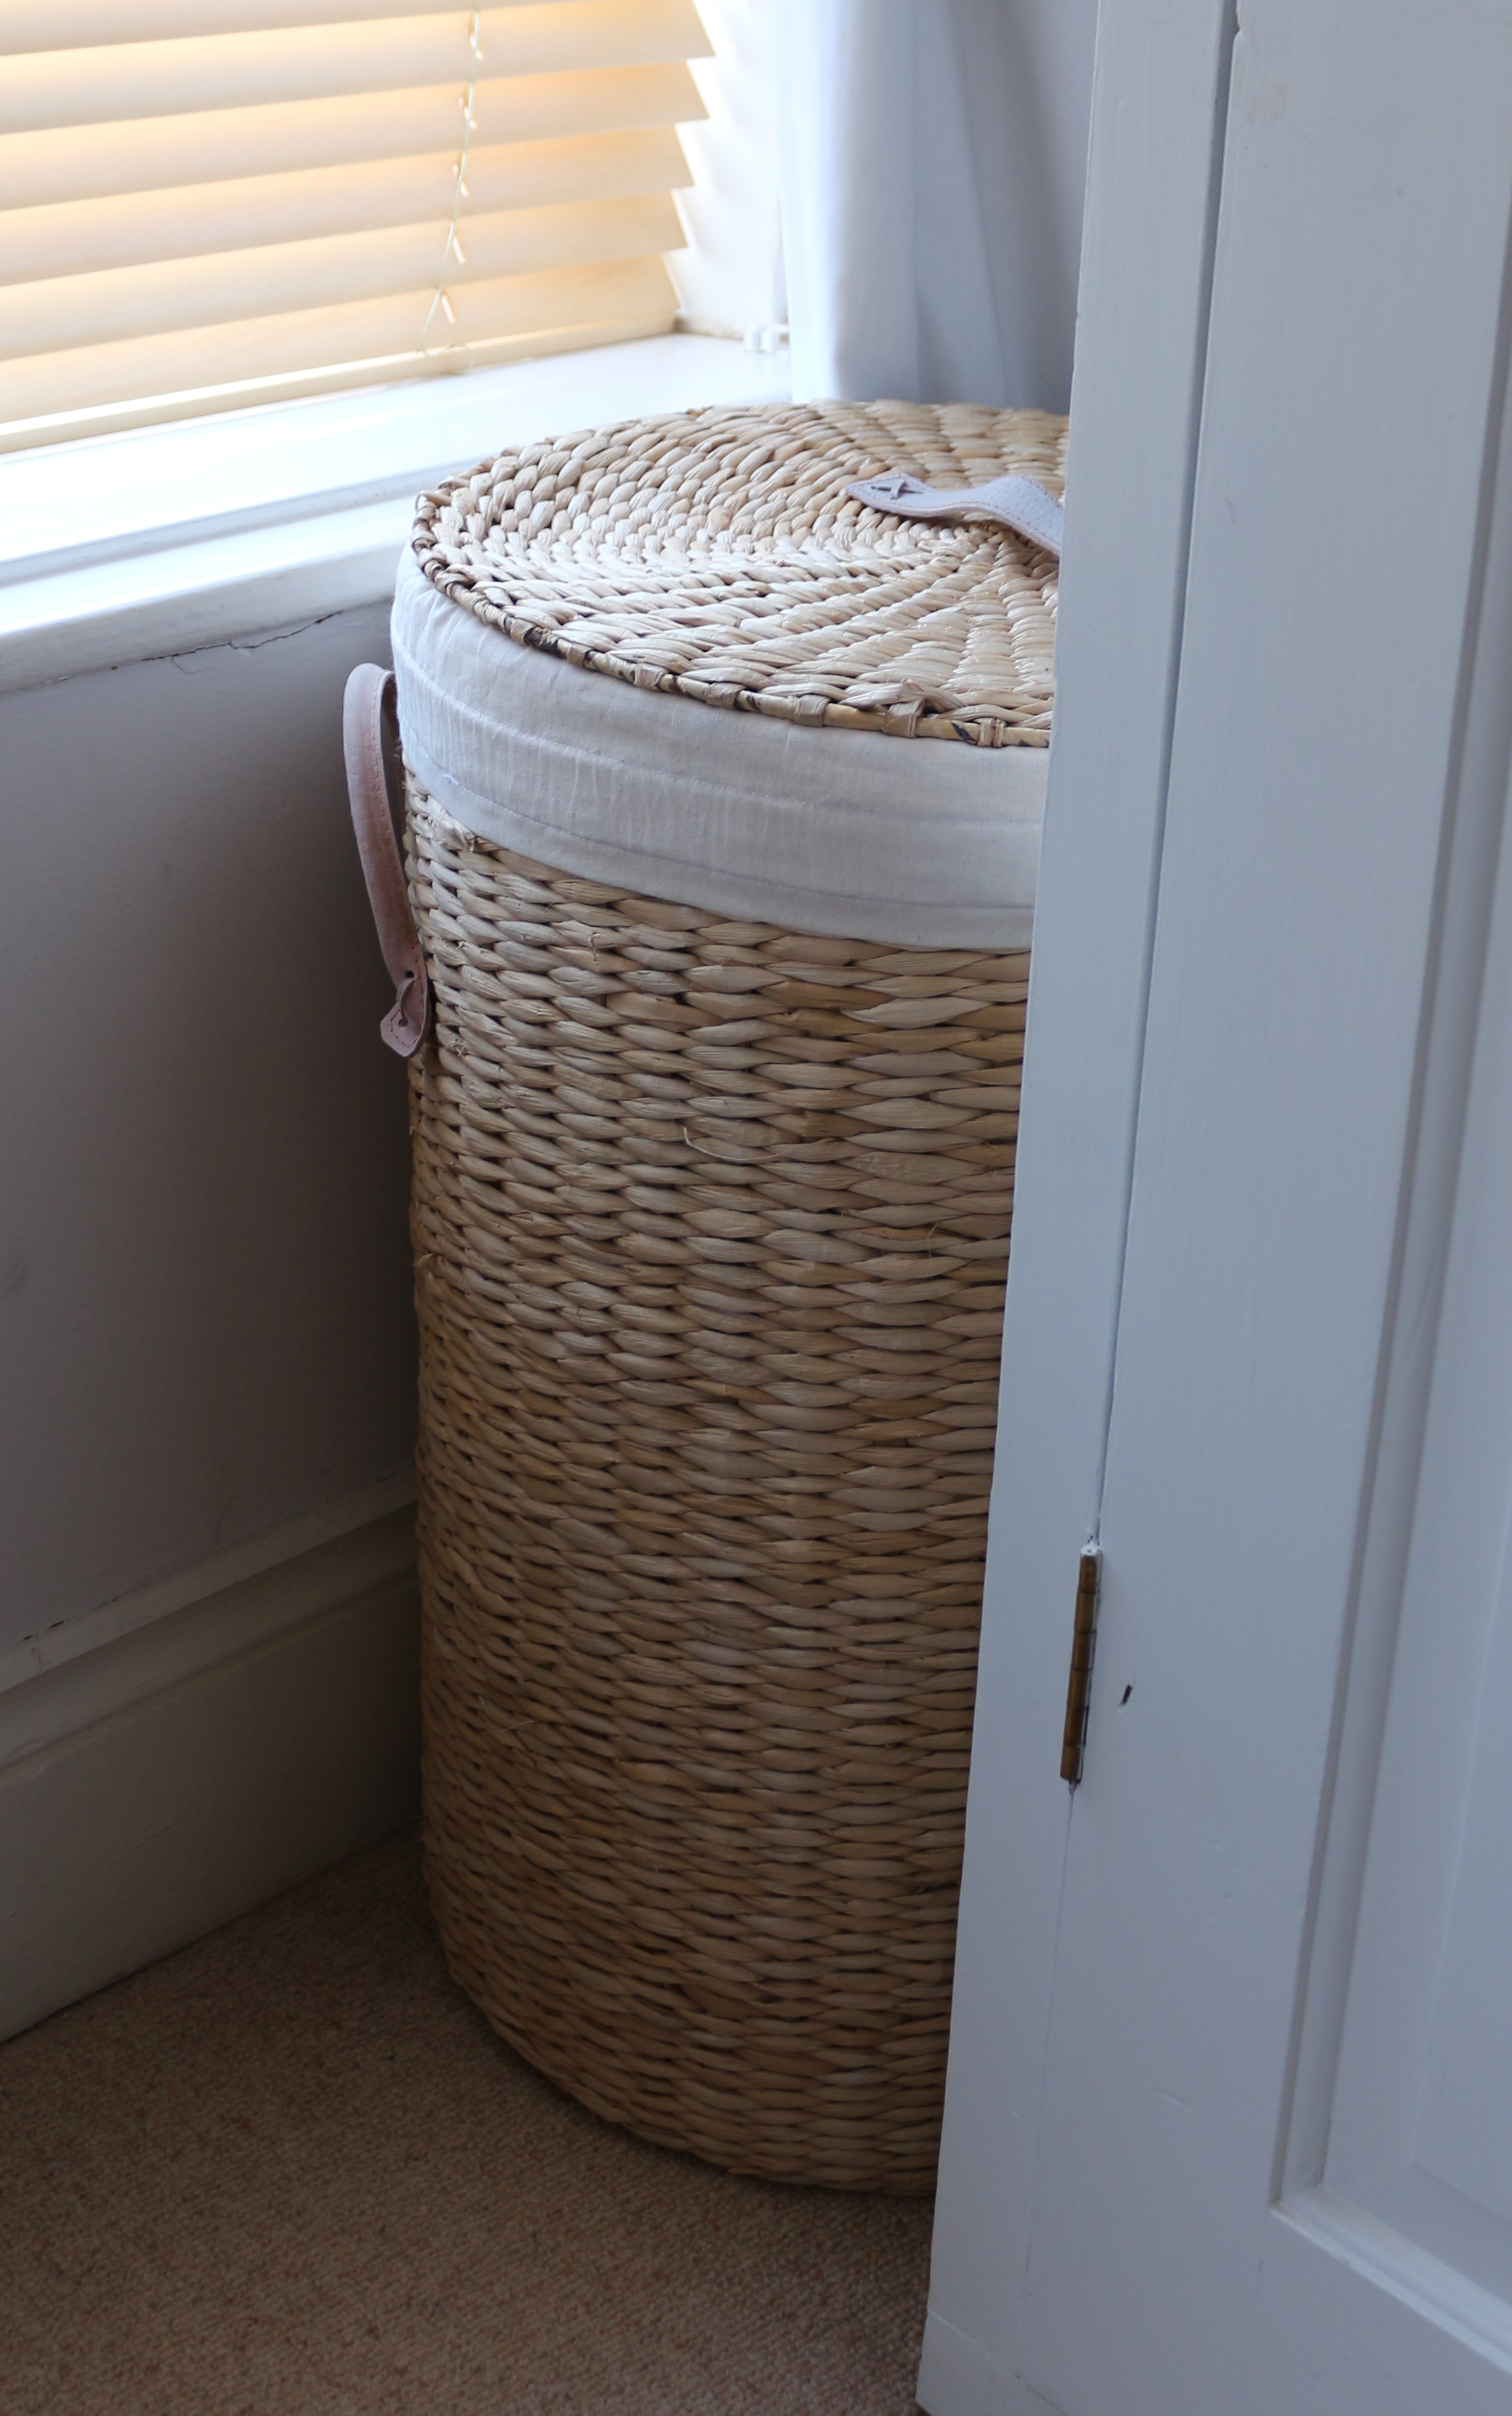
Can you tell I had a bit of a sewing day yesterday? Well, ever since we bought our laundry bin, which is pretty much as long as we’ve lived here (5 years), the liner has been totally useless. Generally if a laundry bin has a liner, it should fit, and not pop off each time you put anything in it leading you to end up stacking the dirty clothes on top of the bin instead of in it……
This project was a request from Mr M (performer of all laundry duties, bless him).
It’s just a pretty much cylindrical wicker bin with a lid, so I measured the height of the bin (22 inches plus 4 inches extra for overlapping the outside of the bin), and the circumference of the bin (53 inches). So, for the main part of the bin, I cut a piece of regular cheap old calico 26 by 53 inches plus extra for seam allowance and elasticated band.
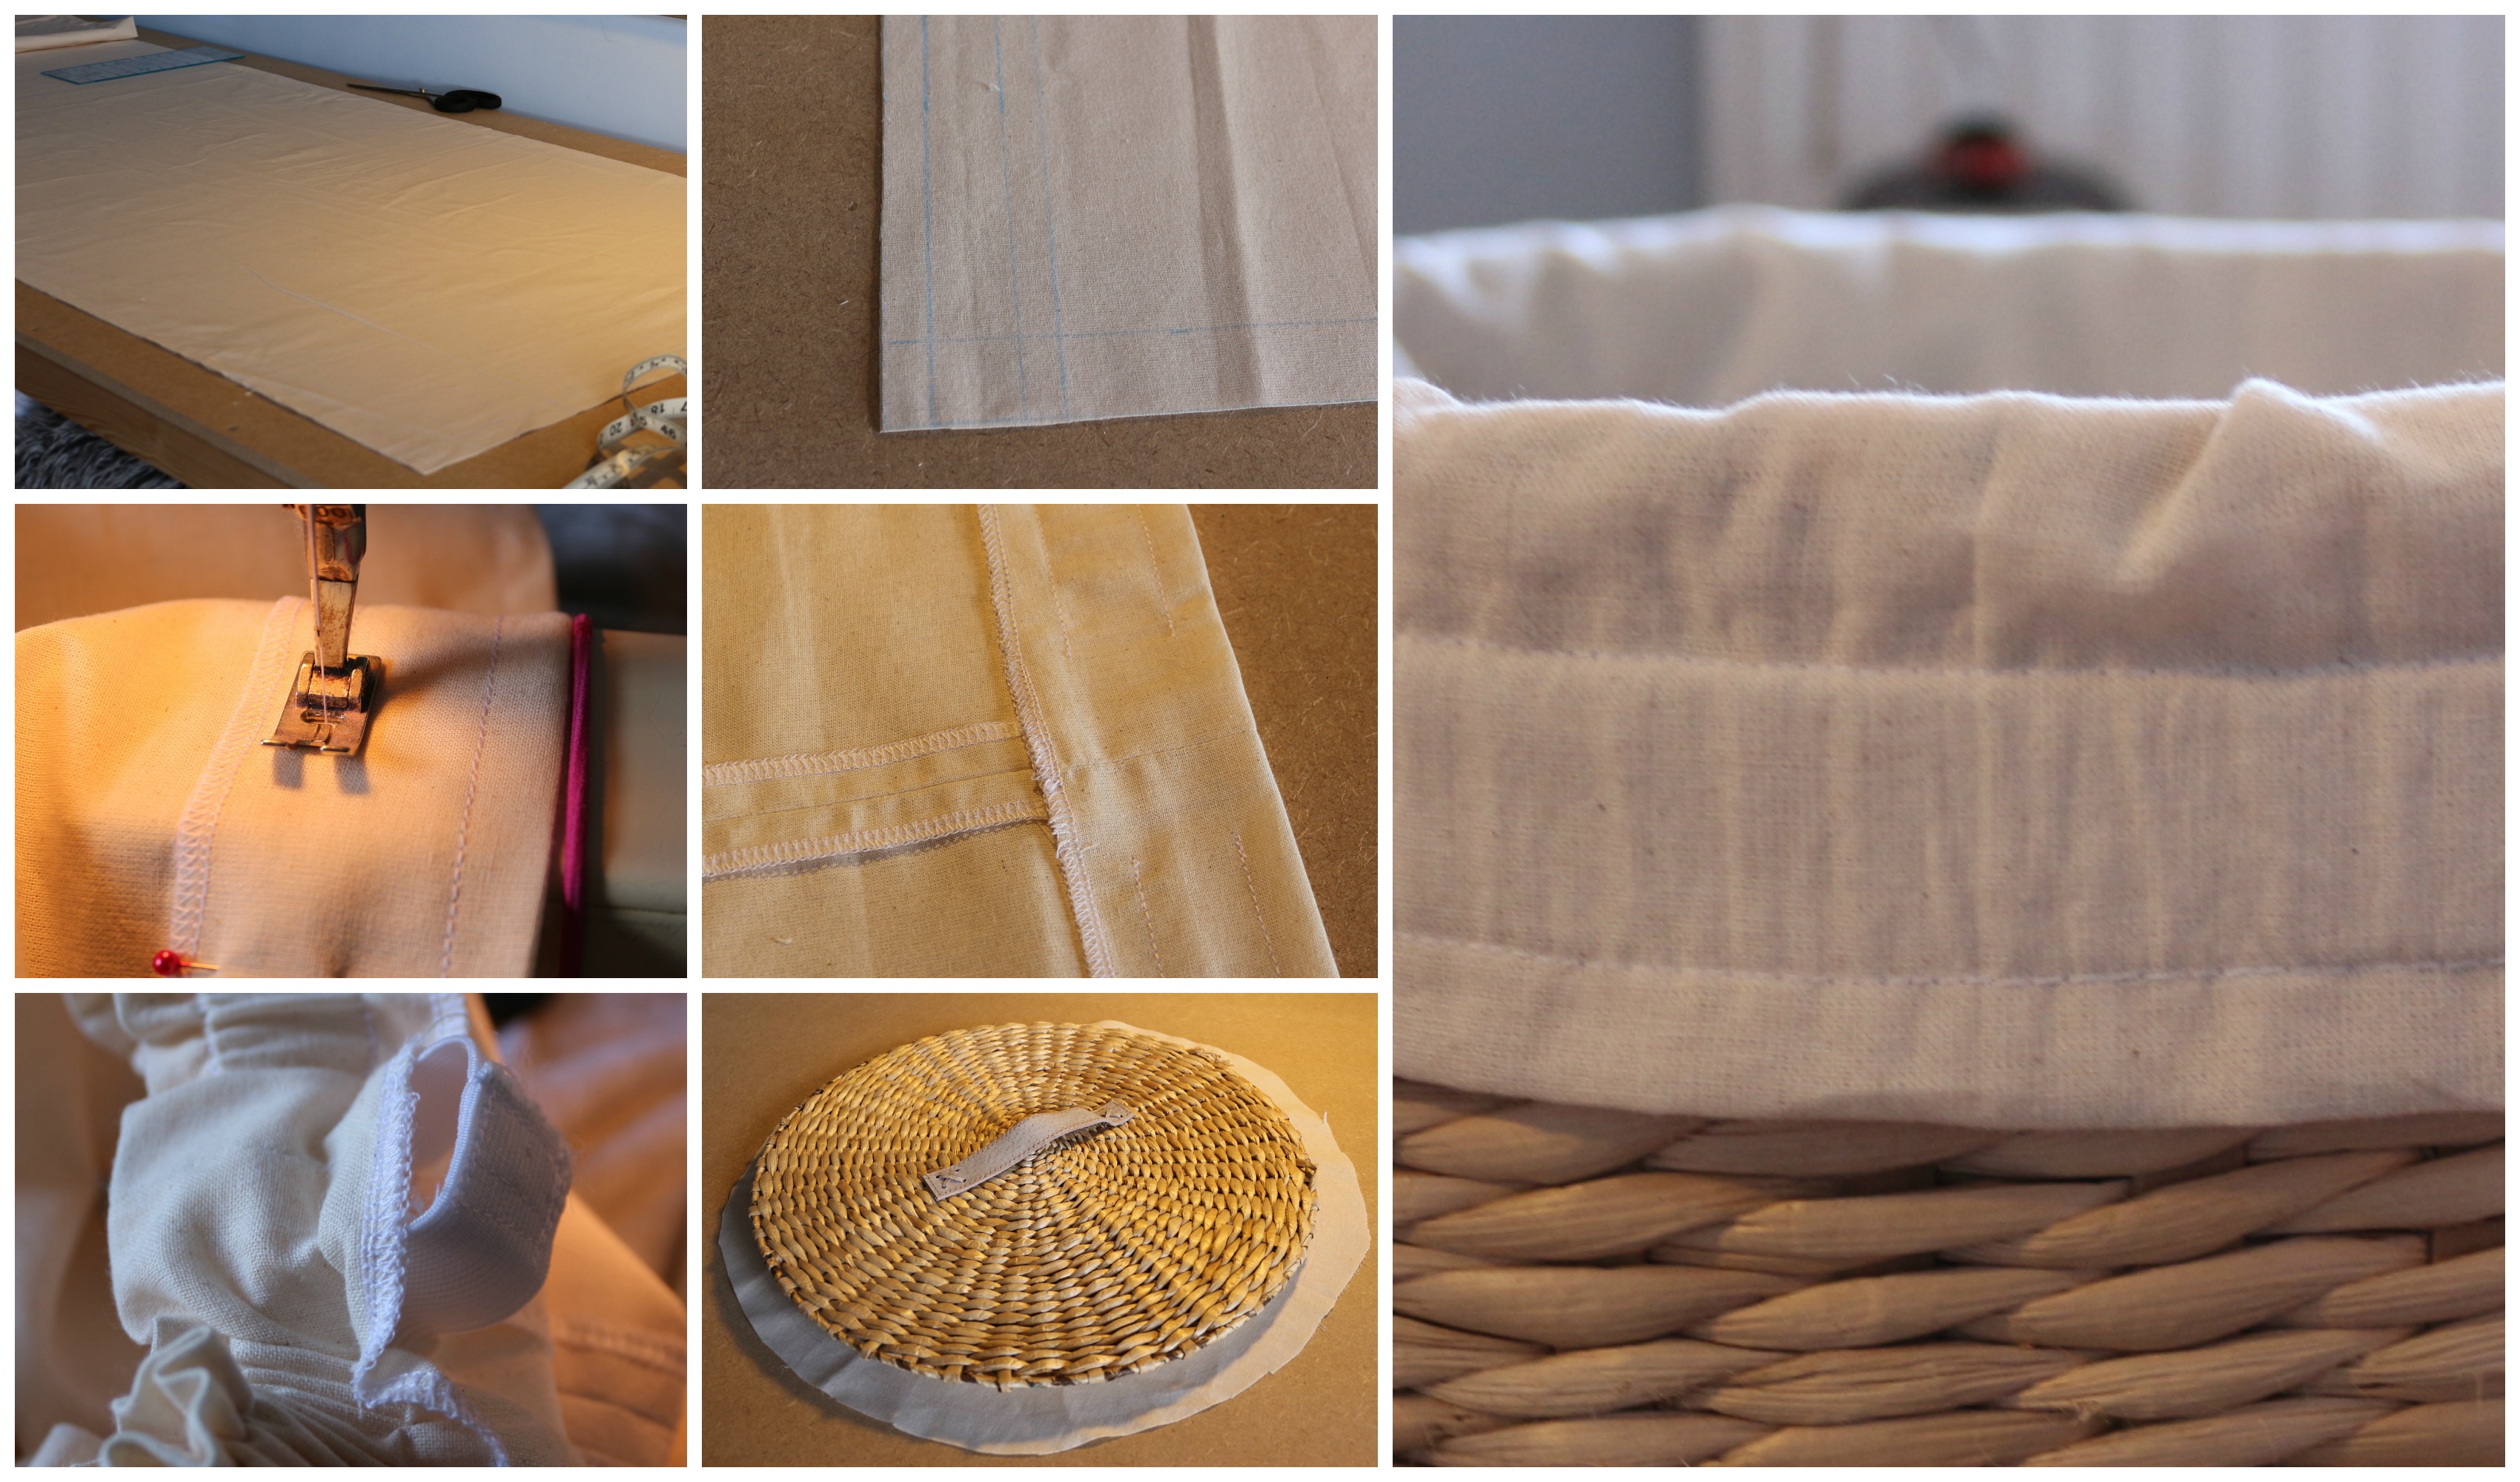
I first sewed the main part together along the long edge, then formed the channel for the elasticated band by finishing the raw edge with the overlocker, then pressing a 2 inch hem. I then sewed a 1/2 inch seam all around the top, and a 1 inch channel, with a gap the insert the elastic. I used 1 inch elastic so that it was stronger, inserted it, sewed it together then finished off the channel closed. The bottom of the liner was formed by drawing around the lid, finishing the raw edges, then sewing the bottom of the main piece together with the base piece around the bottom.
It fits and everything! We can put laundry in the laundry bin!


Ohhhh very beautiful work!
Thanks! It’s amazing how long you put up with something that doesn’t work, when the solution is so simple!