While I was at my cousin’s place at the weekend, I made his wife Z an apron out of an old skirt (I had taken Bernie with me specifically for the purpose):
She loved it. Especially I think seeing the material actually being used for something, the skirt in question she had made by a Tibetan tailor over ten years ago, but hadn’t really worn it as it didn’t fit. The material is beautiful though, the warp and weft being a reddish orange and a bright yellow, giving it a two tone sort of appearance. Her idea was that I could use the leftover fabric to make matching aprons for her two children. One is 2 and 9 months-ish, the other a year and 3 months. The older one, is a big fan of helping baking cakes. He likes to stir.
Having no mammoth baking session to do today, after I finished my super secret project (shhhh!), I went and had lunch with my friend R at IKEA (because we’re super classy ladies), then got stuck in!
I took a few measurements, while we were there, reckoning the apron wanted to be about 18 inches in height, 16 inches at the bottom, 6 inches at the top, with the wide part starting about 8 inches from the top. So I got some paper out and drew it out, freehanding my curve between the top and the wider base, as I have not yet invested in a proper curve:
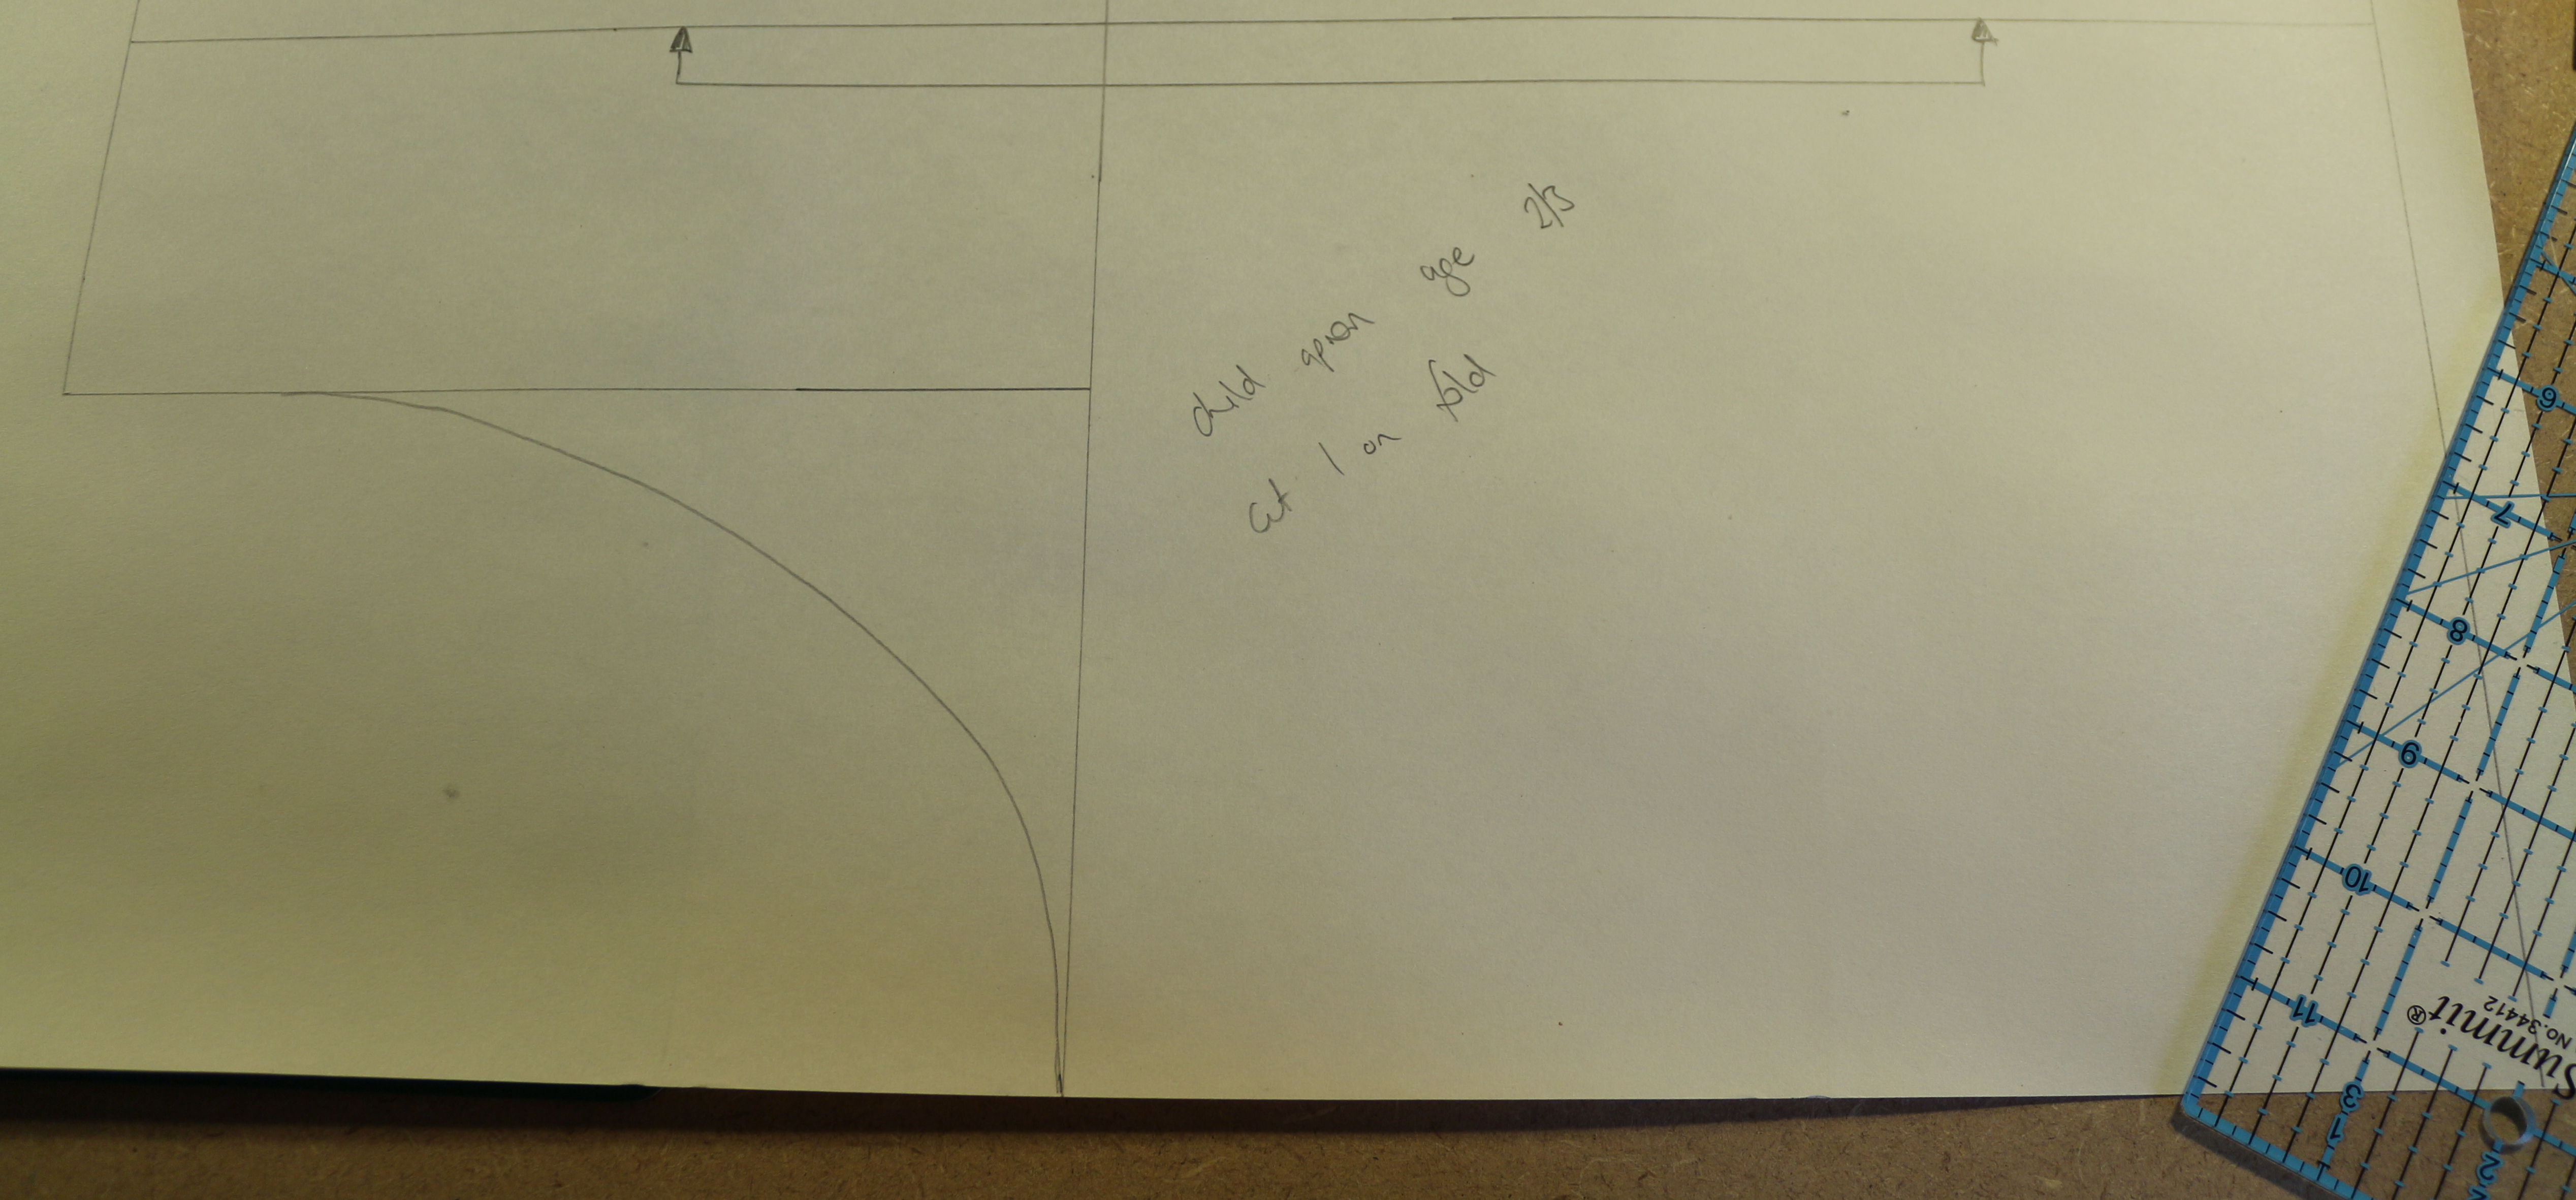
To go with this, I needed templates for waist ties and neck ties. As they are growing little things at the moment, I wanted to keep them so they could grow with them, so had adjustable neck ties using D rings.
Waist ties: 17×1 inches
Neck ties: 17×1 inches and 4×1 inches for the D ring strap.
I drew these out too, and cut them out:
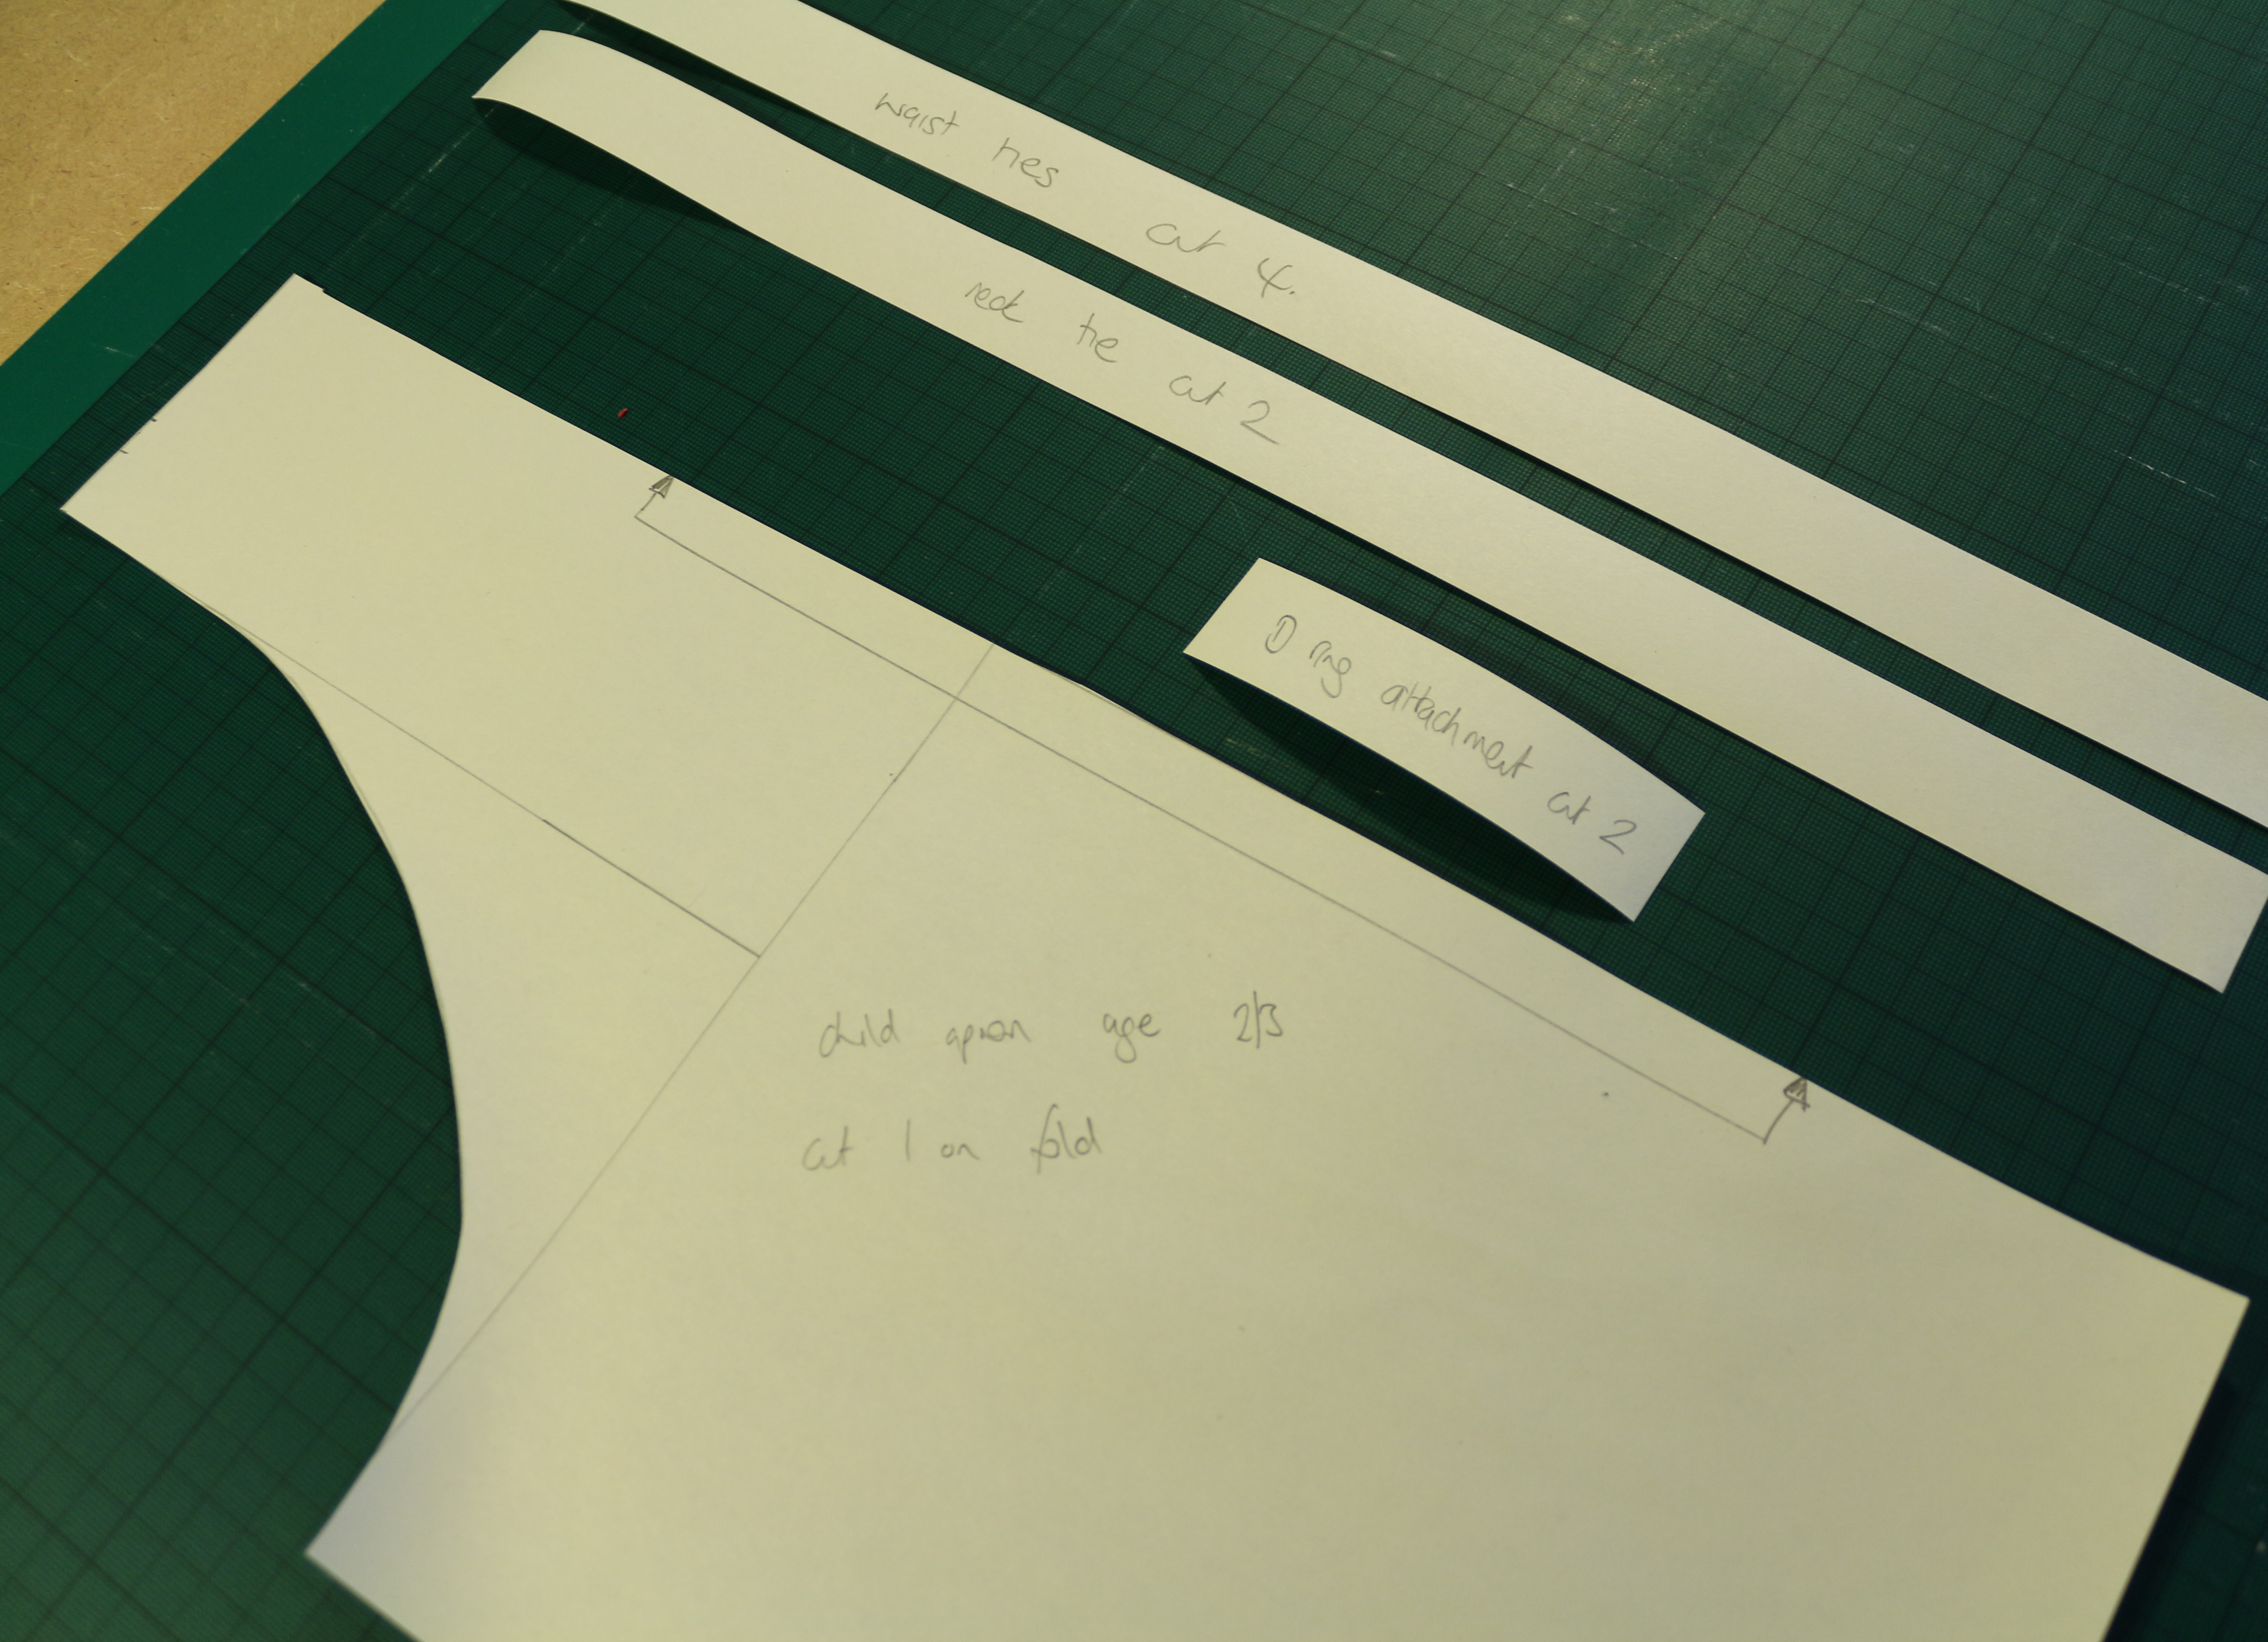
To cut, I added a seam allowance of 1 inch for the main piece, as this would be hemmed, but only 1/4inch for the ties, and cut them on the fold so that I would only have one seam to sew:

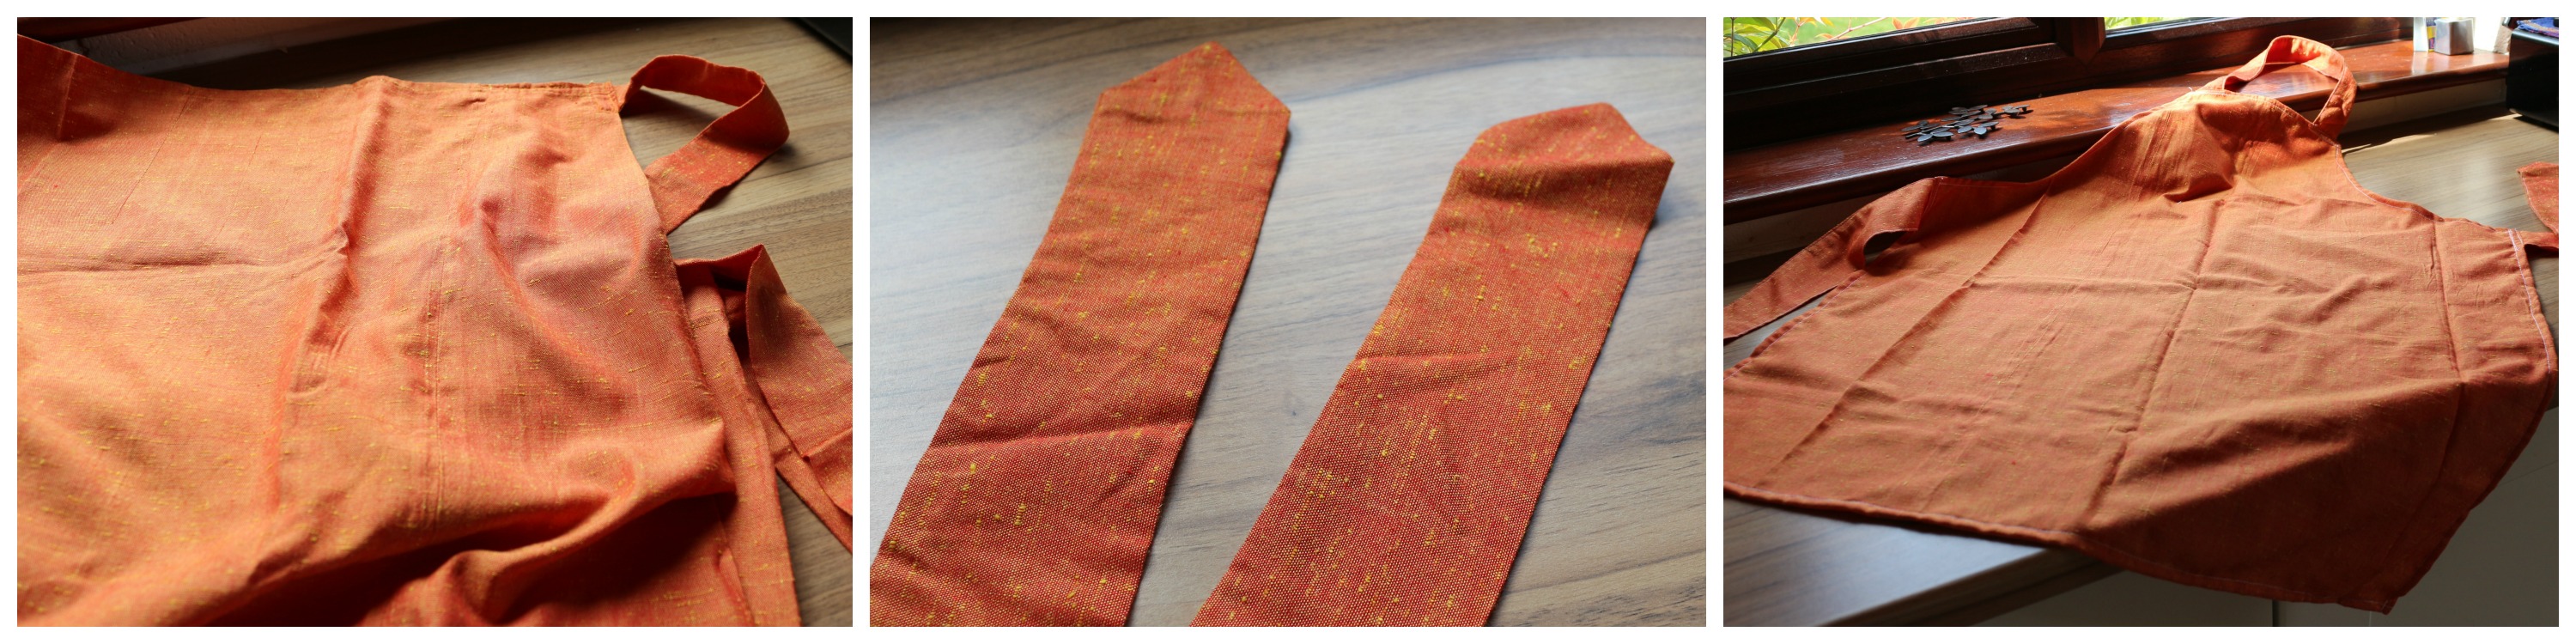
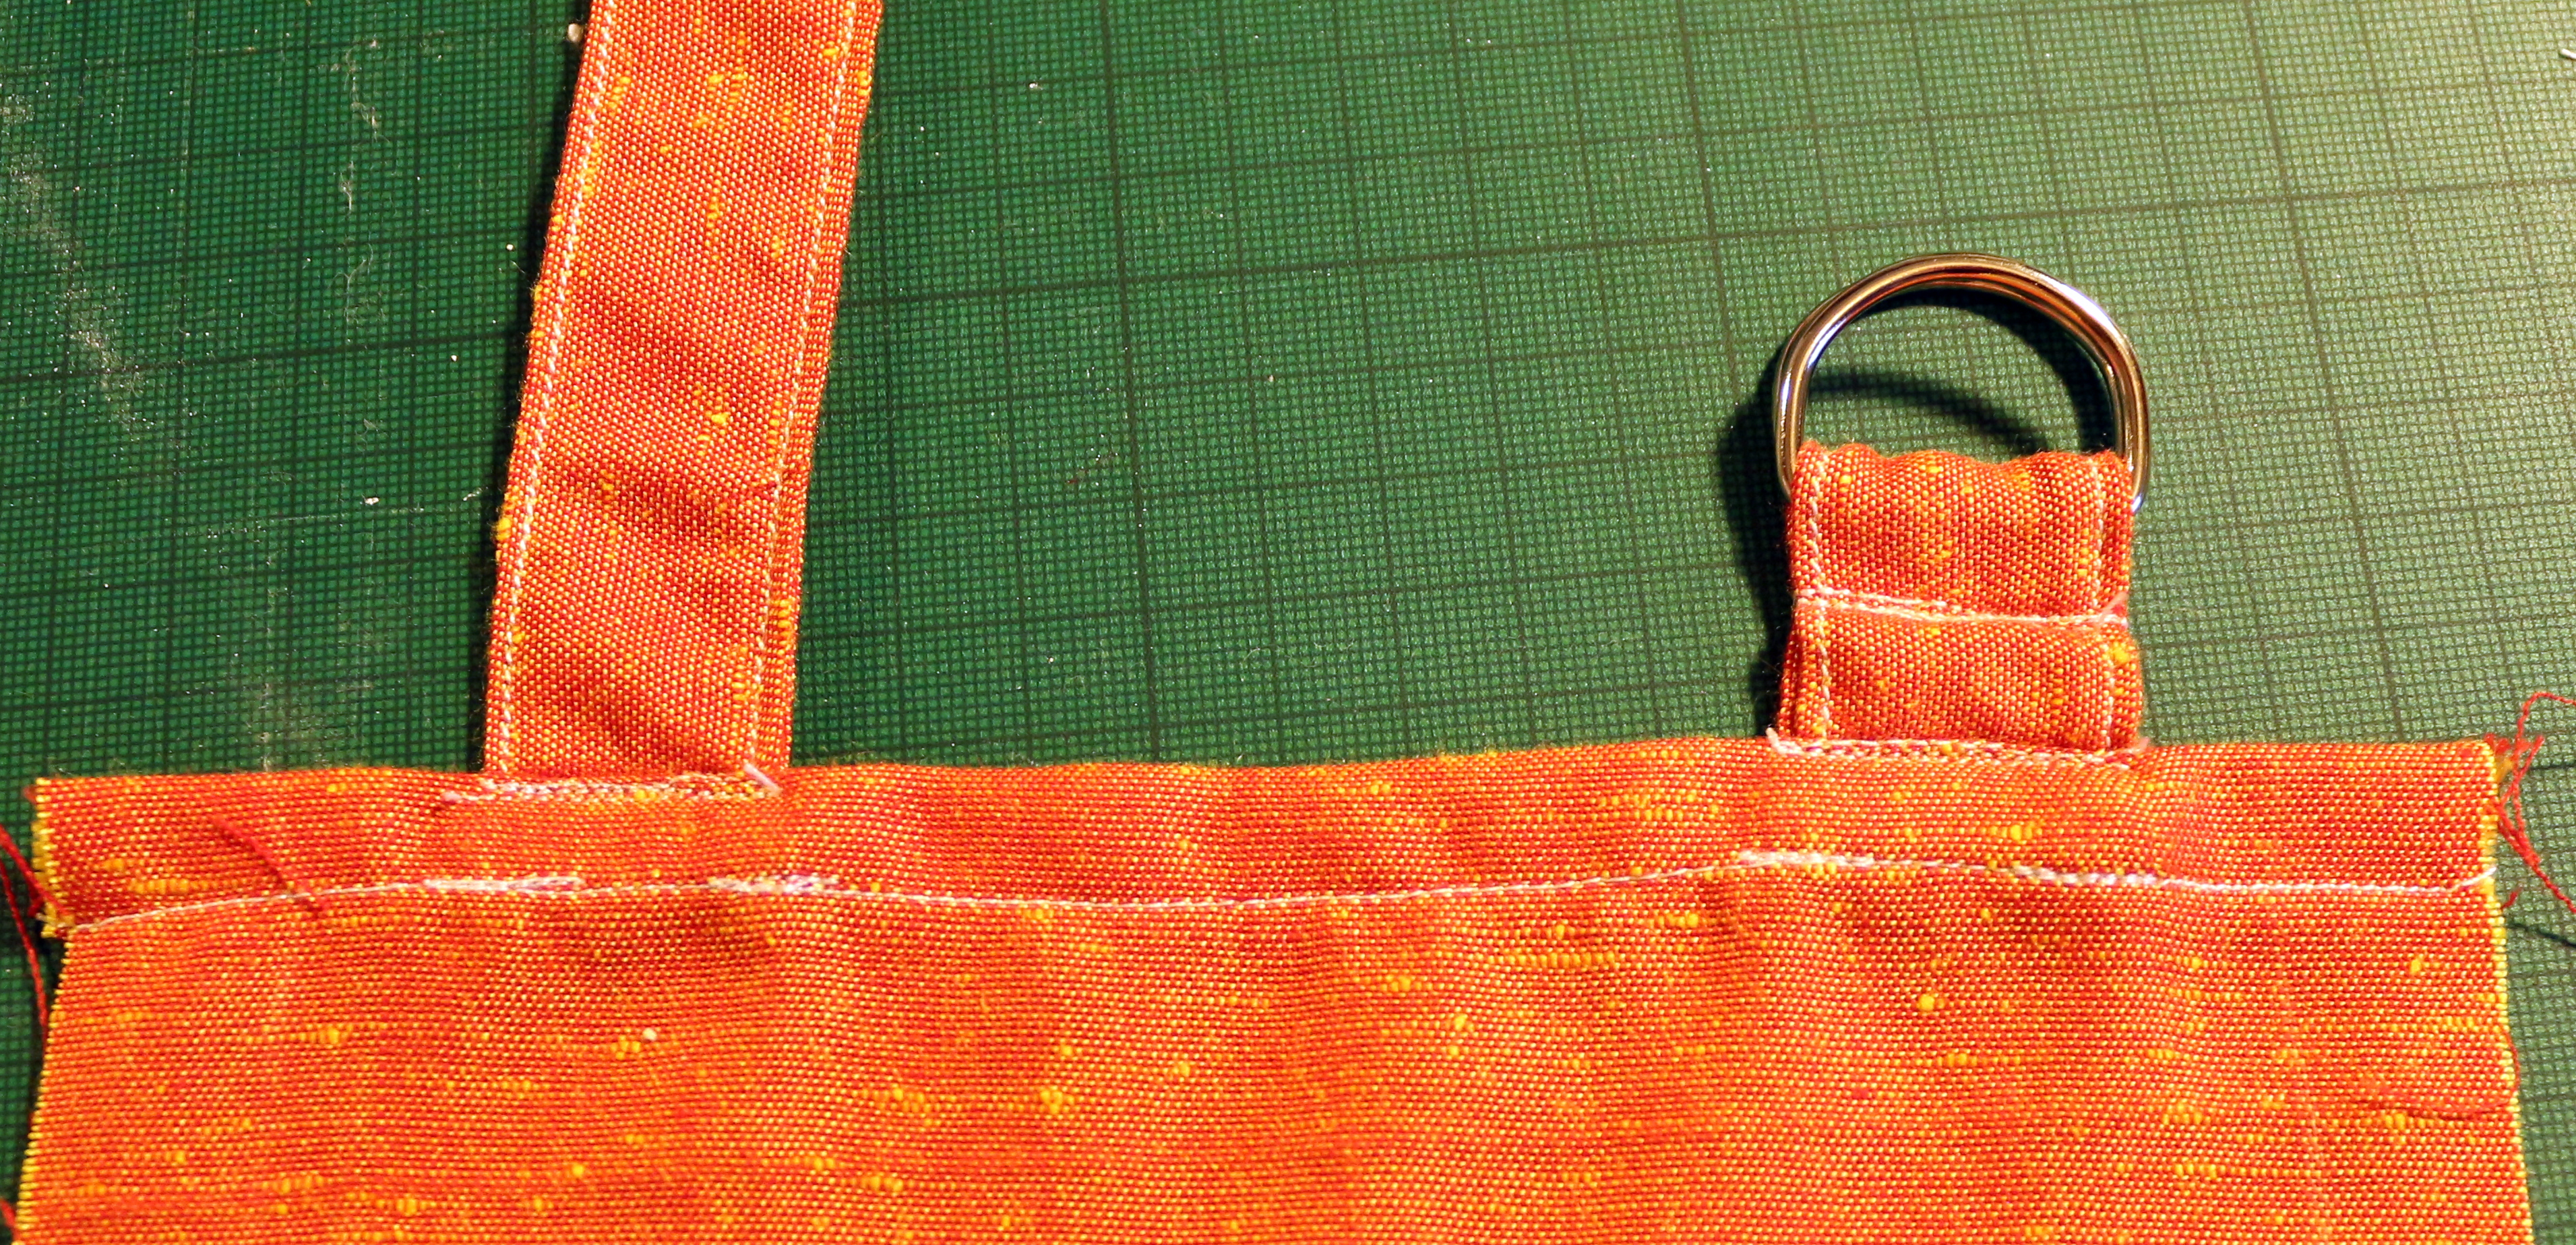
So, now to assemble. I sewed the ties right sides together lengthwise using my overlocker, trimming any excess material and finishing the edges in one. The Waist and neck ties were also finished on one short end, the D ring piece having open ends. These were then turned right sides out, pressed, and then topstitched:

The D ring pieces were then looped through 2 D rings and folded back on themselves, and sewn together to hold the rings in place (optional):

To then attach the ties to the main body of the apron, I pressed the hems in place, then inserted the ties in under the seam, sewed the seams in place, then folded the ties back on themselves and stitched again to give them extra strength:
All sides were then hemmed, and one final press…. then done!

Two aprons complete!…..and ready to post along with a little friend:


Loving the tutorial!
The colour of the fabric came out a little odd, but meh. It doesn’t really matter. I think because I started it in bright daylight and then finished it later. One day I’ll set something up properly. Hopefully they will fit H and R! X
Looks great.
The three of them will be so cute in their aprons! You have to ask them for a photo. 🙂
Yep. Definitely. X