So, this weekend we spent in Tahoe with Brother M and his girlfriend, I made hobnobs to take with us, and further varied my coconut hobnob recipe…..

Absolutely the best yet. I have updated my original recipe accordingly. Treat yourselves.
Anyhow, I was chatting to my Mum via the internets this weekend. Gotta love it! Somehow those 6,000 miles don’t seem so far!
She was talking to me about her latest little crafting activity, her and some other ladies get together every week (?) to share a different project, and this week a lady led them in making a “Hana” bag. She had showed it to me via Facetime, and sent me some instructions to make one. (I also I looked for a tutorial online and I found this one, which gives a similar result, but without the overlaid flaps of fabric on the outside.)
I had some suitable fabric in my stash, so I thought I would give it a go!
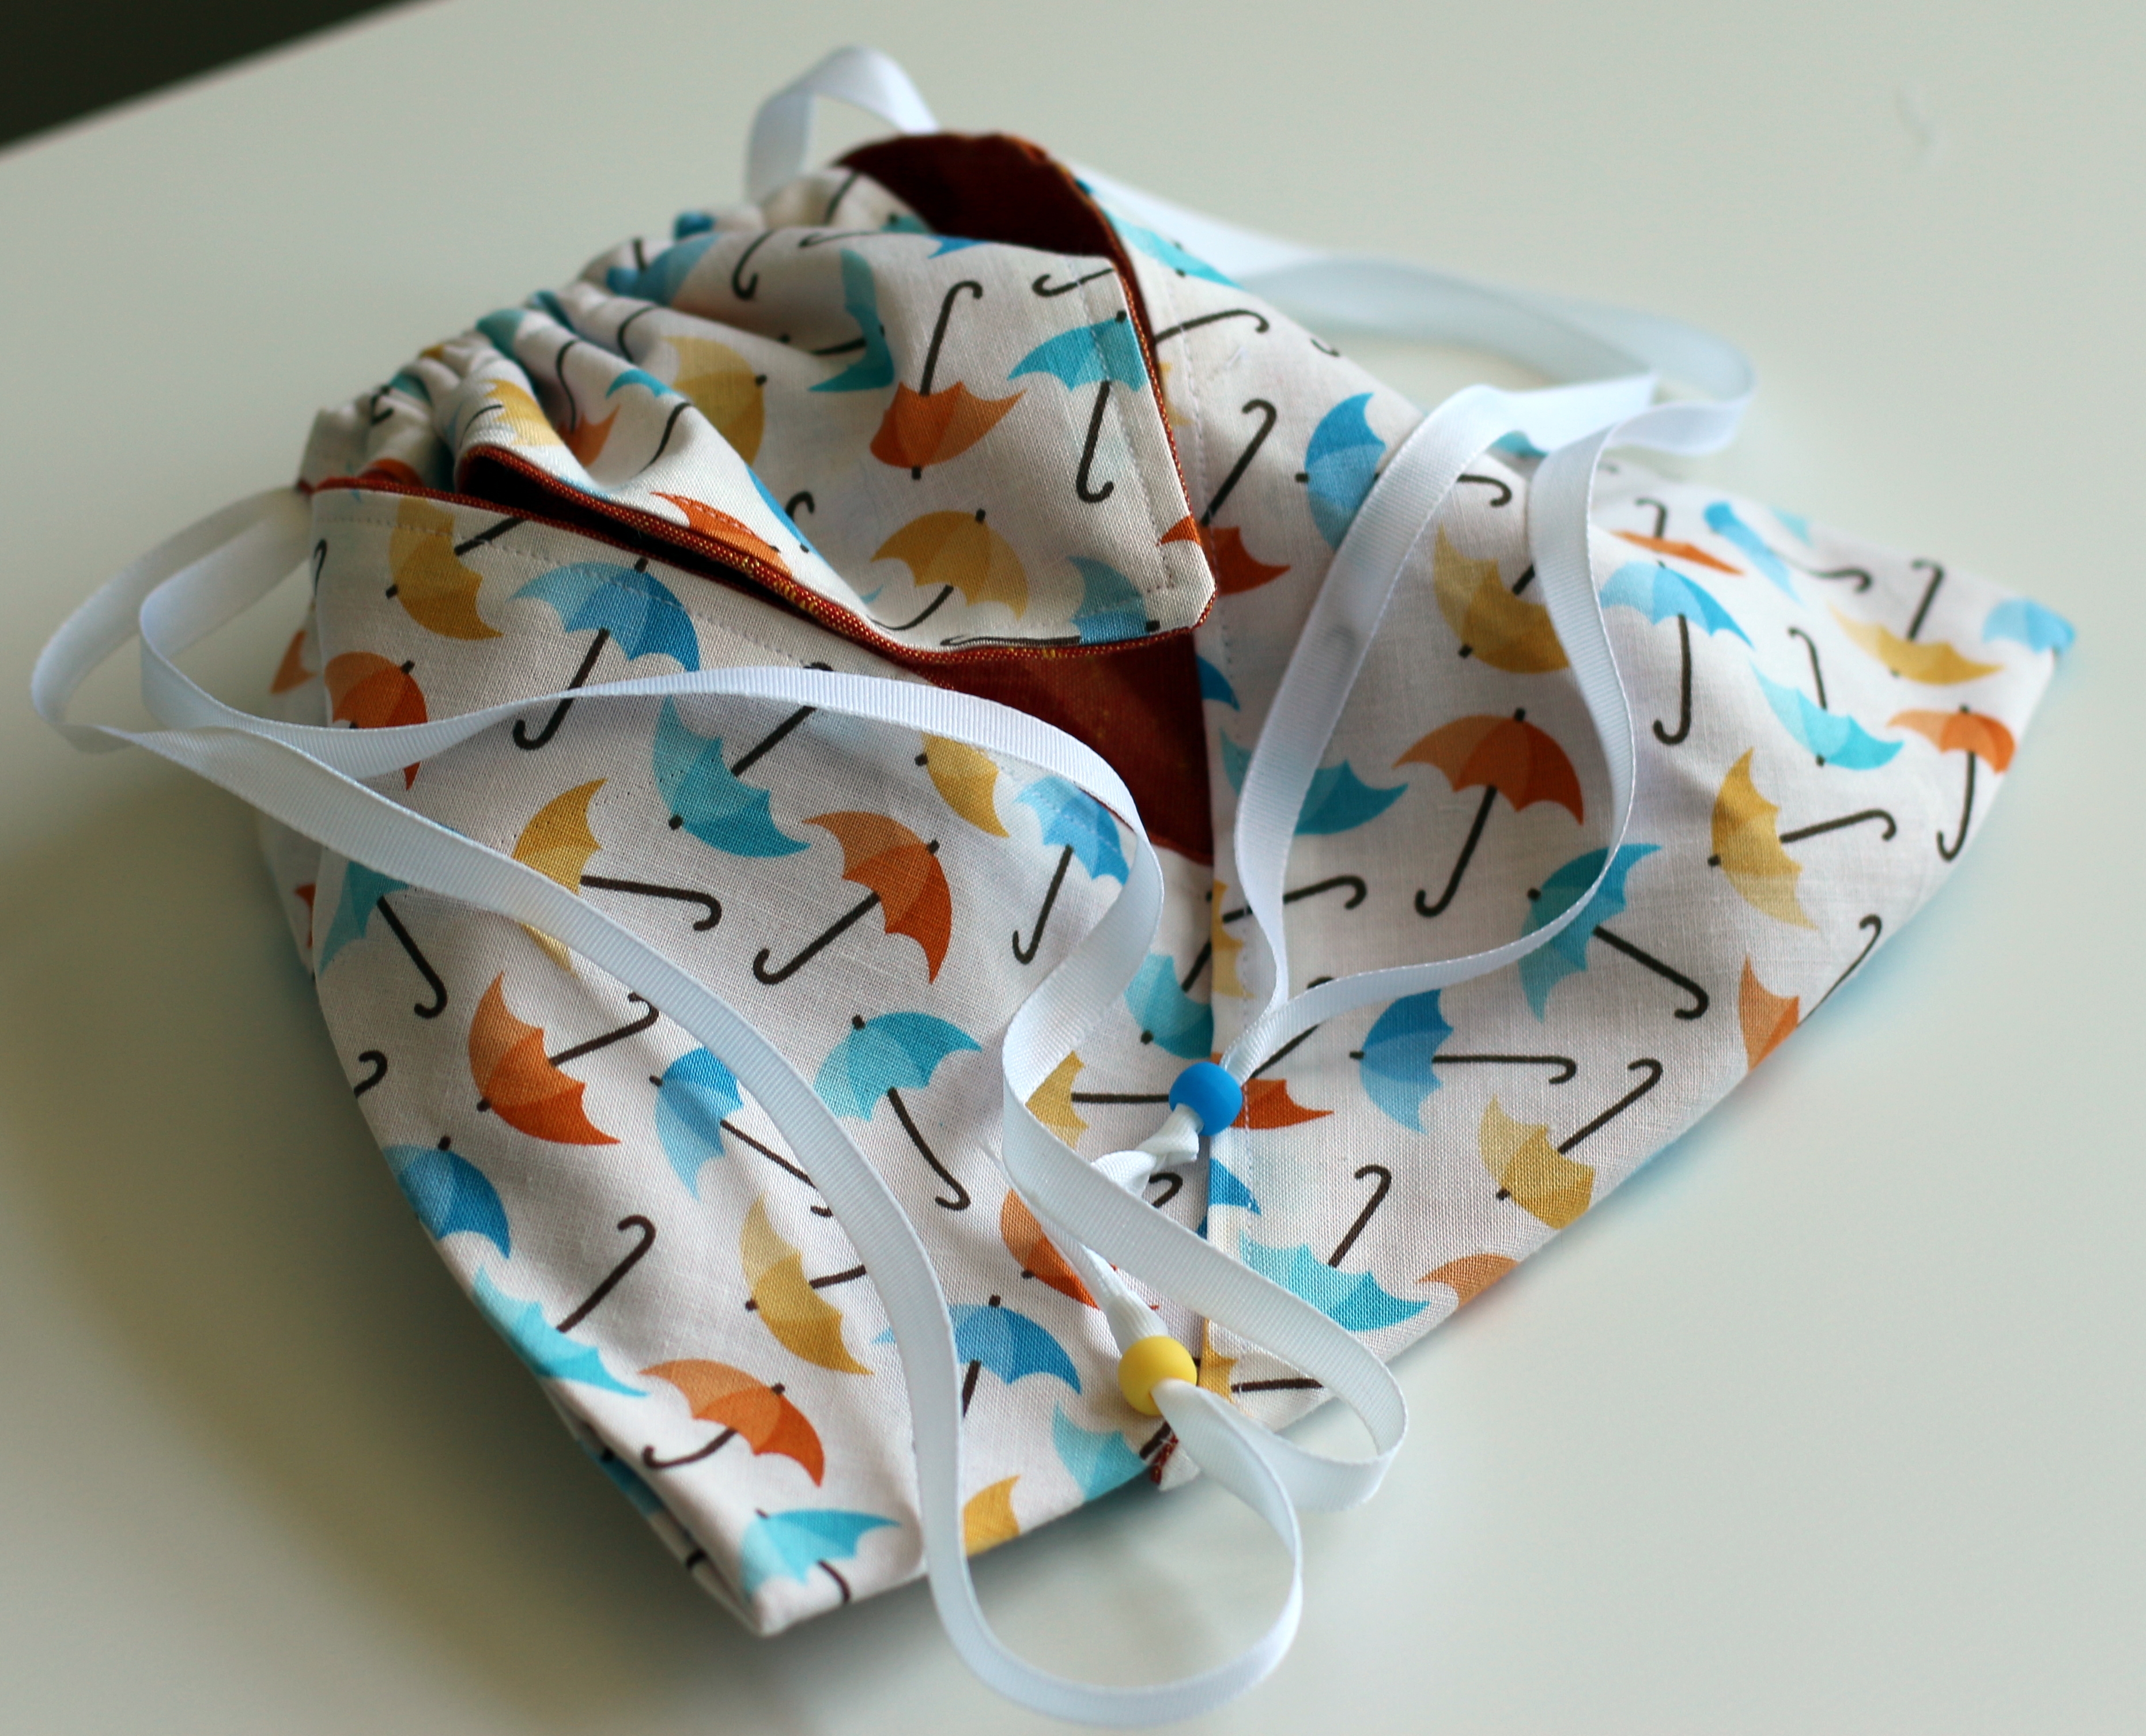
Cute yeah? My main fabric is “Lil Ducky” by Robert Kaufman. I had a fat quarter of it from Harts Fabric. The orange lining fabric is leftover from the skirt I was given, to make an apron and two little aprons out of, from my cousin’s wife Zettie.
You wanna make one? Here goes.
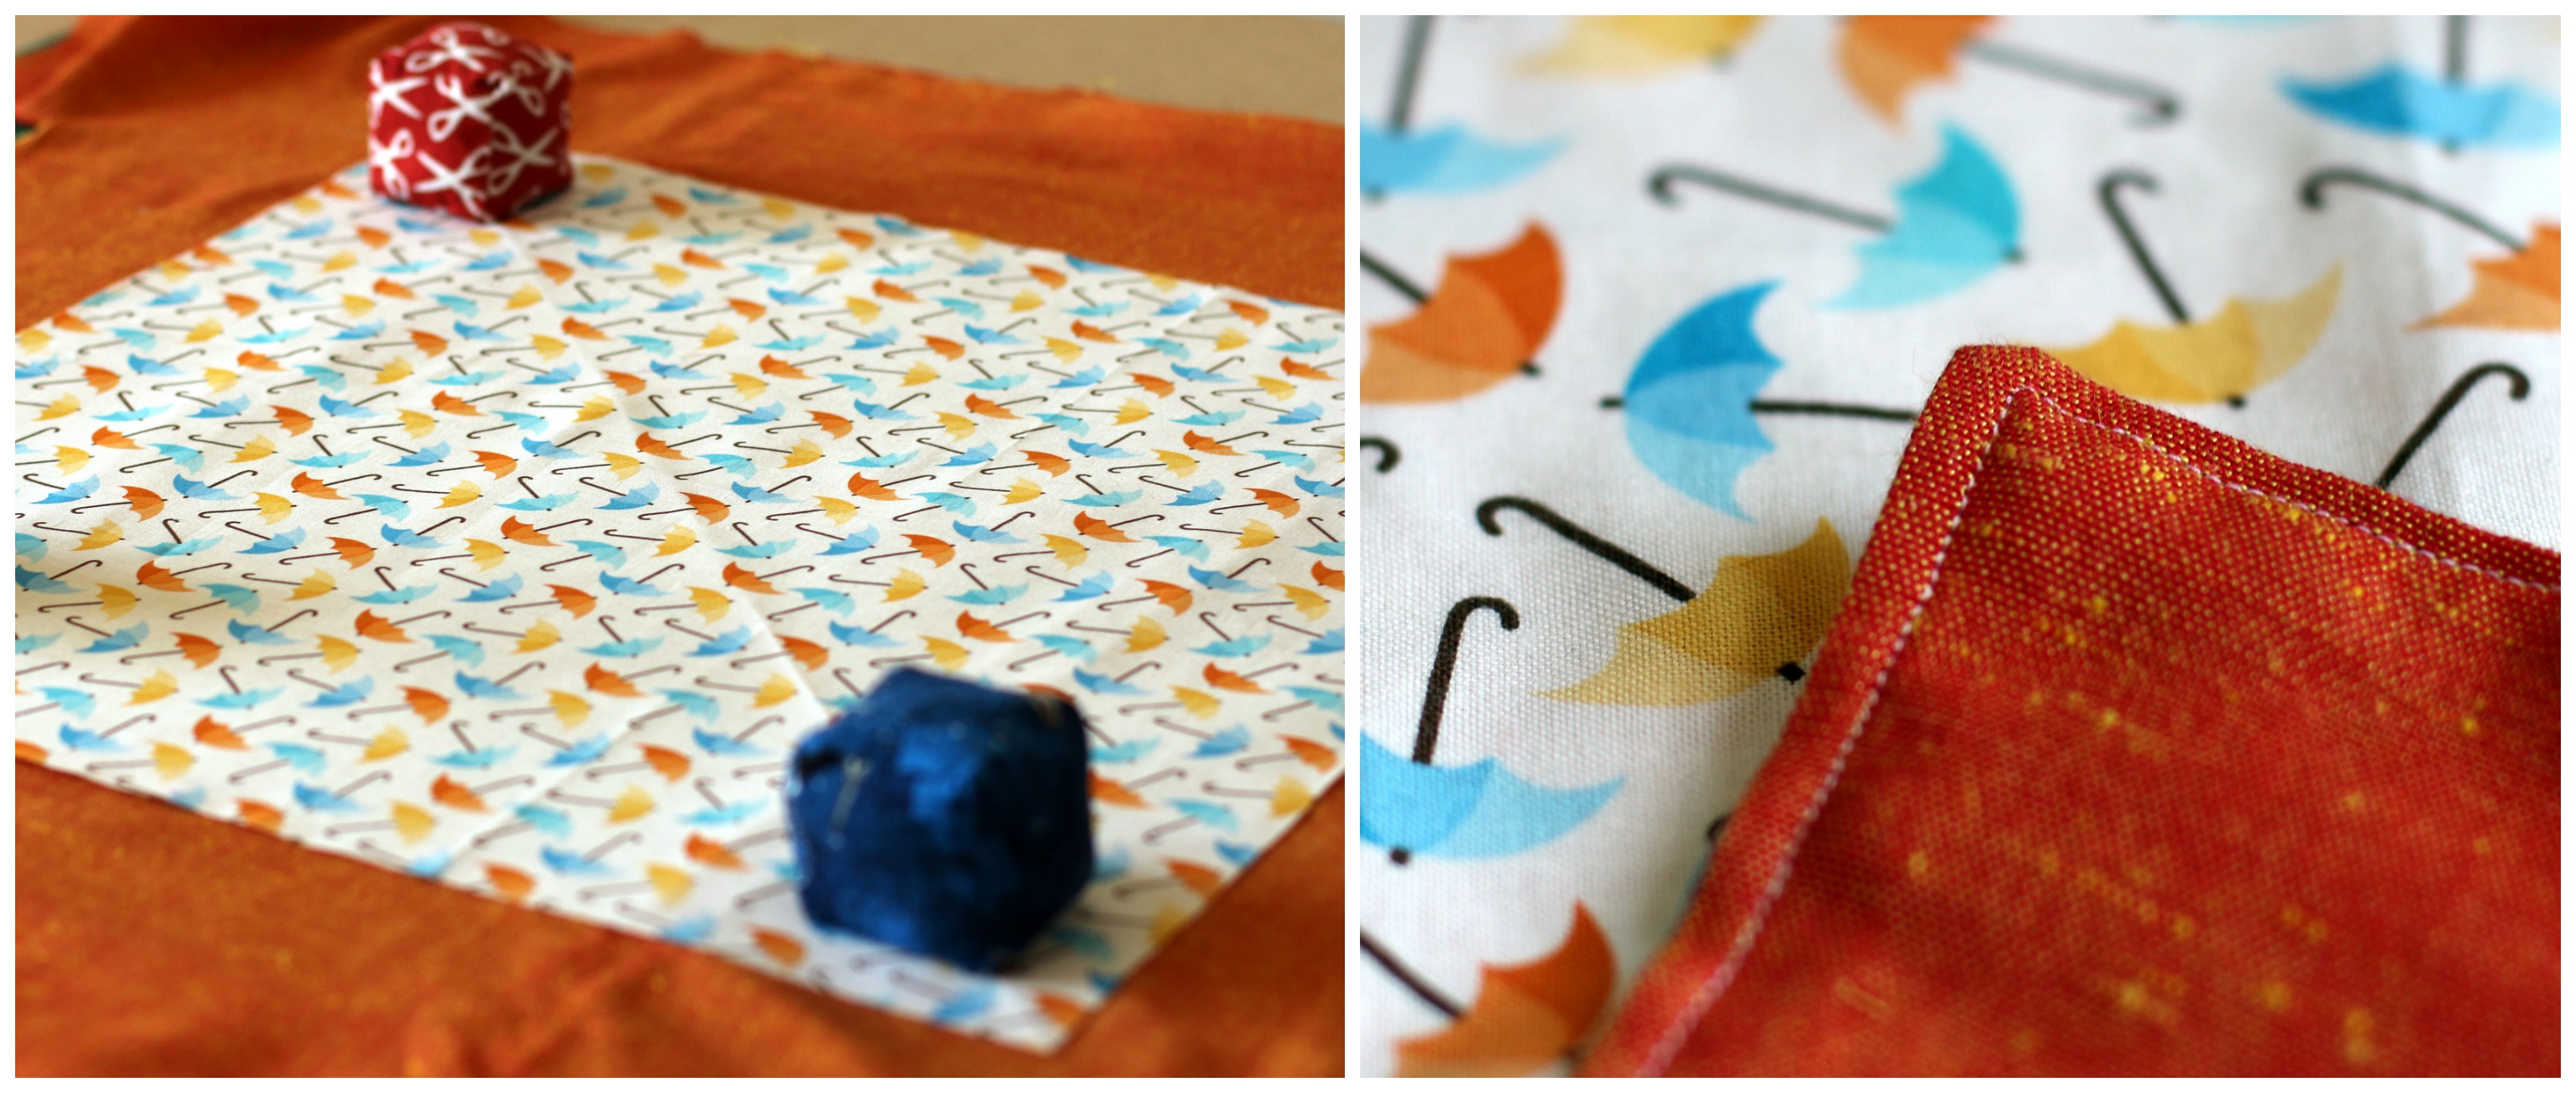
Take 2 complementary fat quarters, cut into 2 large equal squares. (I just folded the corner over diagonally and cut off the extra bit)
Stitch together right sides together with small gap to turn right side out, slip stitch gap and press. If you like, you can also topstitch around the square at this point too.
Choose your main print and fold square in half corner to corner, main print inside, to form a triangle shape.
Stitch 2 seams straight down from top, (point upwards) approx 1/3 of the way in from each end.
You should now be able to turn these ends back , exposing main fabric and corners overlapping at centre, slip stitch overlap front and back and press.
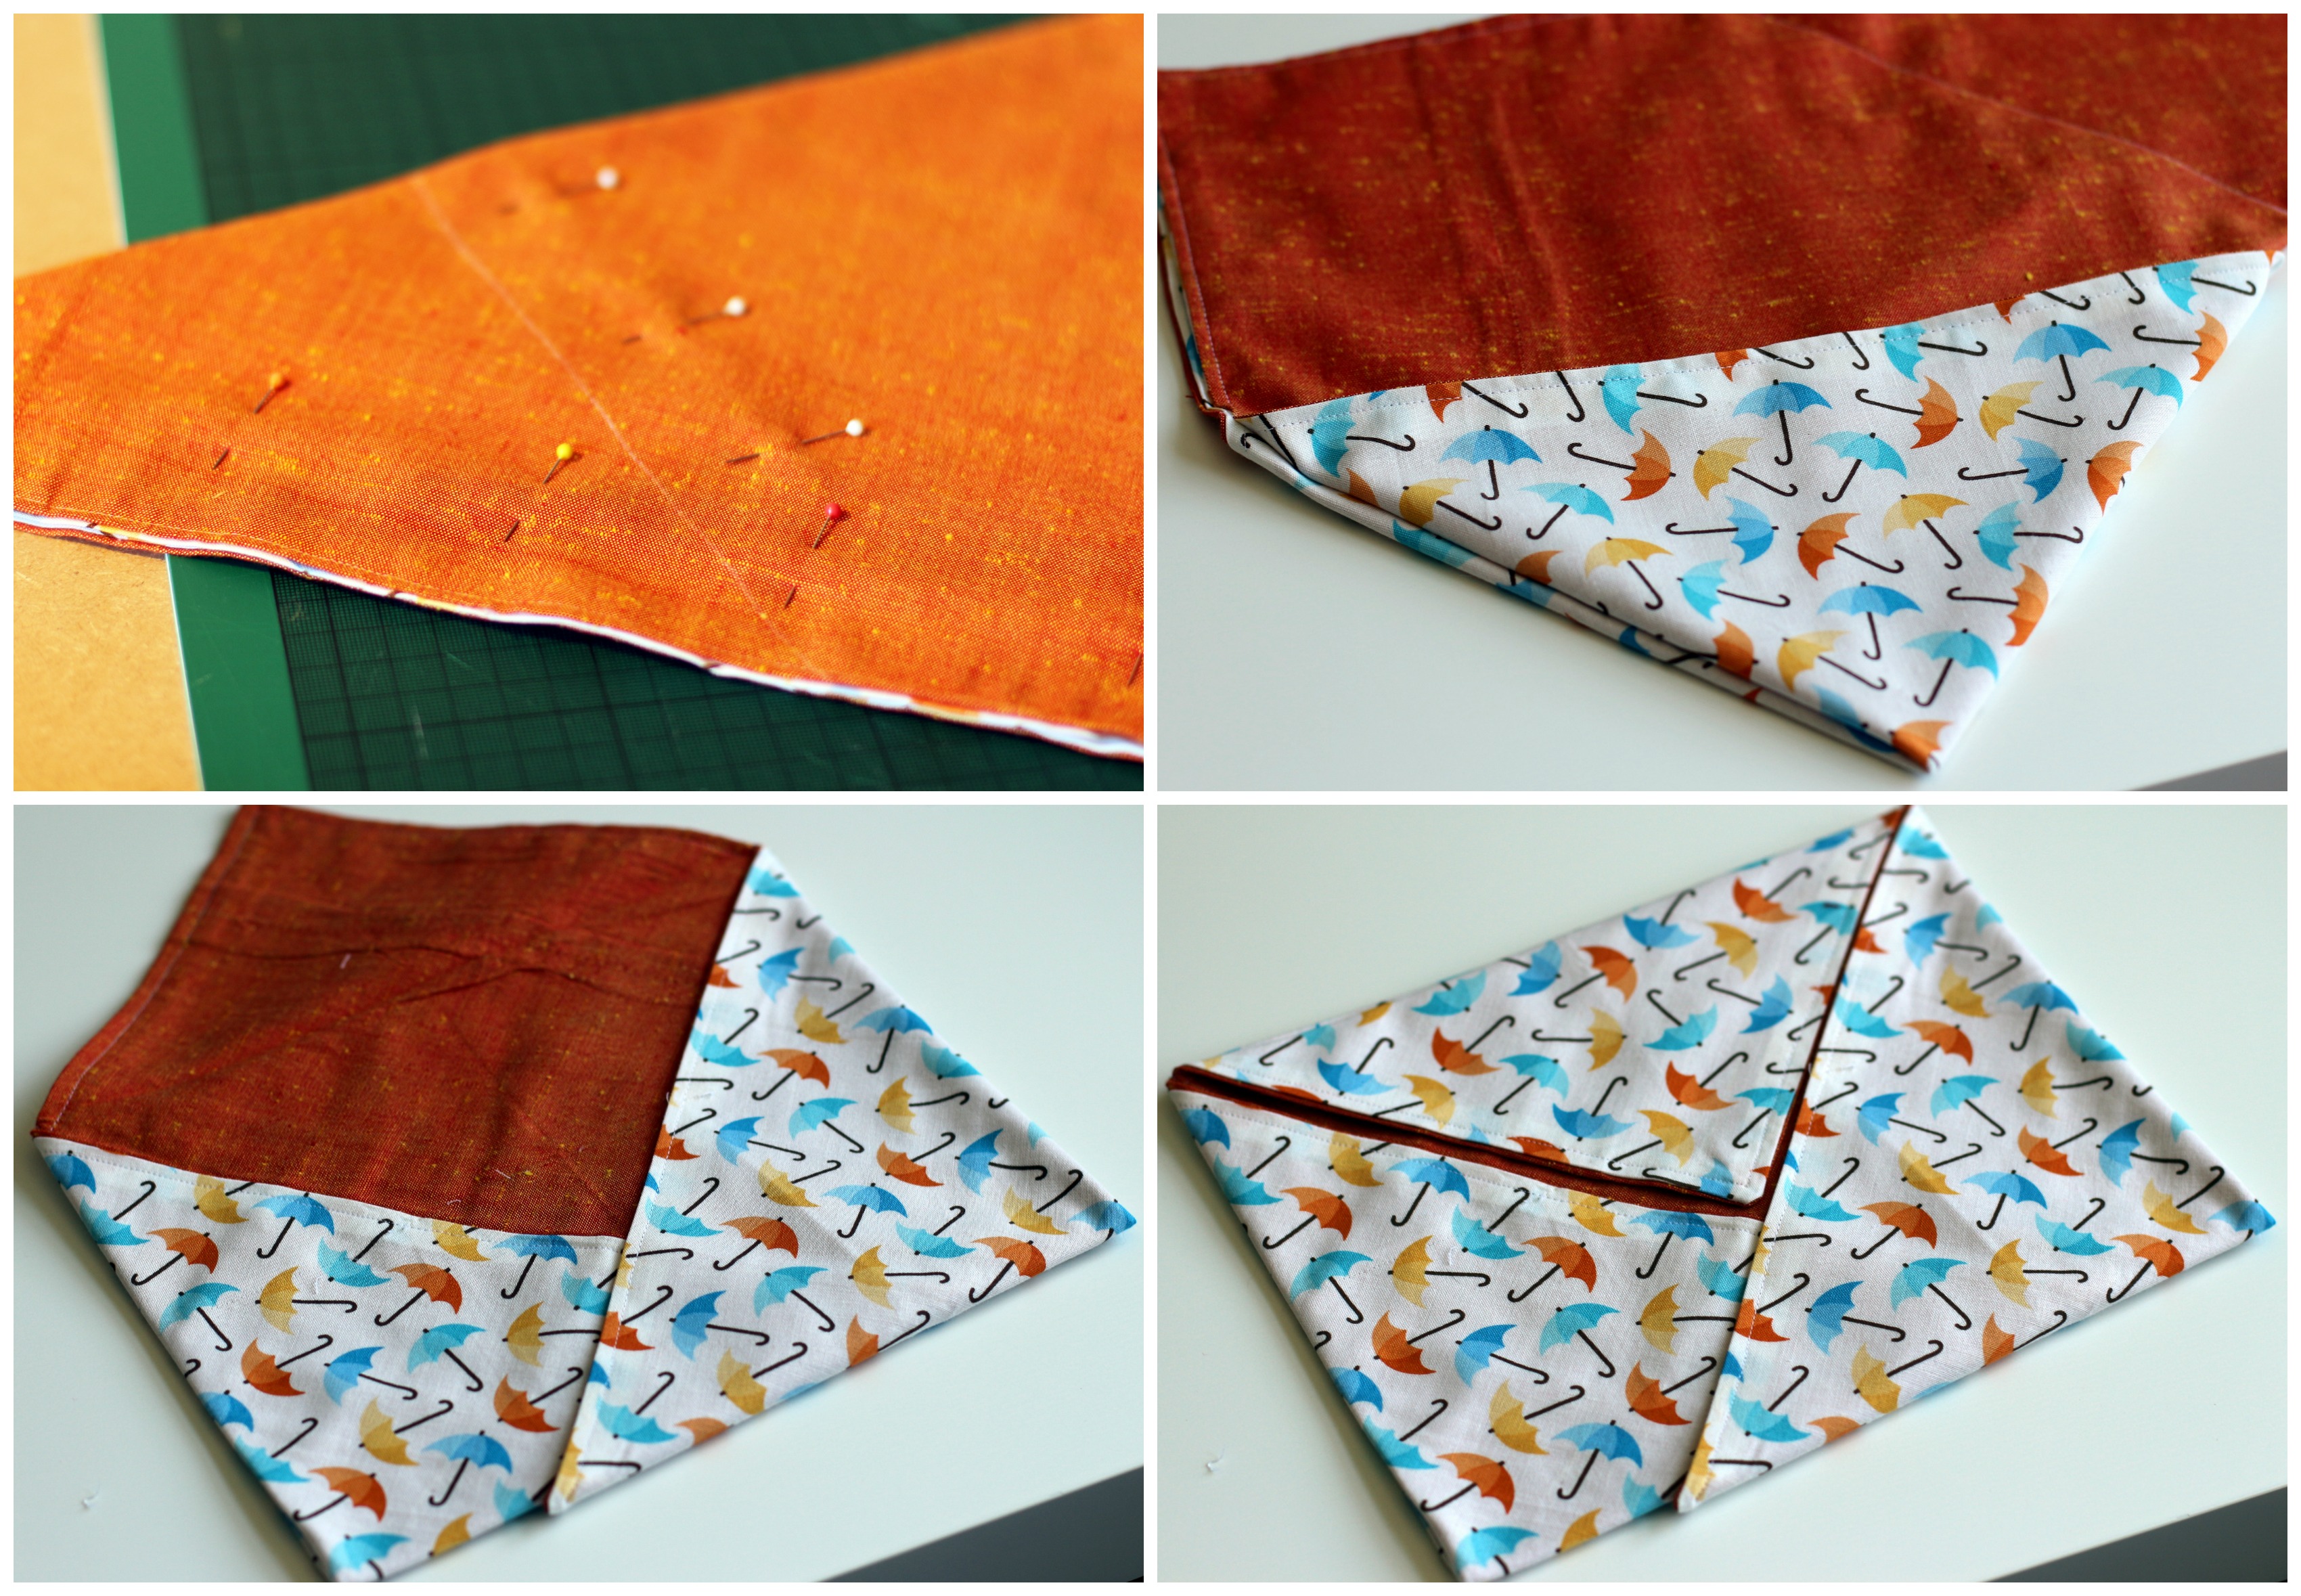
Fold top triangle piece down on each side and stitch a channel for cords to run through on each flap.
Thread pull cords through front and back, apply beads to cords and tie off.
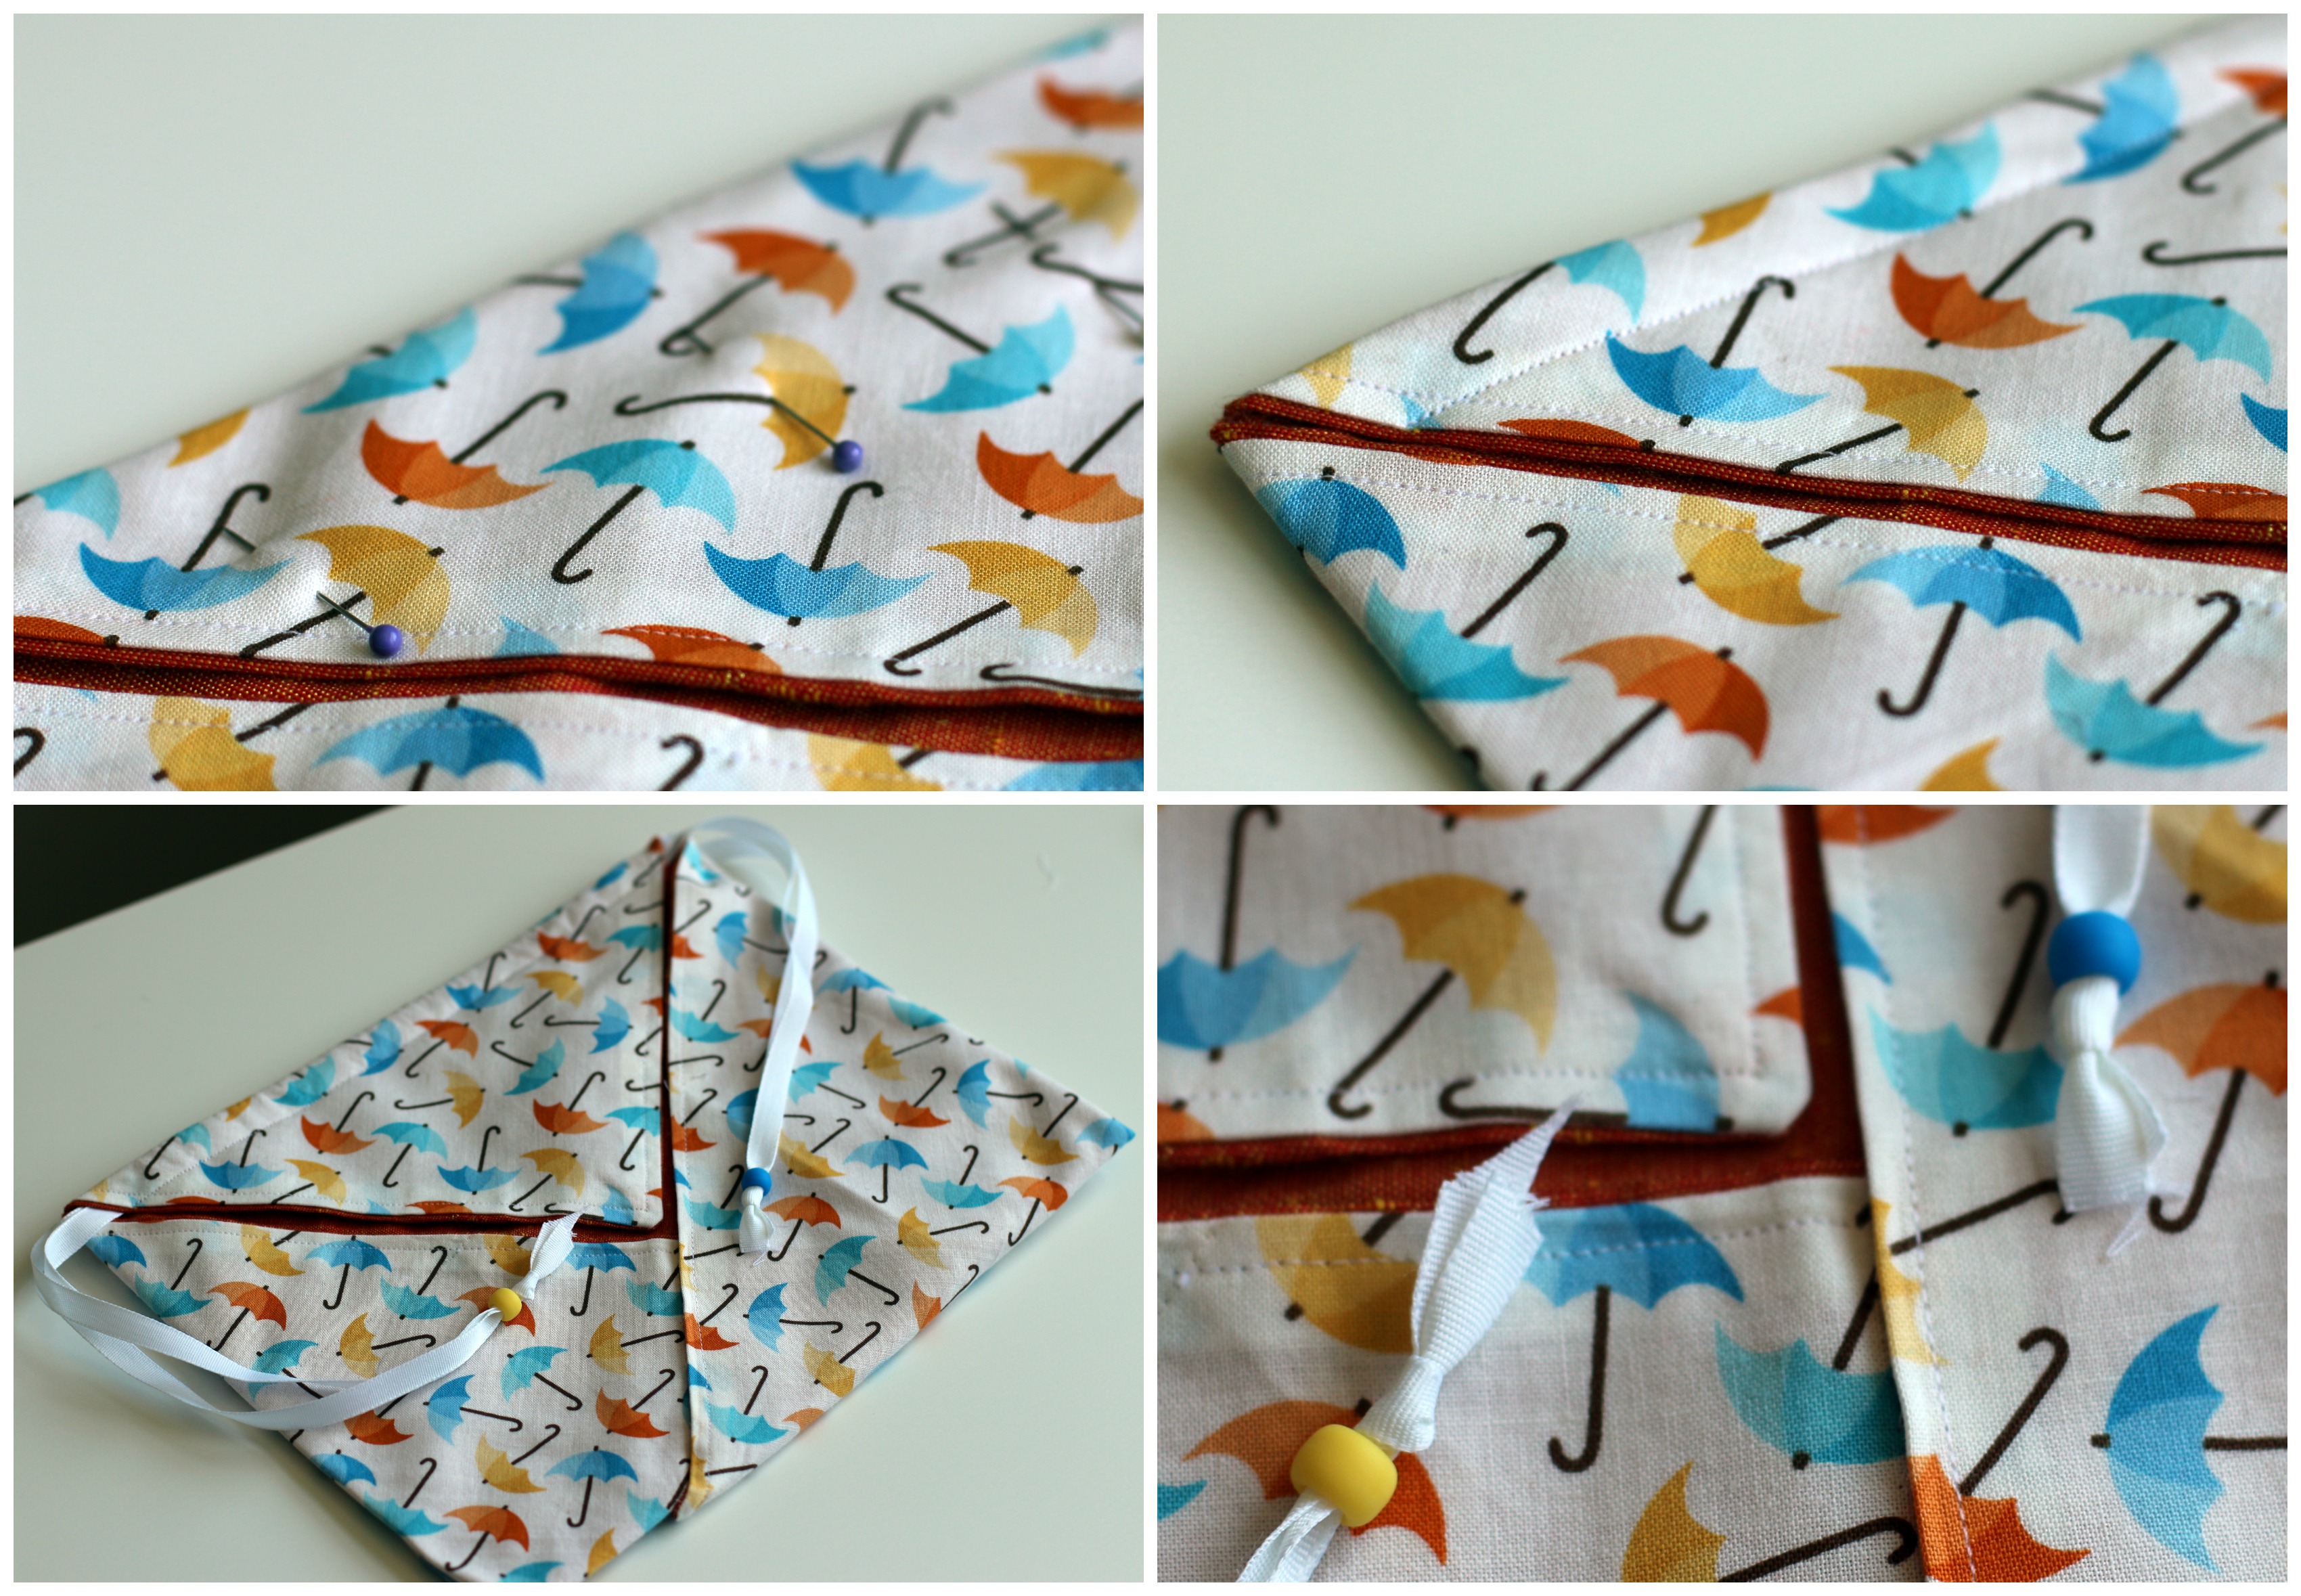
….and now you have a completed bag!
Action shot?
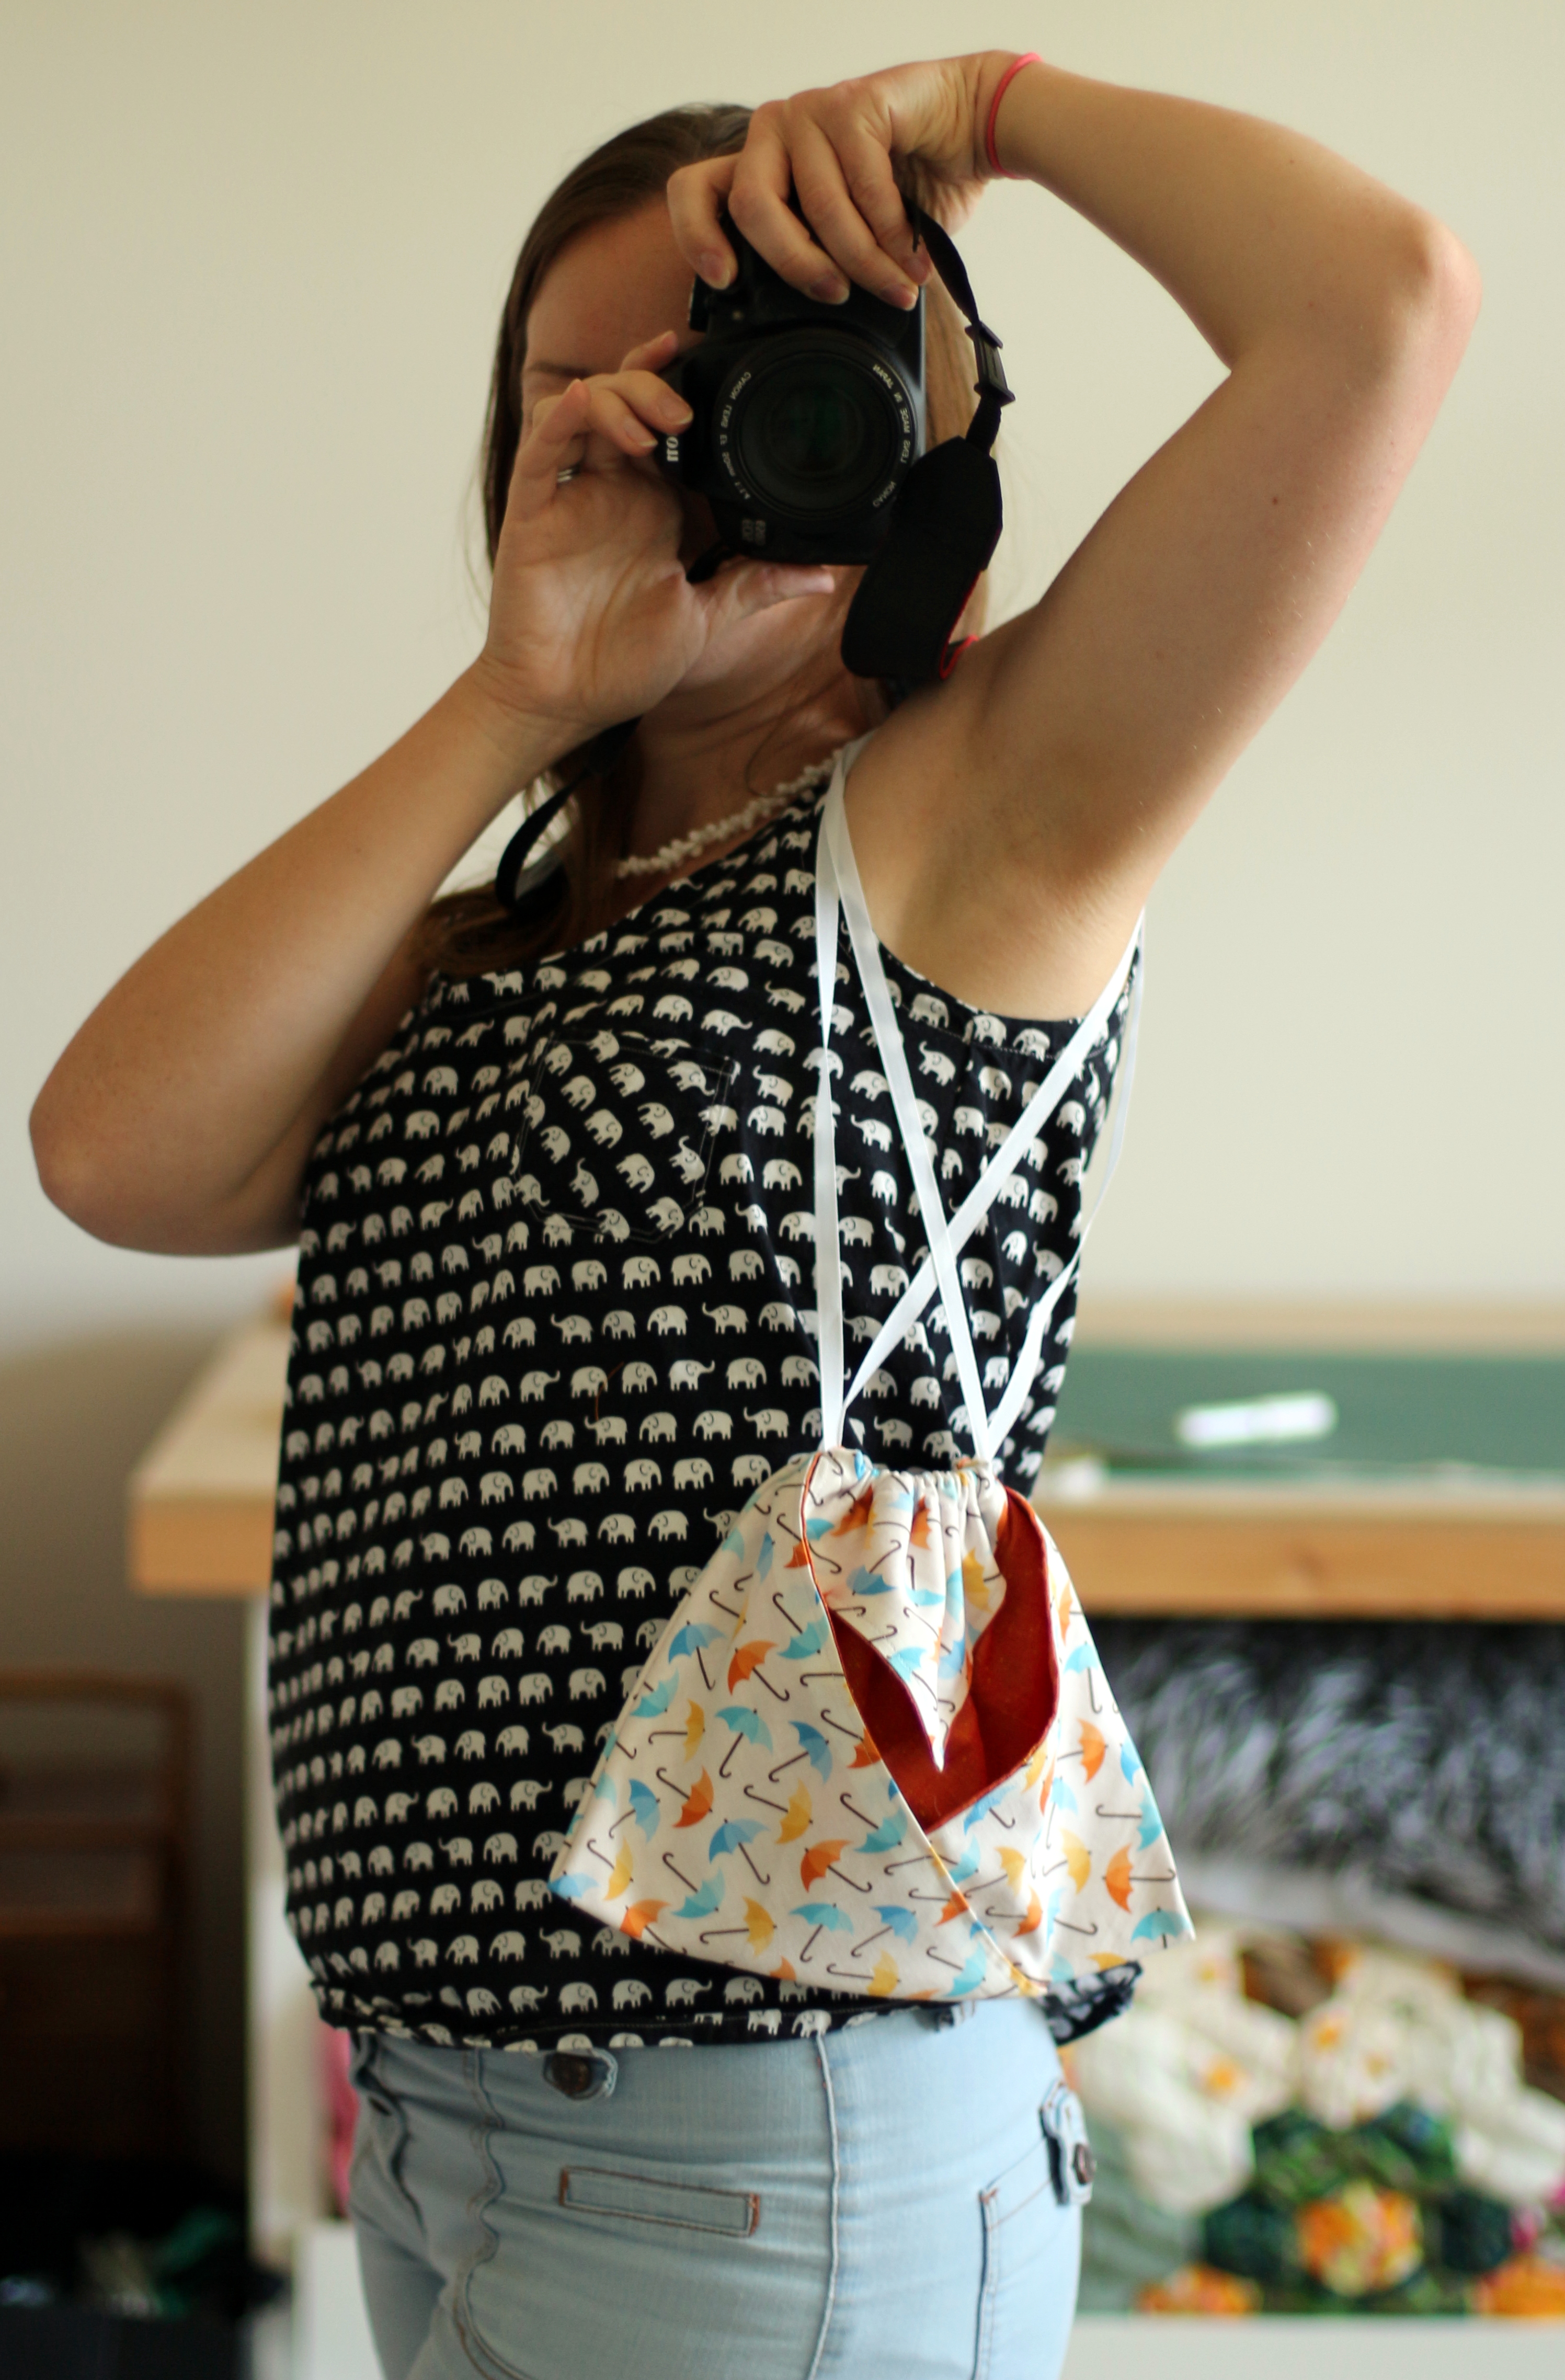
Ta dah!
It has a large drawstring-closed pocket in the centre, with some little pockets on the outside formed by the folded over flaps. Cute,quick, and reasonably easy, provided you can cut and sew some nice straight lines. I wouldn’t worry too much if they are a little off though, by gathering it up with a drawstring, it doesn’t matter so much!


Thanks Lindsay for sharing your bag tutorial. And WOW! I didn’t know I knew a blog celebrity 😉
Ha! Yeah right! Billions of followers! 😉