

I wasn’t sure whether this would be submissible for Franken-Indie, technically, I am not actually combining two sewing patterns, more a freebie crochet pattern with sewing instructions, and a freebie sewing pattern. But after consultation with those in charge, it is, and so I made sure to take it out of the work-in-progress-but-being-ignored pile and get cracking!
I have been doing quite a bit of crochet lately, and had the idea that I wanted to make a crochet yoke for a top, ready for summertime relaxing! This was a couple of months ago, turns out that as a novice crochet-er I didn’t really know where to start in order to design it. But then I found a freebie pattern on Ravelry. Sorted.
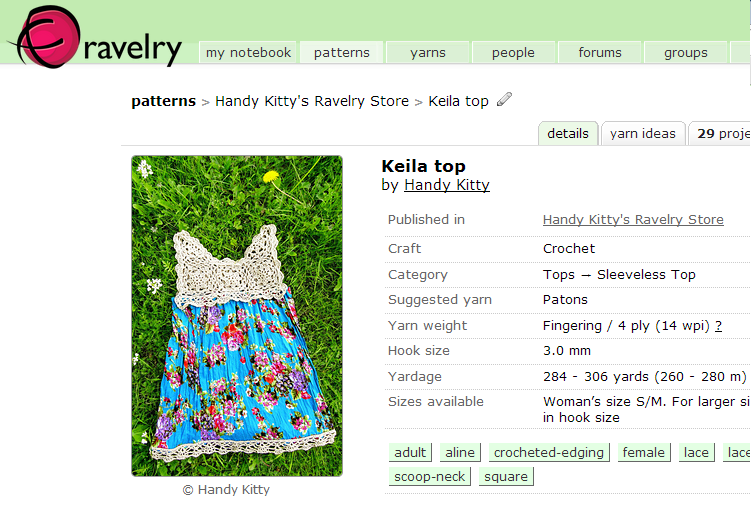
It is constructed out of 3 squares and 2 triangles on the front and on the back, all joined together with edging, and then more along the bottom.
This was my little test square out of some old yarn in my stash:

Not too tricky.
To crochet the yoke and trim, I used Patons Grace, a 100% Mercerized Cotton Yarn.
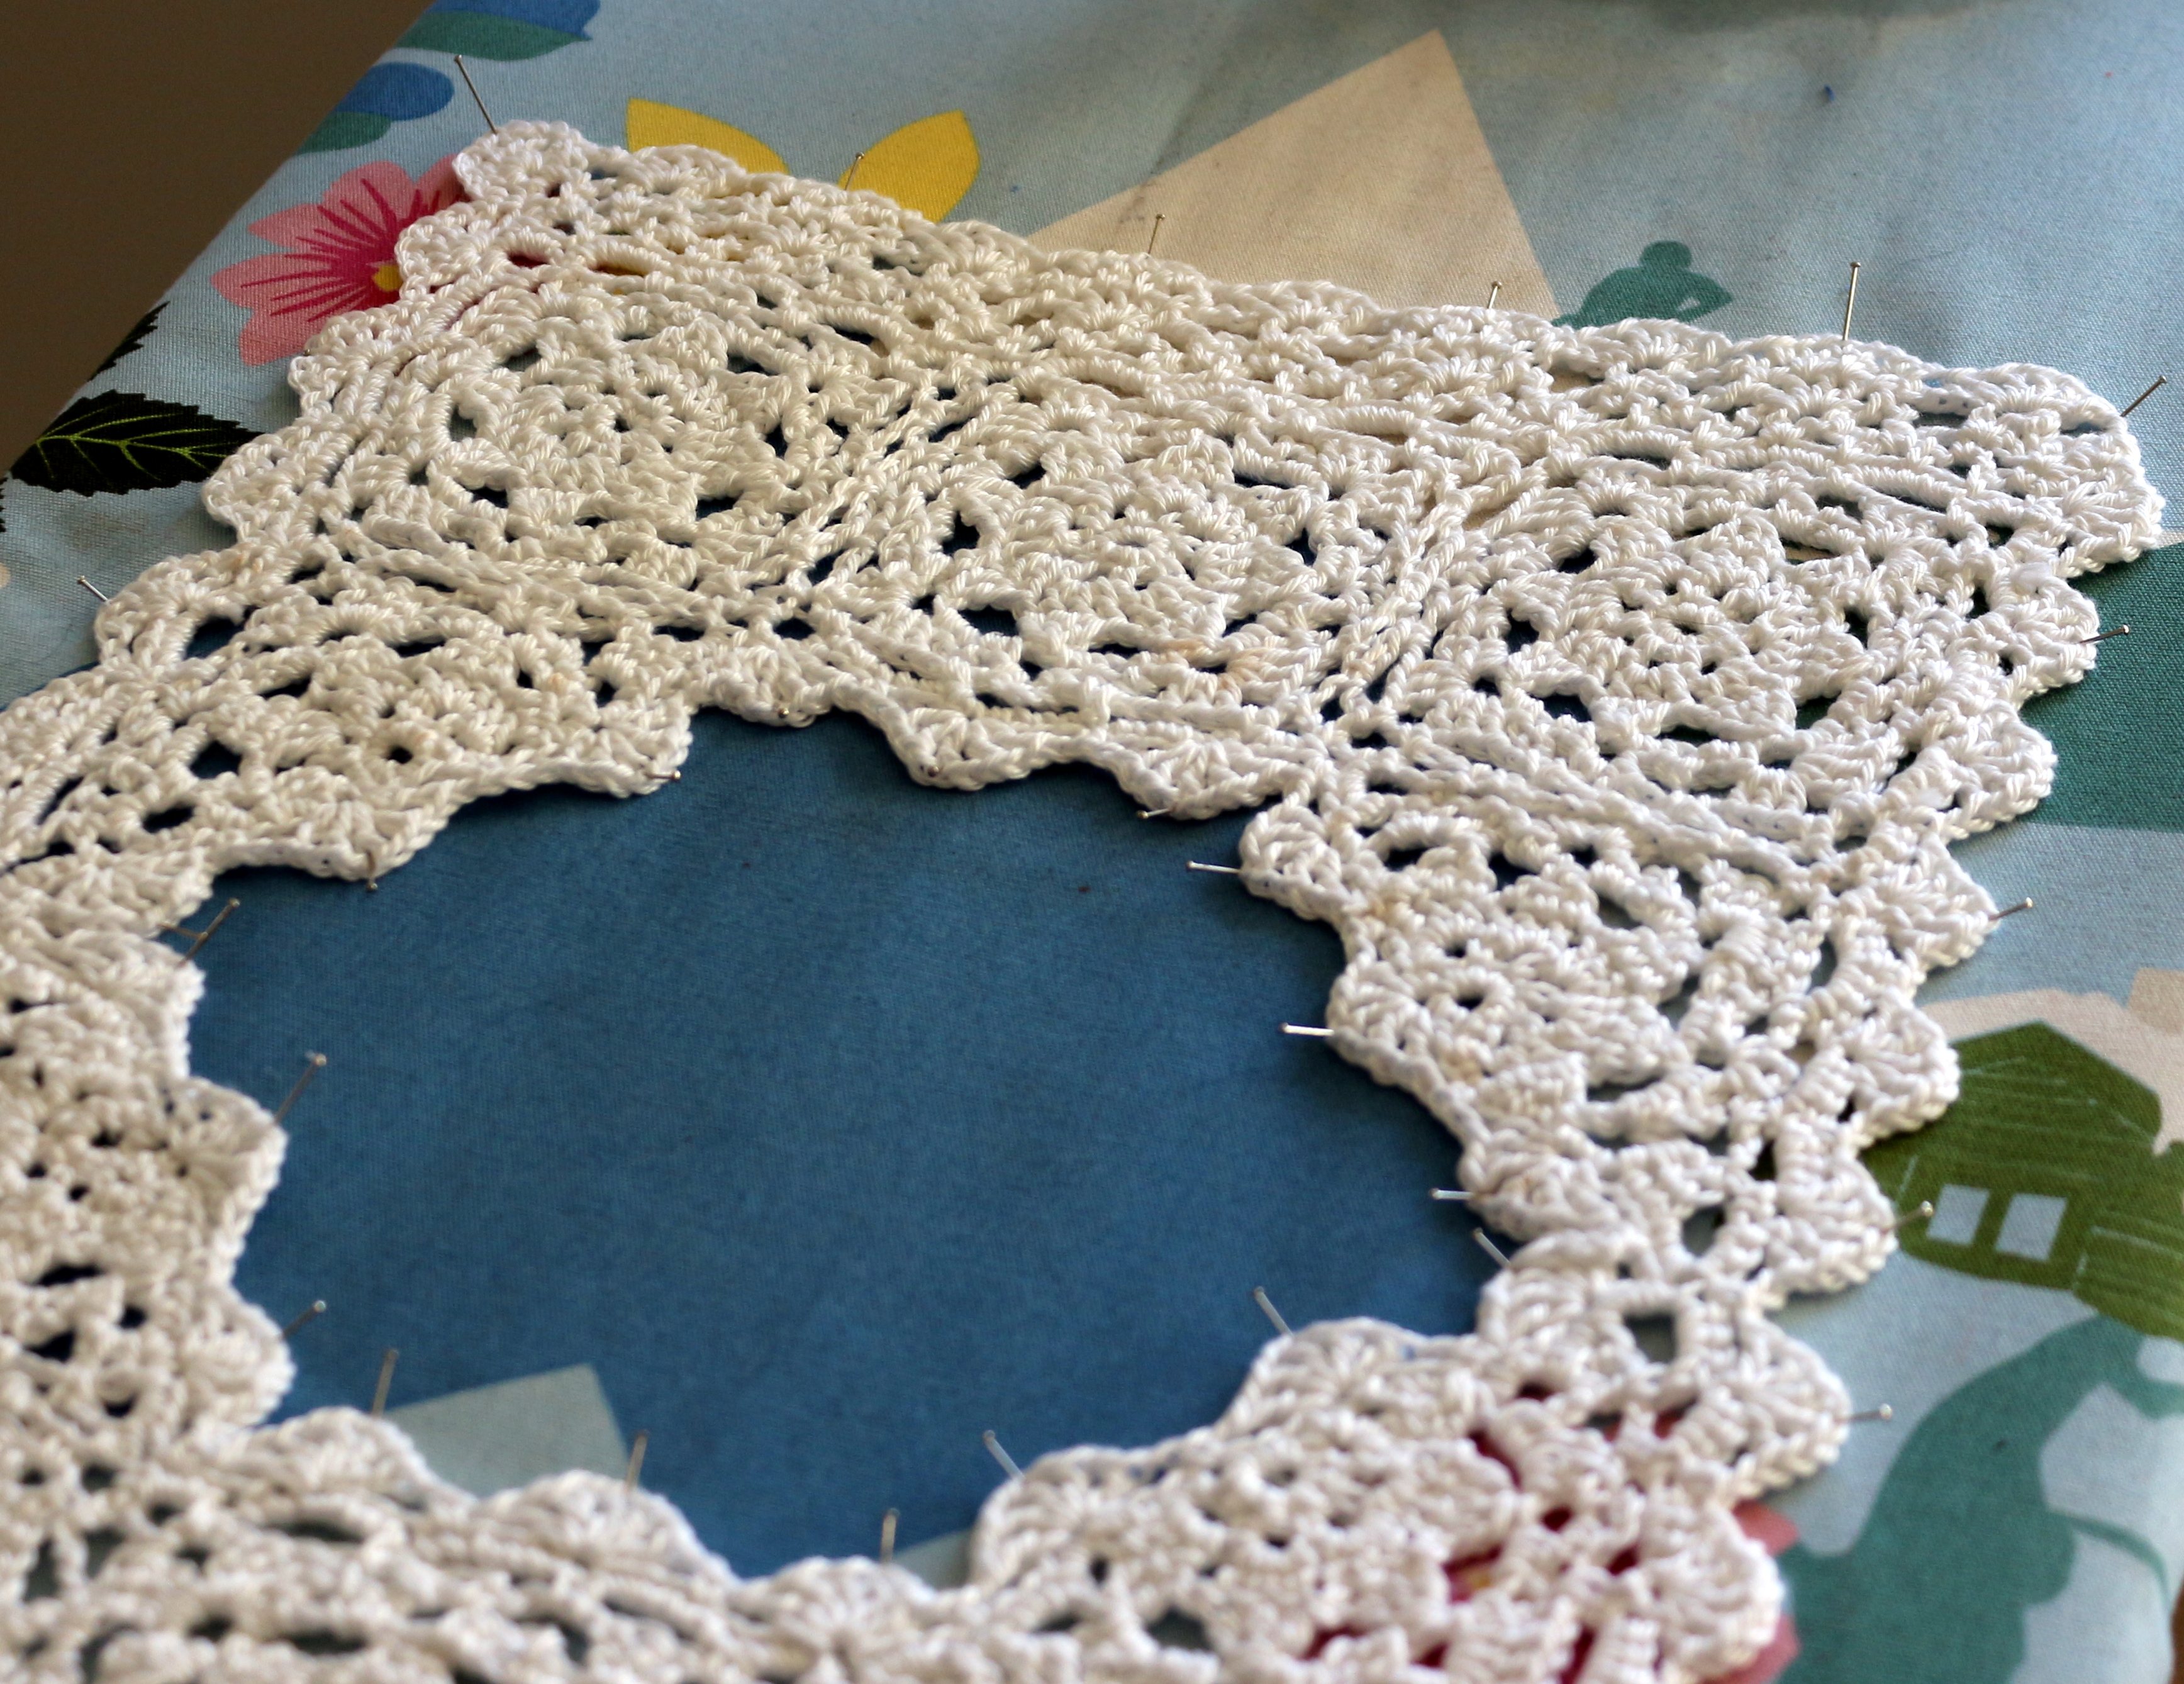
To block it into shape, I just pinned it out on my ironing board and set my iron to the cotton setting with lots of steam. Simple but effective.
The instructions in the pattern just say to cut two pieces of fabric, chest measurement plus 5-10cm by length you want plus seam allowance, sew them together at the sides, then use elastic to pull together the top at the yoke….. Tried it. It just wasn’t a glamorous look. This may have been due to the fabric I used, which didn’t really have a lot of drape, so the shape just looked a bit bleh.
And so…… it got consigned to….. The Pile.
But this week the challenge is Franken-Indie! Could I save it by combining it with something with a bit more something? I have previously used the freebie Colette Sorbetto pattern a few times. It’s my tried and tested sleeveless top pattern, so I decided to modify it slightly to make this bodice.
By measuring where I wanted the bust darts to be in relation to the yoke, I then adapted the pattern:

2 3/4″ from the top is where I needed the bust dart to end, so I folded over the pattern at this line, adding seam allowance and drawing these onto the fabric. As I had already cut into my fabric, I had limited width (and length, but width was more crucial) to work with, so when I sewed the pieces together at the sides, I had to taper out the seam allowance from the full 5/8″ at the bust, to 1/4″ at the bottom in order to fit it in. I tried it on, to check the fit, and check that the darts were in the right place:
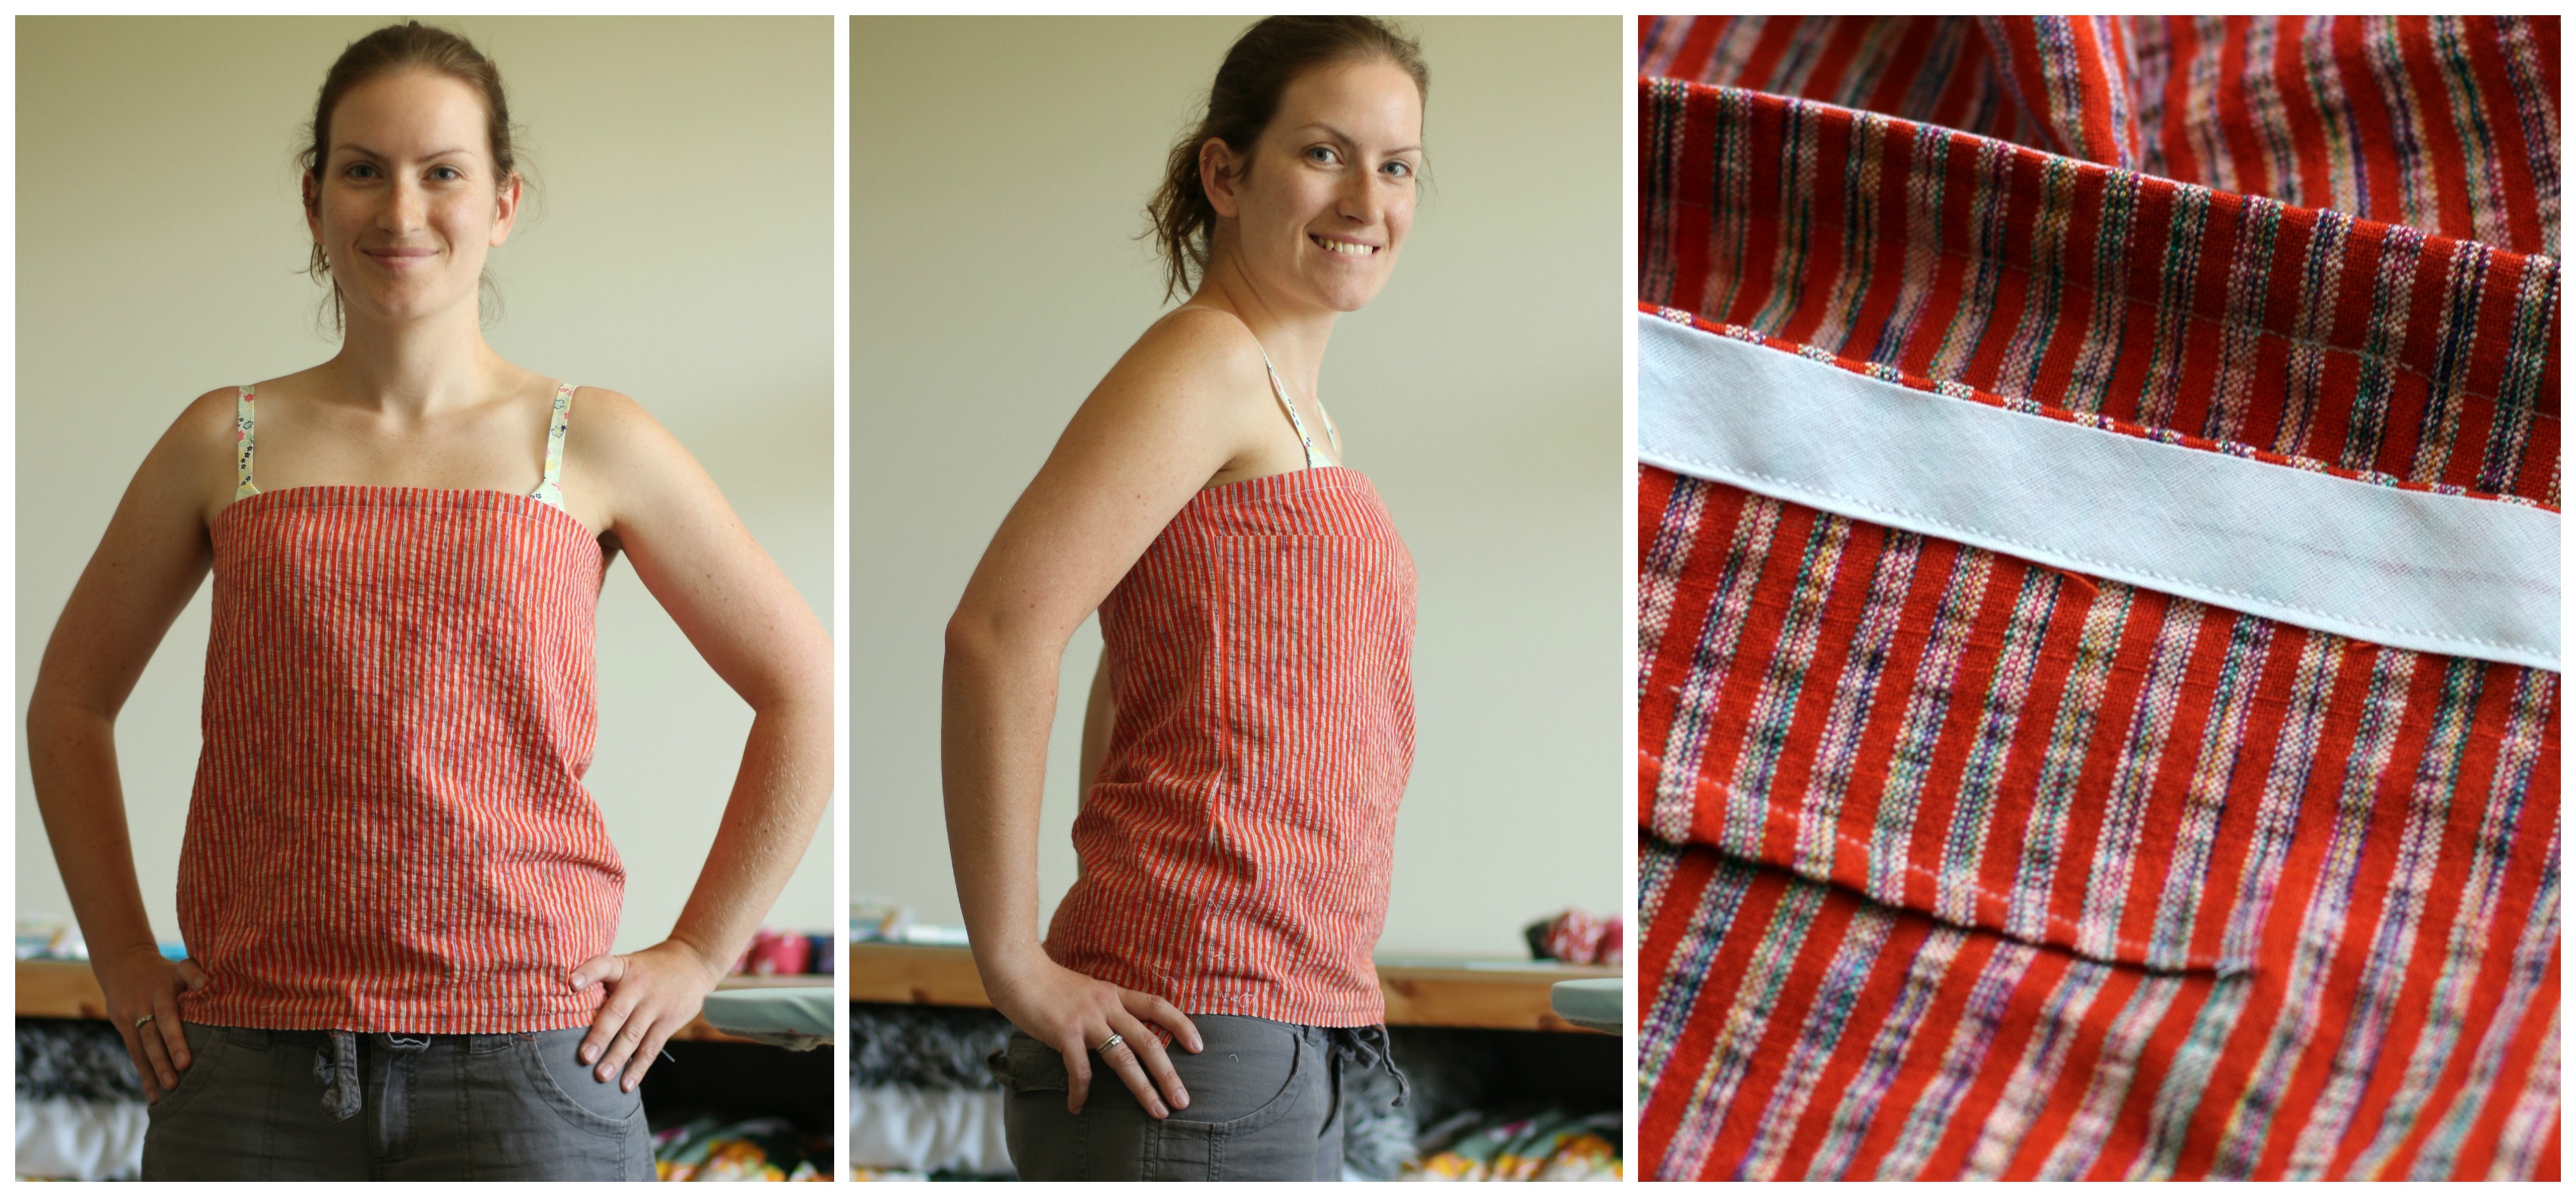
To maintain the length of the bodice, and stabilize the top and bottom edges, I finished them with some white bias tape.
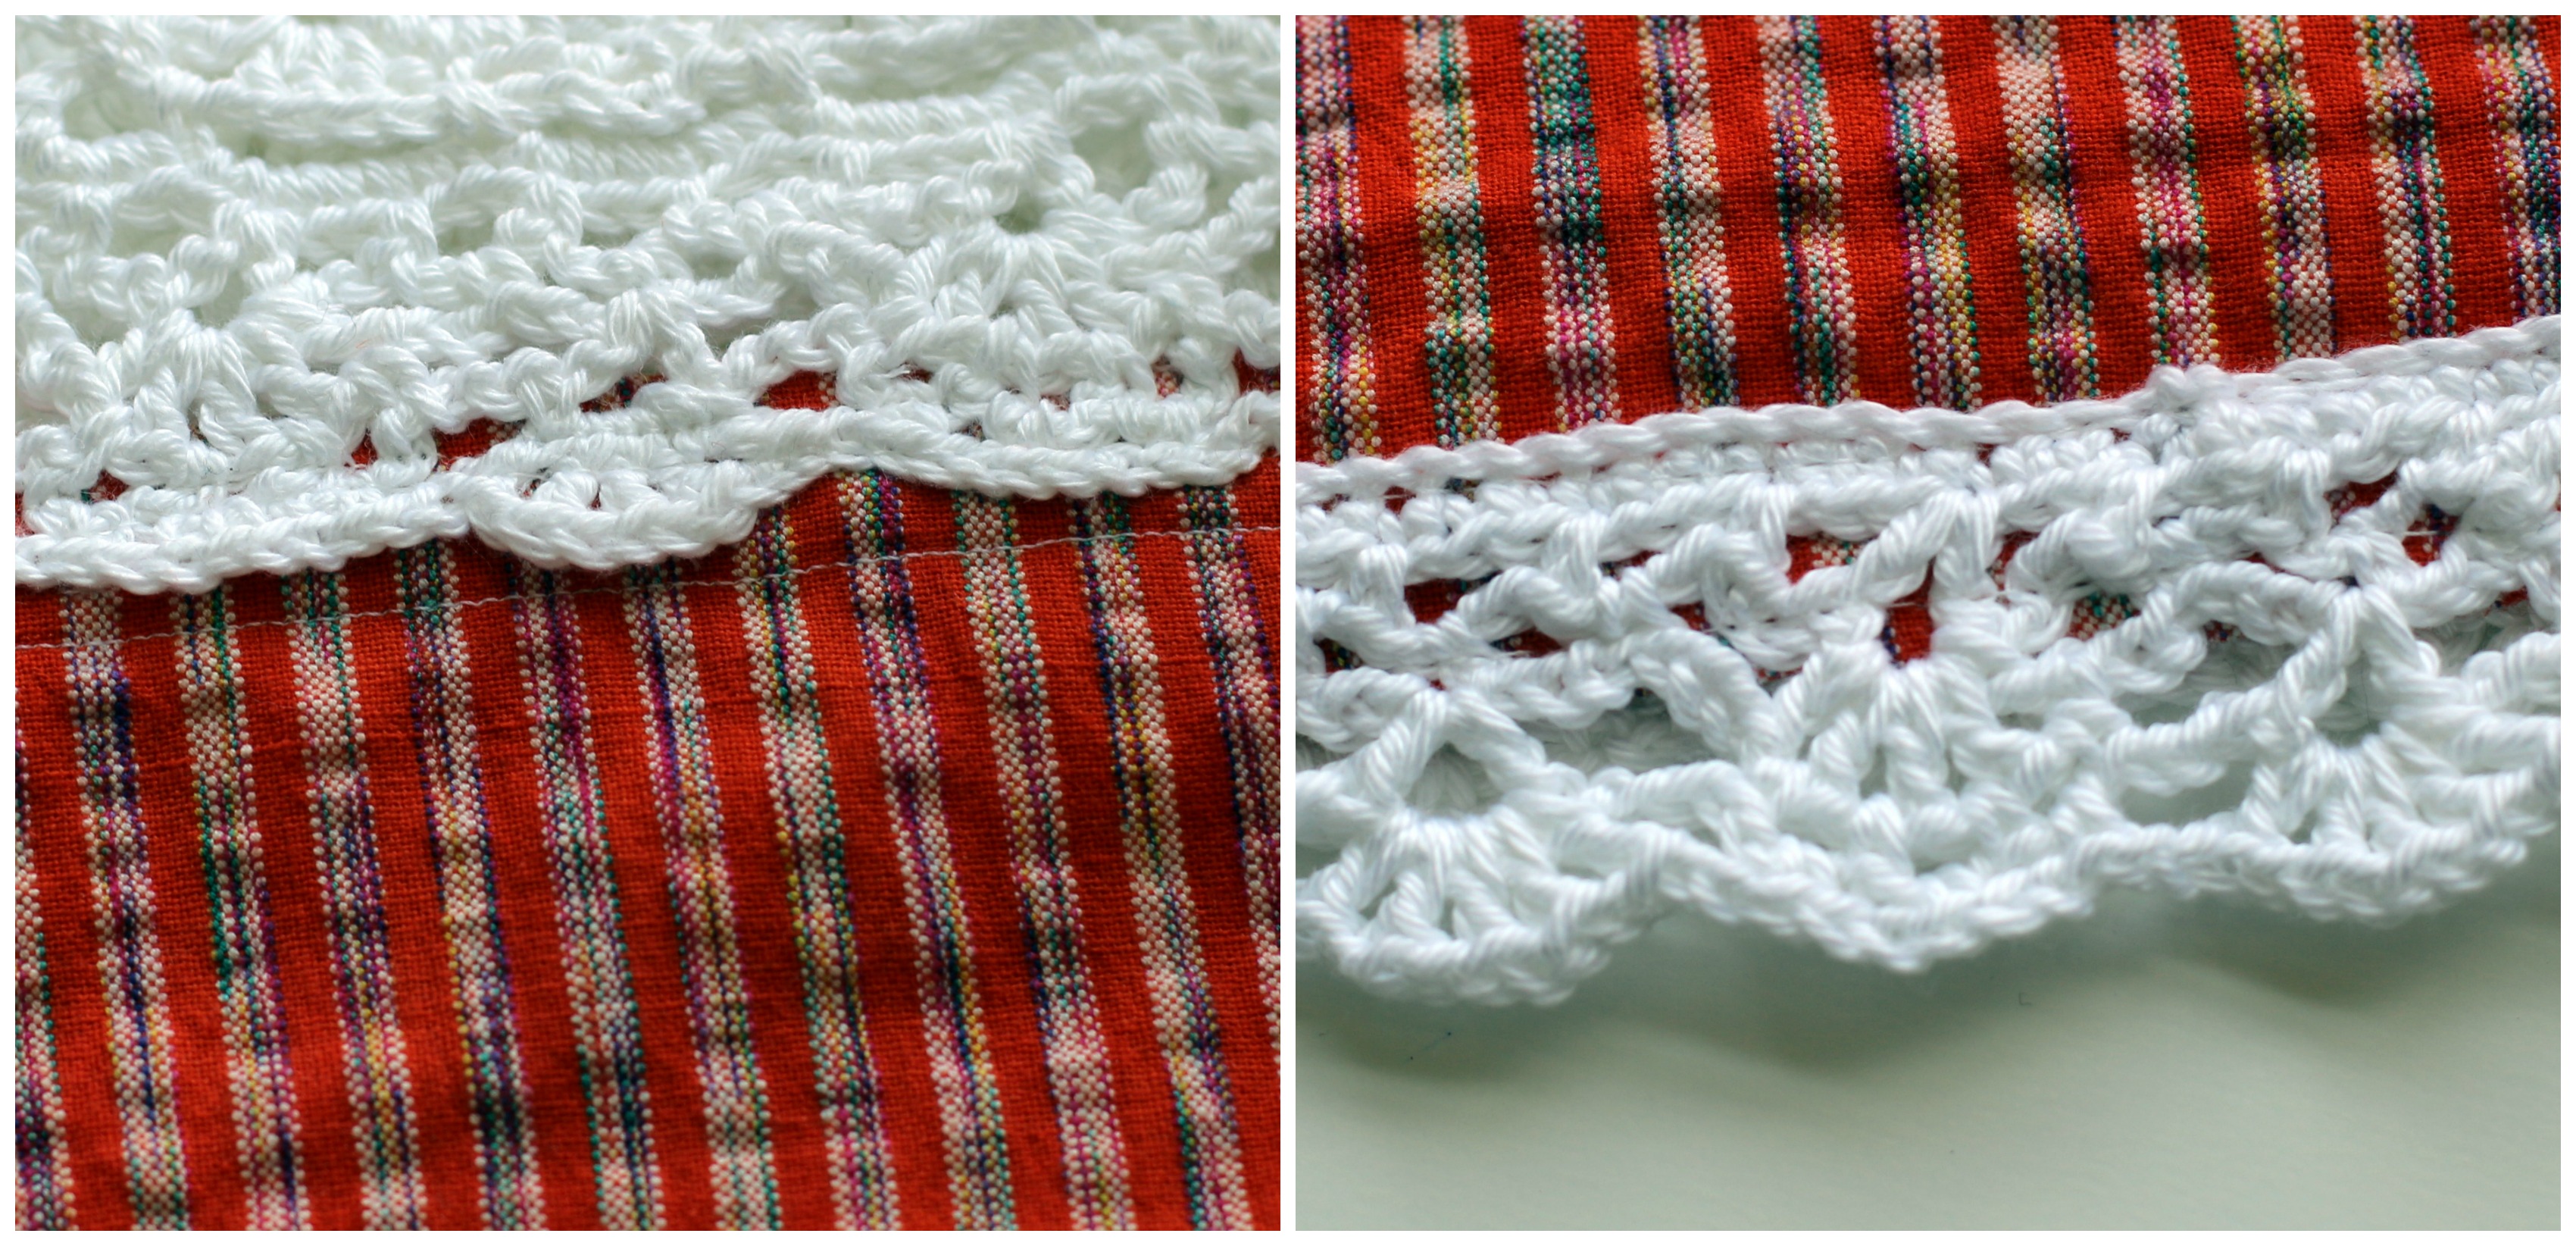
To complete it, I just sewed the yoke and bottom edging on with lines of straight stitch.
Done!

Action shots? You betcha!

Yep, I took over the playground for pictures today.

No children were present.

I am really going to have to watch out for dodgy tan lines with this one!


I love this! It looks so nice.
Thanks!
Absolutely beautiful!! I can’t wait to learn to these crafty things. I think the poor Singer came to its end when I was practicing stitches on it. Looking to buy a new machine. ( exciting!) can I ask which one you have? My mum recommends a simple Janome.
Mine is Grandma K’s Bernina 830. A trusty sidekick. Although Berninas tend to be expensive.
Bernina is too good for me! I am thinking of Janome 2032/ J318 or the fanciest 525S! Hmmmm
I think I might treat mine to a service soon. Poor thing.