
As a Microbiologist, I am a big fan of growing stuff.
I am not green fingered, I will kill any plants that you might place in my care.
I also don’t drink, so making my own beer or wine holds no allure.
But I did keep going my own sourdough starter for many years, nourishing those little microbes so they could make us tasty bread, and some Herman cake starter, which gave many many delicious cakes in it’s time.
Another common thing to have going at home among microbiologists is Yogurt, which is why I was drawn to this book for my next book choice. I had hoped to be inspired to have a constant supply of yogurt on the go, a healthier alternative to the random breakfasts I have been having lately.

From first impressions, I was a little underwhelmed. The author has given plentiful instructions for making yogurt, and furthering that to yogurt cheese, or greek yogurt etc, but to me it just gave me an instant feeling of taking a step back and “Whoahhh”. It was a lot of information to take in, a lot of text, with few pictures or diagrams to help, other than the classic arty shot of the finished product. The recipes themselves, a lot of the ones in the breakfast section are really more like serving suggestions – “Yogurt with Dried Fruit”, or for the soups, the yogurt is used mainly as an addition at the end, swirled in to the finished product either alone or with some herbs and spices. However, there are some unusual combinations that I might give a try – Spinach with Brown Butter, Yogurt and Dukka anyone?
Anyway, the number one reason for picking this book was yogurt, so I gave yogurt making a go. I did the full ten minute at 195F heating of the milk, but I couldn’t find any nonfat dry milk, so I skipped that optional step. After cooling and adding the yogurt culture (just some live organic plain yogurt), I dispensed the mix into 1/2 pint glass jars for the next step.
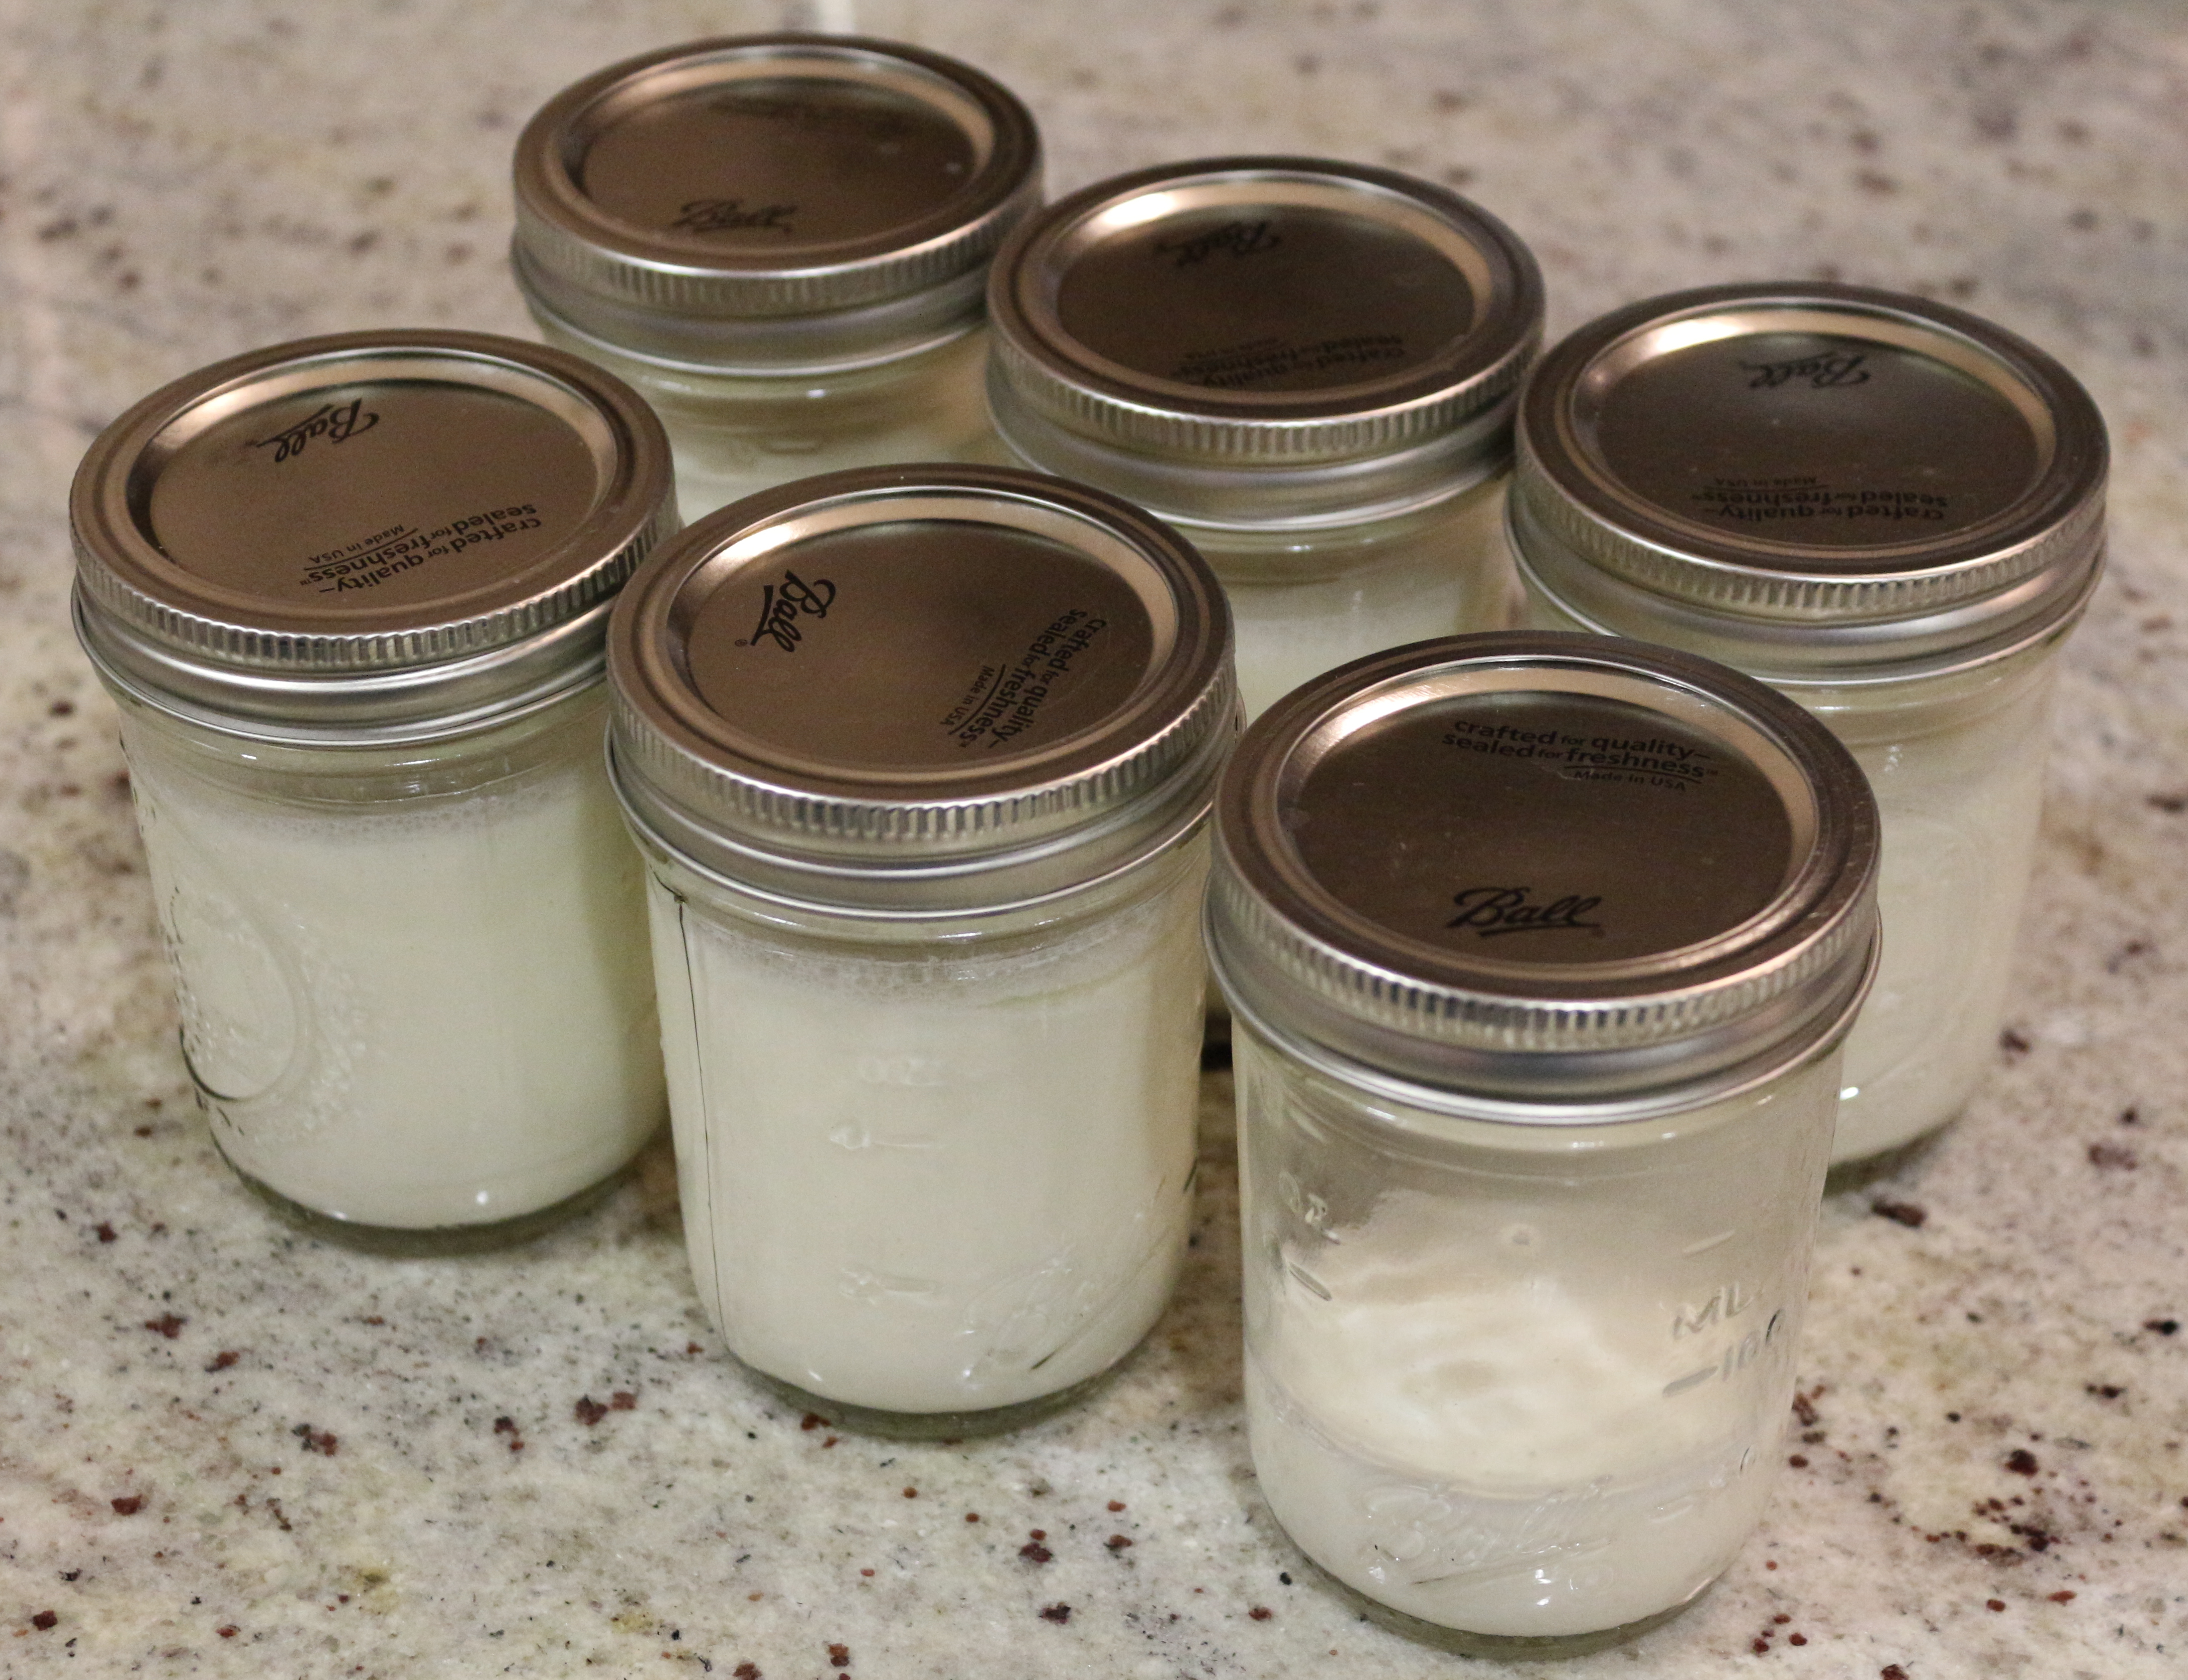
I don’t have a yogurt maker, slow cooker/crockpot, bread proofing box…. so I put my little jars in a blanket nest as described. After four hours I checked on my yogurt and it was mostly set and pretty yogurty, but still fairly loose.
I suspect that this was partly because it had cooled quite a lot by this point, maybe because I had put it into separate small jars it couldn’t retain the heat as well? – more surface area to volume ratio (Physics!) Also by not adding the dry milk, which is something mentioned as helping to make the yogurt thicker.
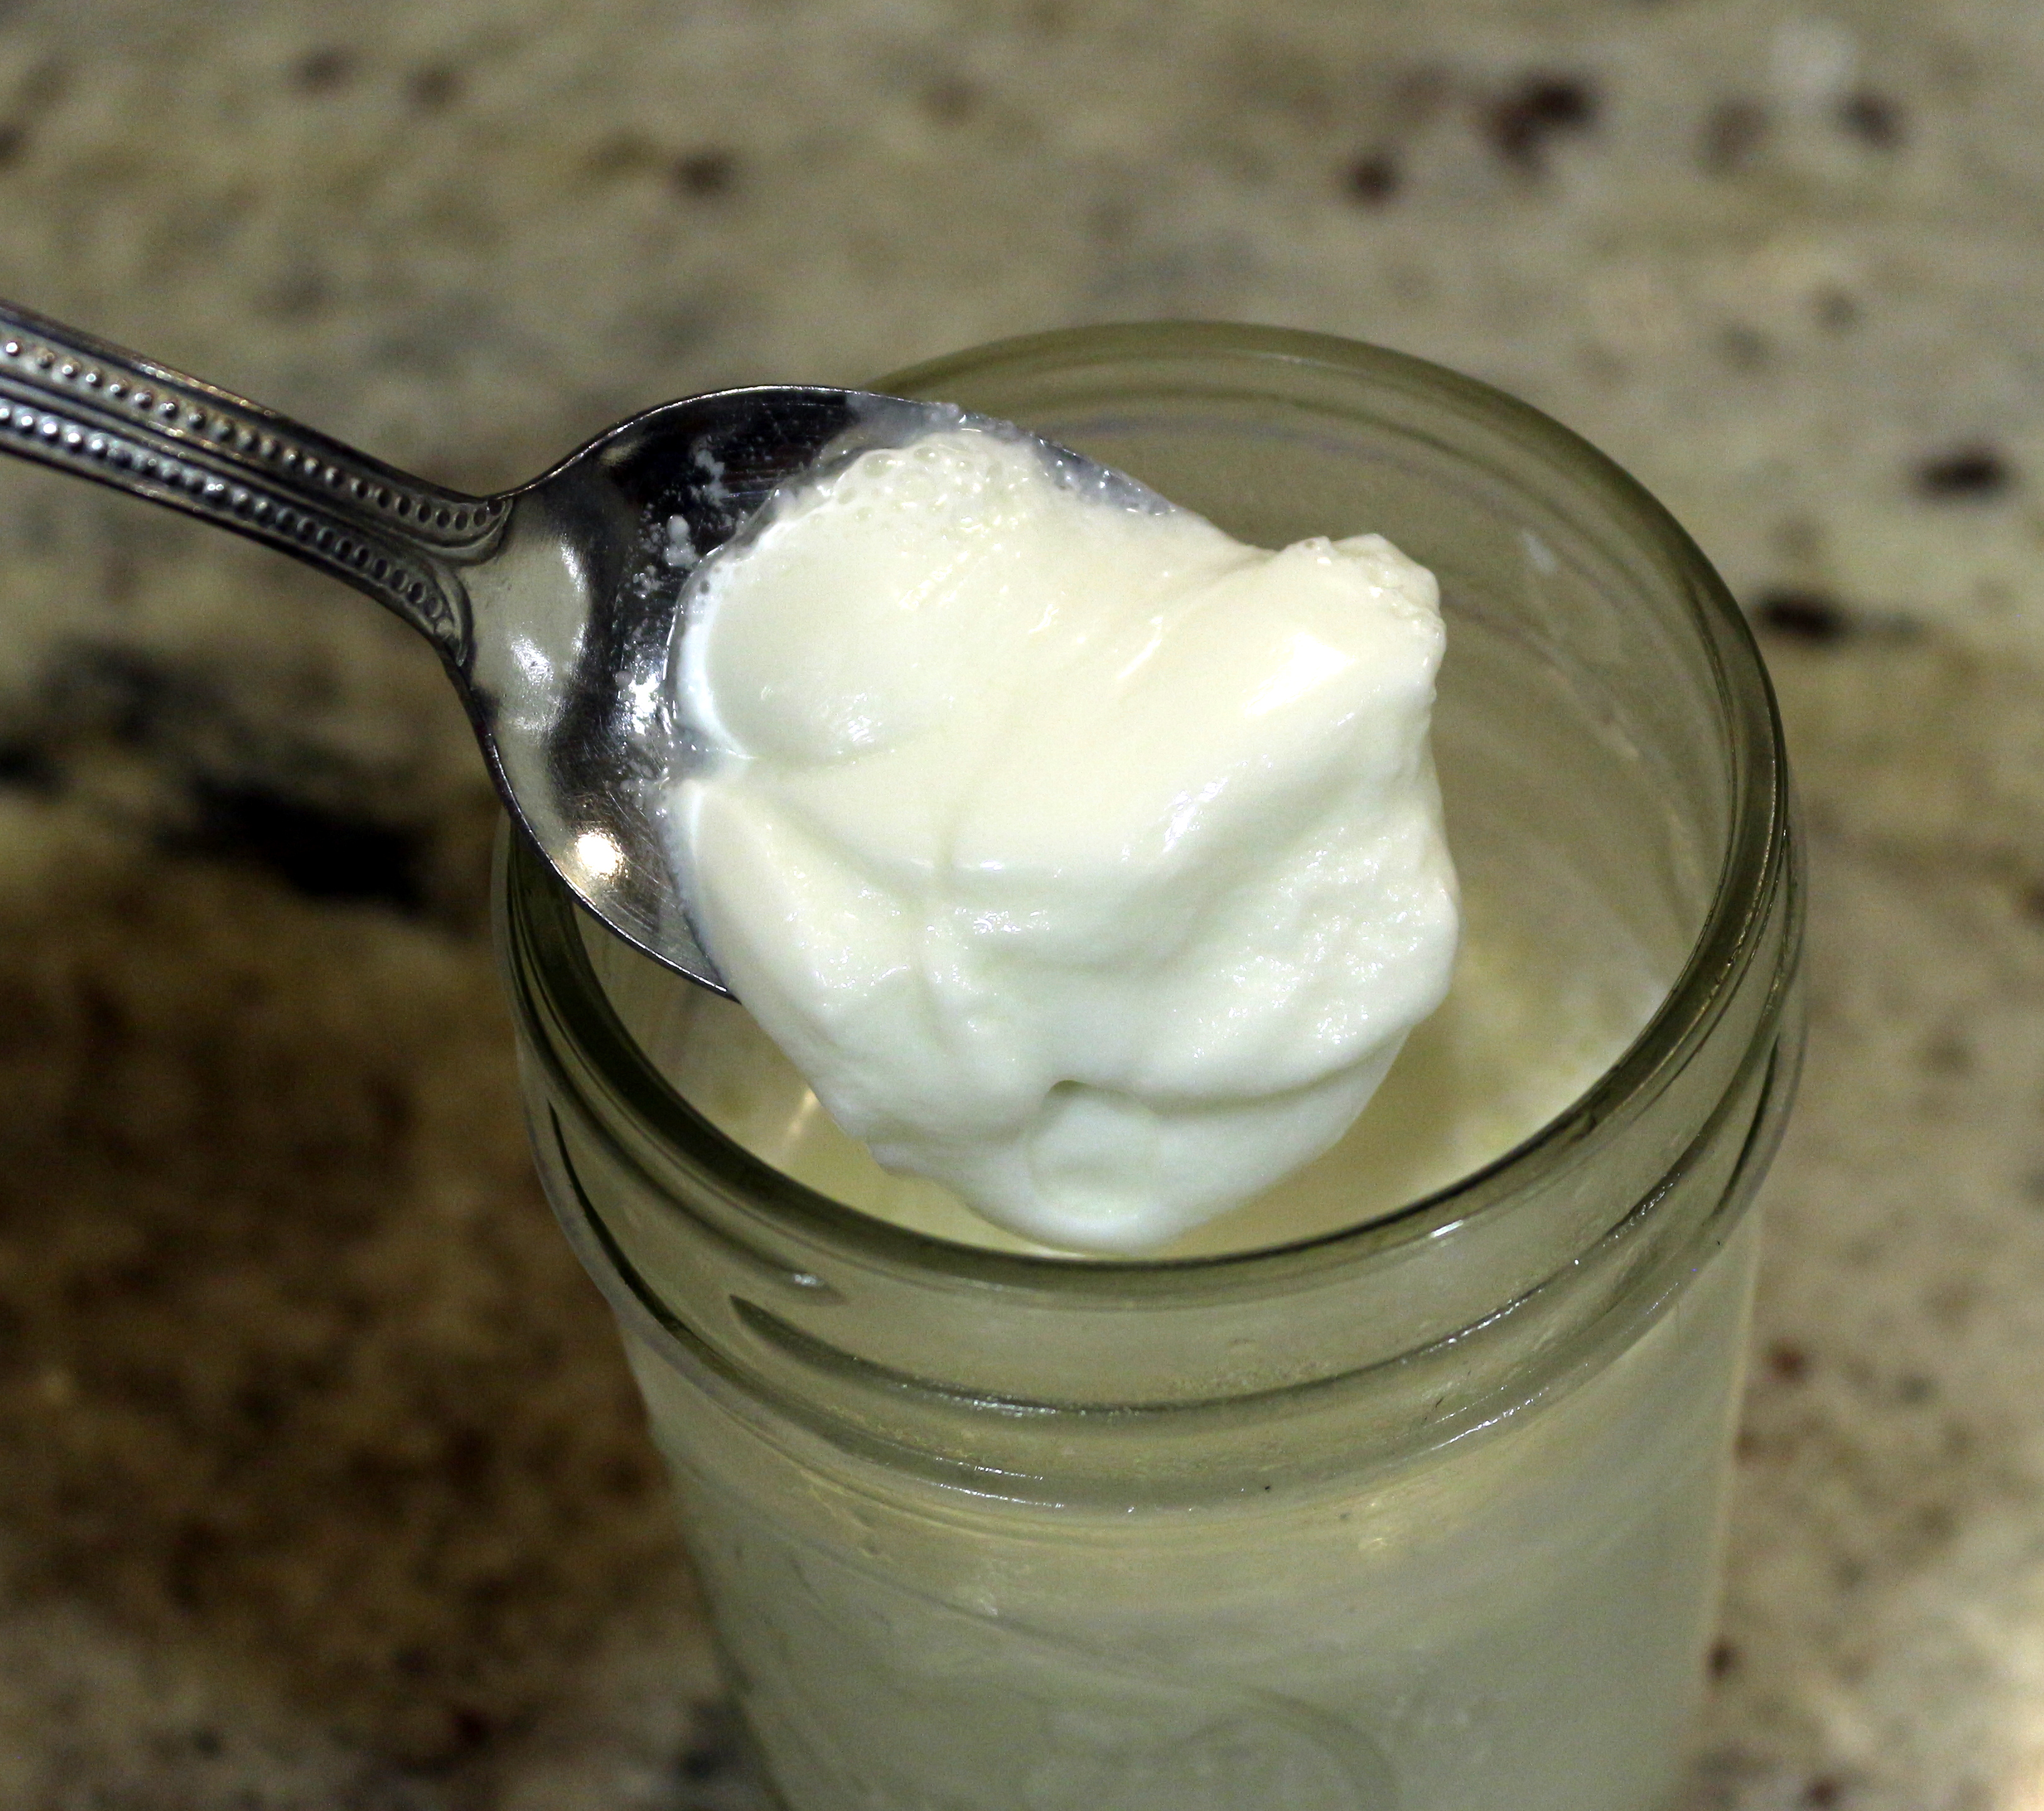
It was however still pretty tasty, and I am a fan of a more liquid yogurt than a firm set. While I would appreciate more pictures of the steps involved to go with the text, I managed the process just fine. I added a spoonful of lemon curd to a jar and ate it up!
I received this book from Blogging for Books for this review.


My preferred method of keeping the yoghurt at a constant temperature is to put it in a cooler with warm water in (around 115-120 F). I also keep it in for 12 hours too. Plus I only heat the milk up to 175F ish, but keep it there for 10-15 minutes, which I find makes creamier yoghurt. Little bits of techniques that I’ve picked up from lots of different people over the past few years…
Aha! I do not have a cooler. But that is perhaps an inexpensive solution to my yogurt problem!
That did it – I signed up for blogging for books! Yummy review.
Free books lady! What’s not to love?! Between us I am sure we could have ALL OF THE BOOKS!